
This post may contain affiliate links. If you use these links to buy something I may earn a small commission at no cost to you. Thanks.
…
You may have noticed by now that I seem to design a lot of cat-themed things. There are a couple of reasons for that. One, cats are adorable. Two, boy 2 is OBSESSED! He has even decided that his name should be ‘Meow-Meow’. It’s crazy! Lol! I love it though.
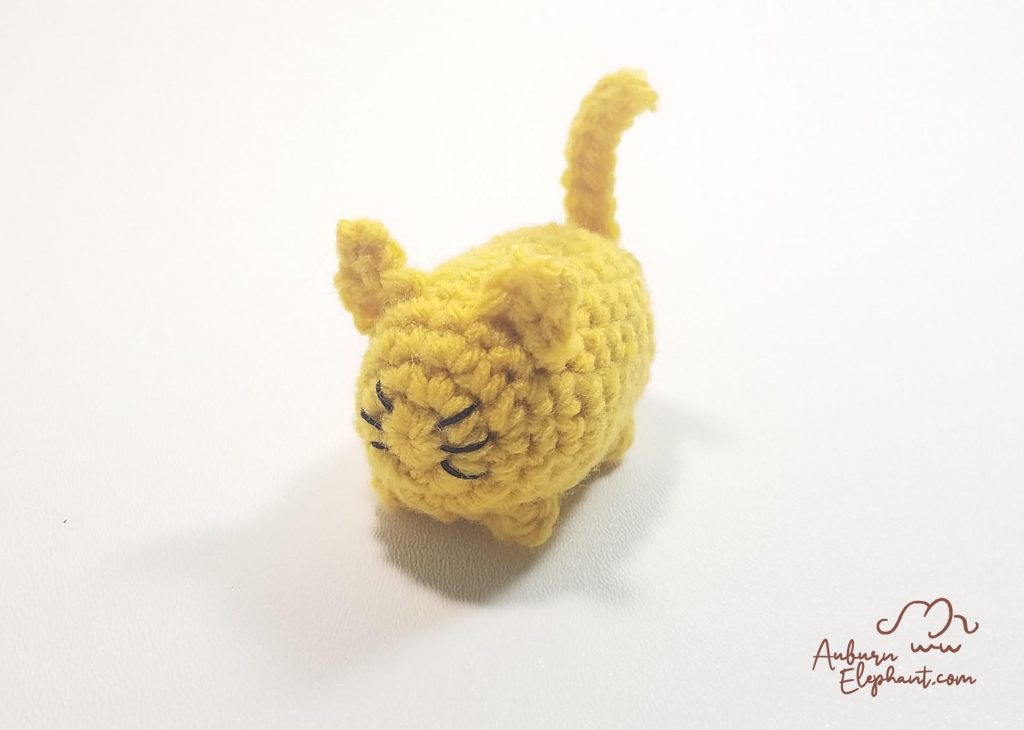
His birthday was at the beginning of May and I was trying to think of something to send with him as party favors for his class. Of course, I think I have to make something! Since Owen’s favorite things are cats, it seemed obvious that it should be a cat! Well, with 22 kids in the class I was definitely not going to take the time to make the Kitty Plush that I had already designed. I wanted something small and quick but still cute. Going off of a couple other ideas I came up with this little kitty. Owen snatched the first couple up quickly and was supremely excited with each and every one that I finished.
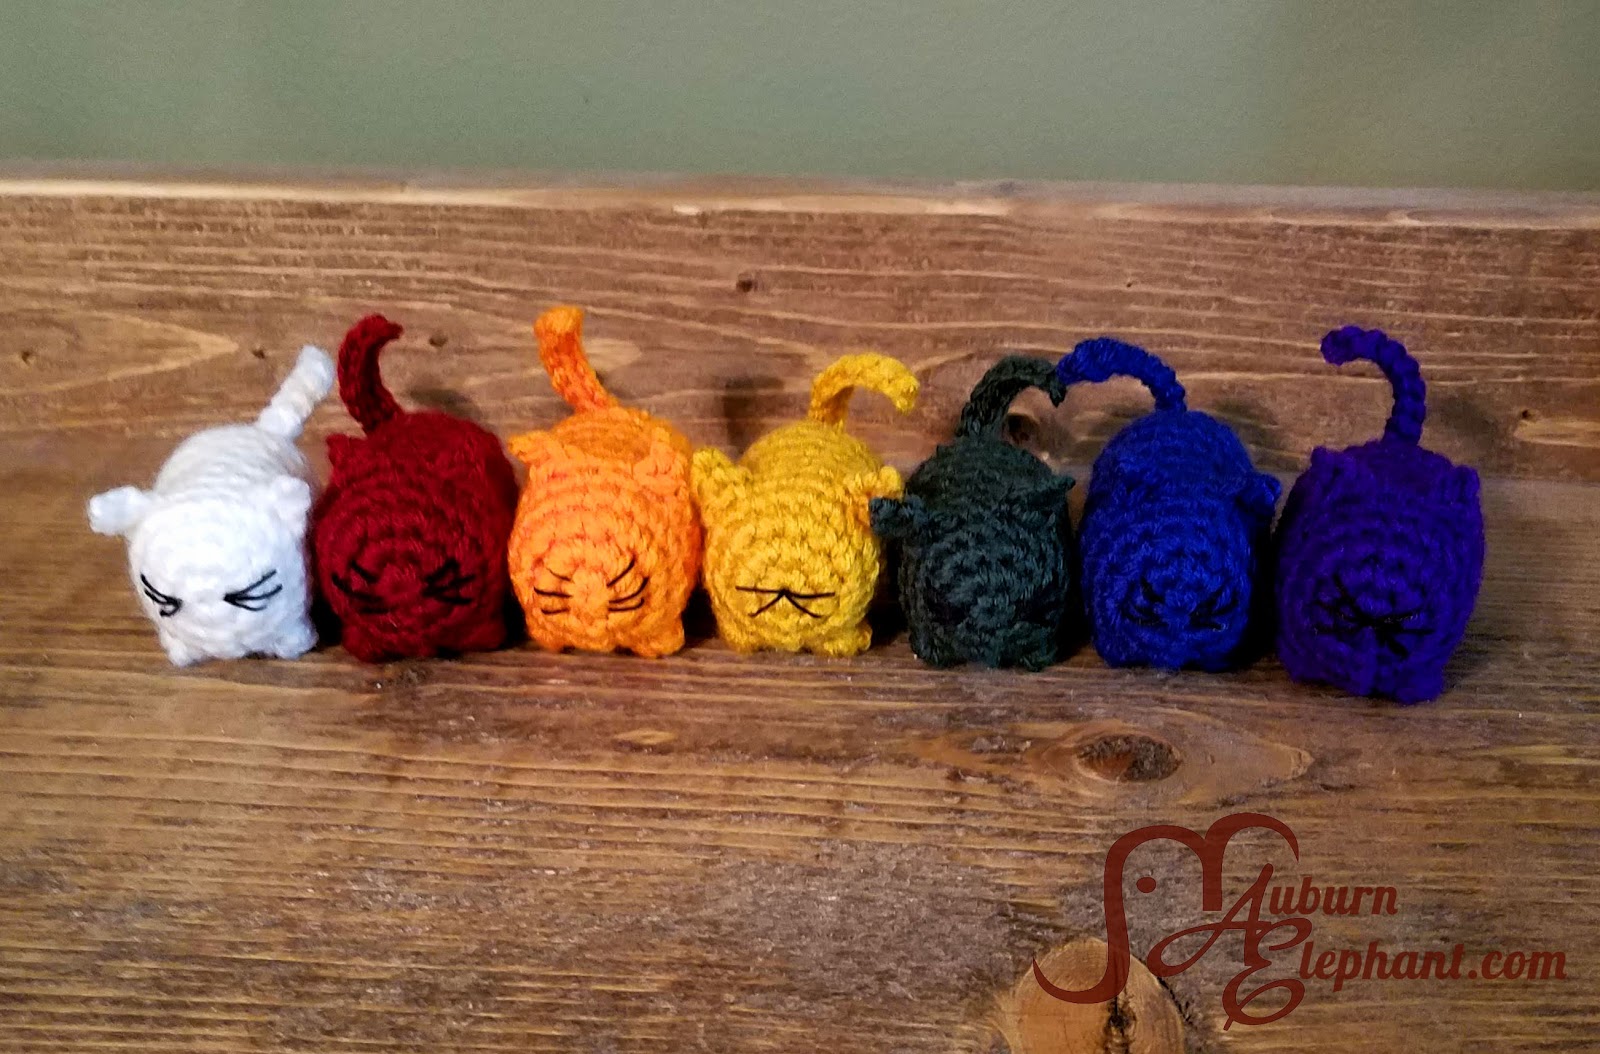
I waited until the week of his birthday to even begin this project so it’s no surprise that I ended up staying up much too late the night before finishing up. After the first 6 or 8 I realized that the time consuming part was sewing on the ears and tail. After a little experimenting I was able to crochet the ears and tail at the same time as the body meaning NO SEWING!! YAYAYAYAY!! It makes these little guys work up sooo quickly! I made them in all kinds of colors and he said that the kids in the class loved them! (I even heard from another mom that her daughter kept hers in the car so she could play with it.)
I’ve written up the pattern 2 ways. With the ears and tail made separately and sewn on and the NO SEW way. Try them both if you’d like and see which works better for you. Sewing on the pieces does give you a little more control over placement and such so it’s up to you.

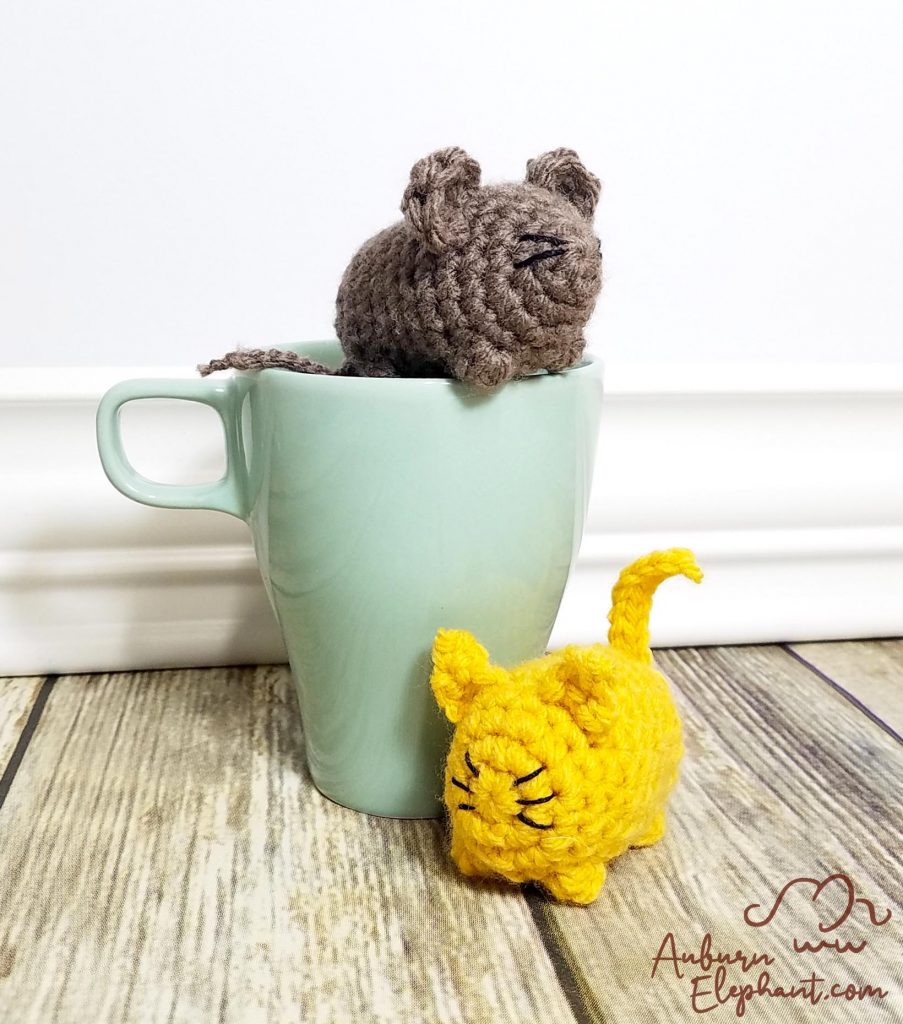
The little Mouse addition came after the initial influx of Cats! I was looking at one of the Cats that Owen had claimed and realized that it would be pretty simple to modify to make a little Mouse buddy. Unfortunately, Mouse does not have a NO SEW version but his ears are pretty darn cute as is.
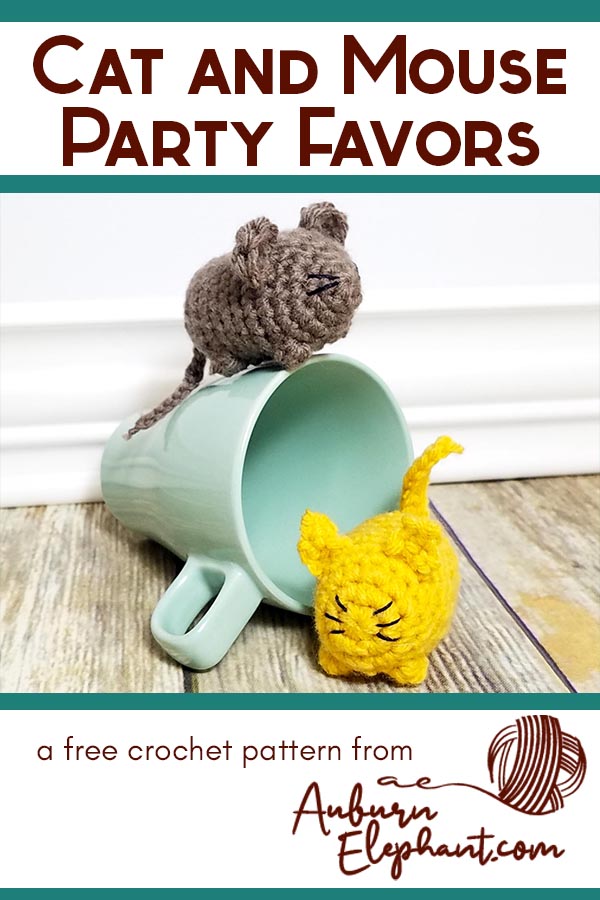
I’m pairing the patterns together because I think they would be great party favors for a cat-loving kid or just to have around. I actually think they’d make pretty good cat toys as well!


A couple of disclaimers: This pattern is intended for personal use only. You are welcome to use the pattern to make and sell products, to keep for yourself, or to give away as gifts. I would appreciate receiving credit and a link back to the site, however. Please do not republish or distribute the pattern in any way, or use my photos in your listings.
I have done my best to ensure that this pattern is tested and edited to be easy to follow and understand. But I am not a robot, so if you do find any typos, errors, or places that need clarification, please let me know so that I can fix my mistakes or offer extra guidance. 🙂
I hope you enjoy this crochet pattern. If you have any questions or comments you can leave them below OR email me at auburnelephant@gmail.com OR through the contact page on this site. I’d also love to see your finished creations! 🙂
Pattern Updated 5/29/2020
Cat and Mouse Party Favors
Supplies Needed:
- Big Twist Value Yarn, Medium Worsted Weight 4 (100% Acrylic, 371 yds, 6 oz) Any color, approx 20 yds
- G/6 4.25 mm Hook
- Crochet thread or embroidery floss- for the whiskers
- Polyfil
- Needle for sewing in ends
Stitches/Terms Used:
- Sl st- Slip Stitch
- Ch- Chain
- SC- Single Crochet
- 2SC- Single Crochet Increase, 2 SC in same stitch
- Bobble- Bobble stitch- *Yarn Over (YO), Insert hook into stitch, YO, Pull through, YO, Pull through 2 loops* Repeat from * to * until you have 5 loops on your hook. YO and Pull through all loops.
- DEC- Single Crochet Decrease, Using the Invisible Decrease method, insert hook up through front loops of next 2 stitches, yarn over, pull through front loops, yarn over, pull through to finish decrease
Notes:
- All patterns are worked in joined rounds. Each round will begin with a Ch 1 and end with a sl st to the first SC of the round. If you need help with this technique, you can find my tutorial at auburnelephant.com/home/joined-rounds.
- There are two options for the Cat Favor pattern. In the first version you will crochet the body of the cat and then separately crochet and attach the ears and tail. In the second version you will crochet them all at the same time so that there’s no sewing. The second version is quicker to make but the first version will give you a little more control over the look of your cat. It’s up to you which version you try. These are so quick you could easily do both and find out which you like better!
- The Mouse Favor has only one version since the ears are bigger and the tail is smaller.
Cat Favor
Body
Finish off. Use the yarn tail to close the hole and weave in end.1) Using the Magic Ring technique (OR Ch 3 and join with a sl st to first ch to form a ring) SC 6 into ring. (6)
2) 2SC in each around. (12)
3) *SC in next, 2SC;* Repeat from * to * around. (18)
4) SC in each around. (18)
5) SC in next, Bobble, SC in next 14, Bobble, SC in last. (16 SC, 2 Bobbles)
6-9) SC in each around. (18)
The Bobbles in the next round are shifted to account for the join seam so that they still line up with the front Bobbles. If yours do not, move your Bobbles one stitch at a time until they do.
10) SC in next 2, Bobble, SC in next 14, Bobble in last. (16 SC, 2 Bobbles)
11) SC in each around. (18)
12) *SC in next, DEC;* Repeat from * to * around. (12)
13) SC in each around. (12)
Stuff with polyfil
14) DEC around. (6)
Ears
(Make 2)
Ch 3,
1) Starting in 2nd from hook, SC in next 2. Ch 1, turn.
2) DEC. Ch 1, turn.
3) SC
Finish off. Leave tail for sewing.
Tail
Ch 10, starting in 2nd from hook, sl st 9. Finish off. Leave tail for sewing.
Assembly
Sew ears on between Rounds 4 and 5, evenly spaced. I use T-pins to place them before sewing to make sure they look good.
Sew the tail on the cat’s backside, just above the last round. You can use the yarn tail to stitch the tail where it stands up straight or however you would like it.
Use Crochet thread or embroidery floss and a needle to stitch on whiskers how and where you choose. I made some with 2 or 3 whiskers on either side of the “nose”.

Cat Favor-Version 2, NO SEW!!!
1) Using the Magic Ring technique (OR Ch 3 and join with a sl st to first ch to form a ring) SC 6 into ring. (6)
2) 2SC in each around. (12)
3) *SC in next, 2SC;* Repeat from * to * around. (18)
4) SC in each around. (18)
5) SC in next, Bobble, SC in next 5, ch 3, in 2nd from hook sl st, SC in next chain, going back to the round skip 1 stitch-SC in next 2, ch 3, in 2nd from hook sl st, SC in next chain, going back to the round skip 1 stitch-SC in next 5, Bobble, SC in last. (16 SC, 2 Bobbles, Ears x 2)
6) SC in next 7, HDC into the skipped stitch of Round 5 under the ear, SC in next 2, HDC into the skipped stitch of Round 5 under the ear, SC in remaining 7. (16 SC, 2 HDC)
7-9) SC in each around. (18)
The Bobbles in the next round are shifted to account for the join seam so that they still line up with the front Bobbles. If yours do not, move your Bobbles one stitch at a time until they do.
10) SC in next 2, Bobble, SC in next 14, Bobble in last. (16 SC, 2 Bobbles)
11) SC in each around. (18)
12) *SC in next, DEC;* Repeat from * to * around. (12)
13) SC in each around. (12)
Stuff
14) DEC 4 times, Ch 10, in 2nd from hook sl st 9 back down chain, DEC 2 times (6 SC, Tail)
Finish off. Use the yarn tail to close the hole and to tack down the tail in the position you like and weave in end.
Details
Use Crochet thread or embroidery floss and a needle to stitch on whiskers where you choose. I made some with 2 or 3 whiskers on either side of the nose.

The difference between the 2 versions is minimal. The “No Sew” Version (on the left) has slightly smaller ears and the tail might twist the opposite way (although, you could sew the other tail on differently too). It just depends on your preferences. I would rather not sew things together so I definitely prefer the all in one pattern as it is also a little quicker to complete.

Mouse Favor

Body
1) Using the Magic Ring technique (OR Ch 3 and join with a sl st to first ch to form a ring) SC 6 into ring. (6)
2) SC in each around. (6)
3) 2SC in each around. (12)
4) *SC in next, 2SC;* Repeat from * to * around. (18)
5) SC in each around. (18)
6) SC in next, Bobble, SC in next 14, Bobble, SC in last. (16 SC, 2 Bobbles)
7-10) SC in each around. (18)
The Bobbles in the next round are shifted to account for the join seam so that they still line up with the front Bobbles. If yours do not, move your Bobbles one stitch at a time until they do.
11) SC in next 2, Bobble, SC in next 14, Bobble in last. (16 SC, 2 Bobbles)
12) SC in each around. (18)
13) *SC in next, DEC;* Repeat from * to * around. (12)
14) SC in each around. (12)
Stuff with polyfil
15) DEC around. (6)
Finish off. Use the yarn tail to close the hole and weave in end.
Ears
(Make 2)
Using the Magic Ring technique (OR Ch 3 and join with a sl st to first ch to form a ring), SC, DC 4, SC into the ring. Do NOT join. Pull ring closed. Leave tail for sewing.
Tail
Tightly chain 12 (pull each chain closed as you go). Finish off. Leave one long end for sewing, knot and cut off the other end.
Assembly
Sew ears on between Rounds 5 and 6, evenly spaced. I use T-pins to place them before sewing to make sure they look good.
Sew the tail on the mouse’s backside, just under the last round.
Use Crochet thread or embroidery floss and a needle to stitch on whiskers where you choose. I made some with 2 or 3 whiskers on either side of the “nose”.

Check out some of my other Cat-themed patterns too!
These are so darn cute I can’t wait to make them. Thank you!
Thank you! I’m glad you like them. They are super fun to make! 🙂