This post may contain affiliate links. If you use these links to buy something I may earn a small commission at no cost to you. Thanks.
…
Football has become a pretty big deal in our house. Here in Kansas City we cheer for the Chiefs, of course. My dad was a fan growing up so I was always inclined to root for them but being here in the city it’s a no-brainer.
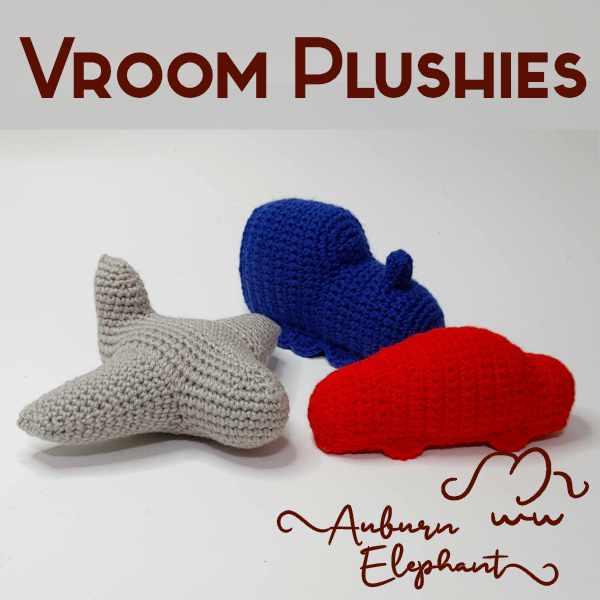
Will started getting into the game after playing with his friends at school and he’s gotten swept up in it too. He asked for a Chiefs blanket for his birthday this year (after I made a cat one for his brother). So I started working on that. It’s a beast too! In the midst of that though I worked on other projects, like my Halloween Pillows and Winter Friends Pillows and thought that the basic shape used for those could also make a helmet to go with his football theme. And it totally did!
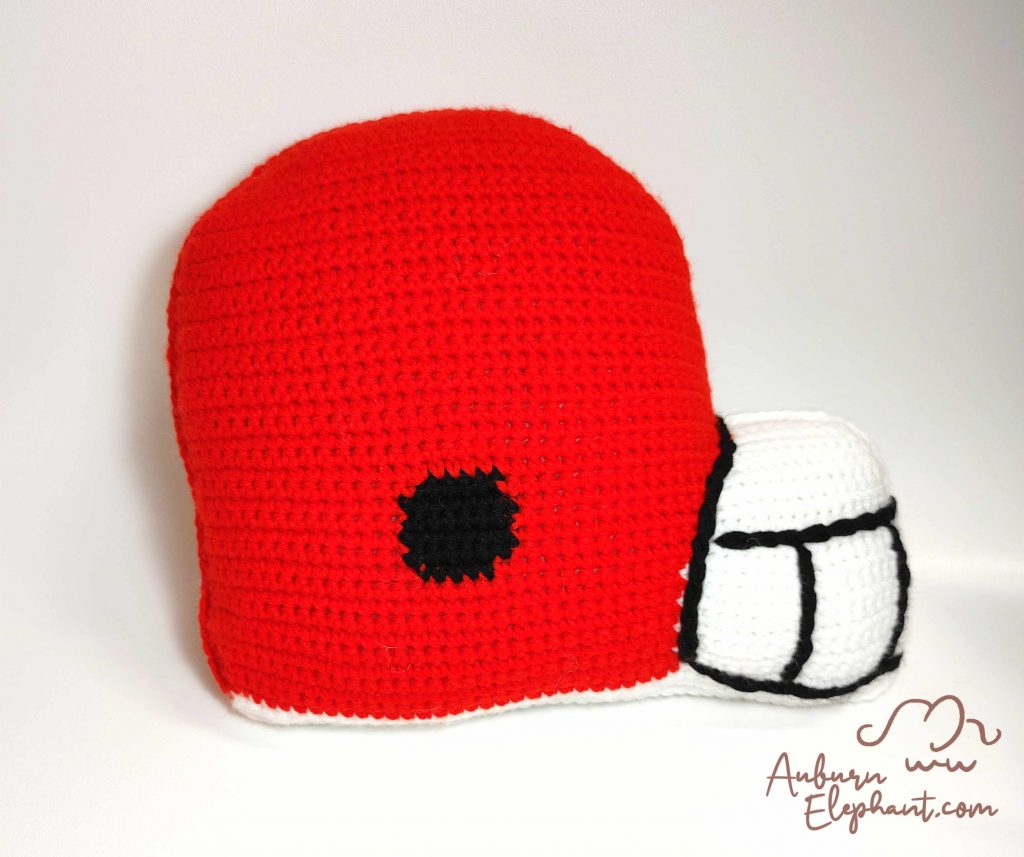
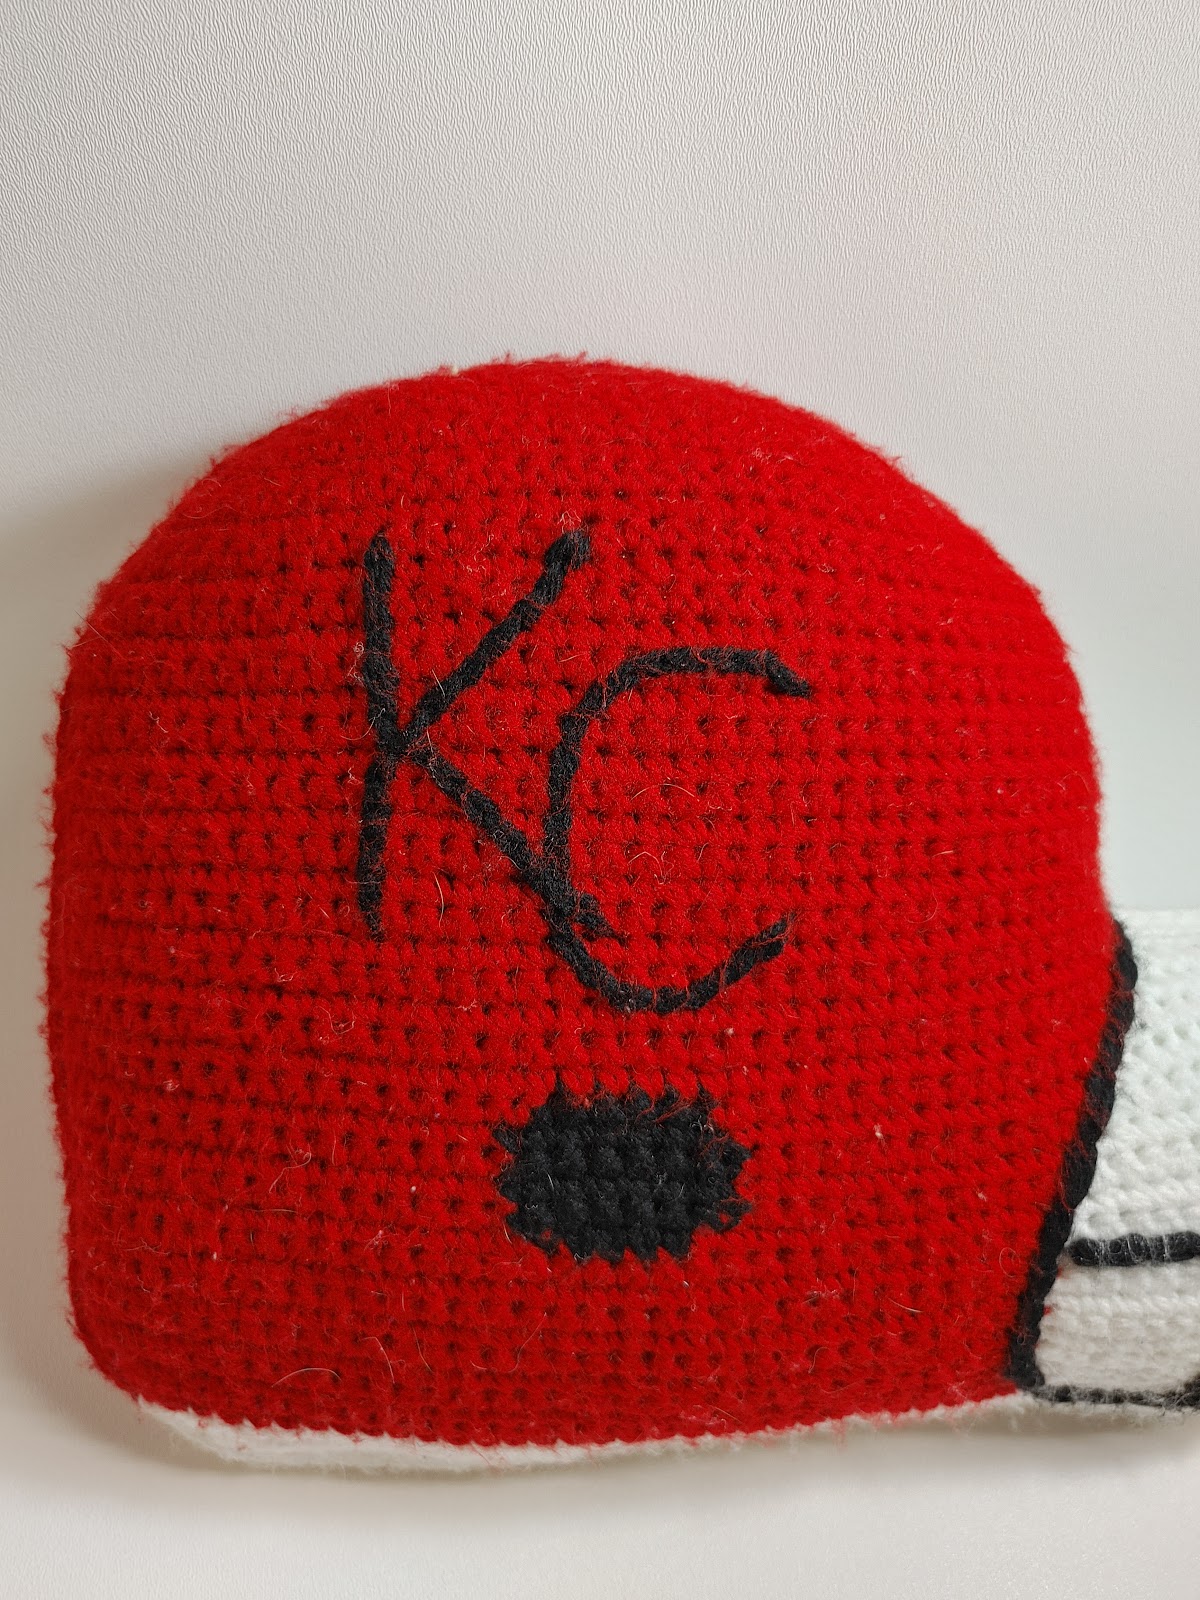
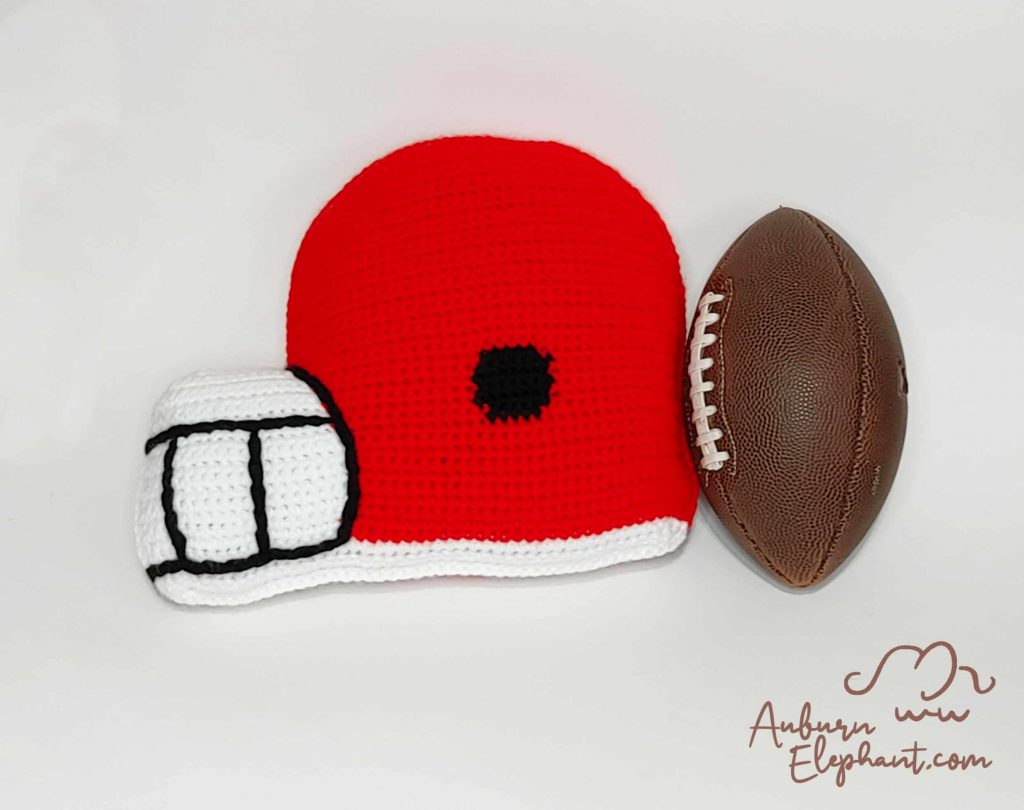
I am excited to share this one! It’s definitely customizable, we had to go with Red but you can use your team’s colors. I used a surface slip stitch to add the KC to the first pillow and left a second blank. You could absolutely add more details to it, personalize it, get a logo patch and sew it on. Whatever works for you!
As always, the written pattern is available on this page for free. If you prefer or are interested in PDFs, those are also available for purchase from Ravelry or Etsy. The Premium PDFs include extra photos for guidance and explanation.

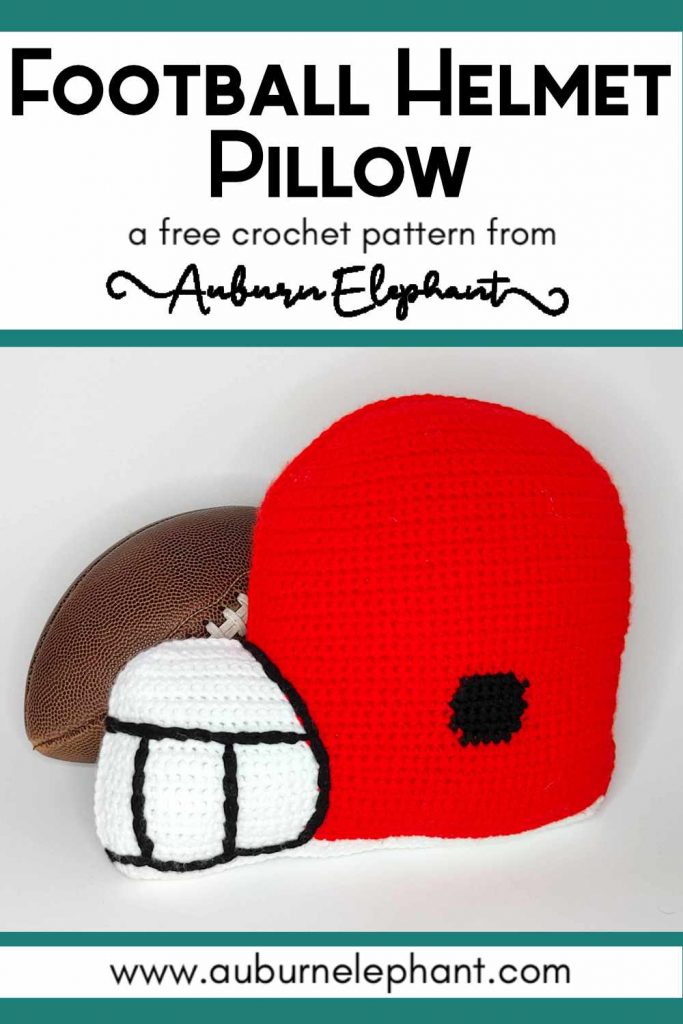
I hope you enjoy sharing your team spirit with this Football Helmet Pillow! 🙂
Go TEAM!
I hope you enjoy this crochet pattern and that I’ve made it easy enough to follow. If you have any questions you can contact me at auburnelephant@gmail.com OR through the contact page here. I’d also love to see your finished creations! Connect with me on Facebook or Instagram!
A couple of disclaimers: This pattern is intended for personal use only. You are welcome to use the pattern to make and sell products, to keep for yourself, or to give away as gifts. I would appreciate receiving credit and a link back to the site. Please do not republish or distribute the pattern in any way, or use my photos in your listings.
Supplies Needed:
- Big Twist Value Yarn, Medium Worsted Weight #4 (100% Acrylic, 371 yds, 6 oz) yardages listed are approximate
- Varsity Red (or main color), 180 yds
- White, 70 yds
- Black, 30 yds
- G/6 4.25mm hook
- Poly-Fil
- Needle, for weaving in ends
Stitches/Terminology Used:
- Ch- Chain
- Sl st- Slip Stitch
- FSC- Foundation Single Crochet, this will create your base chain and first SC row. To start ch 3, insert hook into first ch, *yarn over, pull through. Yarn over, pull through 1 loop, yarn over, pull through both remaining loops. One FSC made. Insert hook through bottom of the previous FSC* (the mock chain made after the 2nd pull through) and repeat from * to *.
- SC- Single Crochet
- 2SC- Single Crochet Increase, 2 SC in same stitch to increase
- Skip- Skip next stitch
- Surface Slip Stitch
Notes:
- This pattern will be worked in rows. Each row will end with a Ch 1 and turn. Beginning Chains do NOT count as stitches.
- You will change colors along the way to create the background of the design. You will want to drop colors at the change. You may want to carry over your yarn on Rows 13-18 though, or create bobbins for each red side. I would suggest keeping your working yarn on the same side throughout so that if you have some messy color changes you can place that side of your work inside.
- The black face mask details will be put on using a Surface Slip Stitch. You can also embroider them if you prefer.
- The Logo section is optional. You can Surface Slip Stitch that as well, or embroider it. You can leave the helmet generic or buy a team patch to sew on.
- You’ll make 2 of the panels and then SC join them together. There’s no difference between the 2 sides. I would suggest trying to keep your color changes to one side and switch which side for each panel so that the ends all wind up on the inside.
- You’ll start the foundation rows with White all the way across. From Row 3 to Row 20, you will use both Red (or your chosen helmet color) and White, with a small section of Black. The pattern for these rows is written with the color changes. So #R will indicate the number of stitches in Red, #W will indicate the number of stitches in White, #B will indicate the number of stitches in Black. There will be a few increases and decreases, these will be indicated. For example, “2R in last st” would be “2SC in Red in the last st of the row,” “Skip next (st)” will be a decrease.
- Gauge for this project is not very important. You want to make sure that your stitches are tight enough so that your stuffing doesn’t show through and that your pieces hold their shape. If you need to go down a hook size to maintain tight stitches that is fine but your finished size might come out smaller.
- As I made it, this pillow came out to be about 13” wide (across the face mask) and 11” tall.
Helmet Panels
Make 2
Panels are worked in Rows. Each Row ends with a Ch 1, turn.
In White
1) FSC 46, OR Ch 47, starting in 2nd Ch from hook, SC 46. (46)
2) 2SC in first st, SC in each st across. (47)
You’ll start color changes here.
3) 17W, 29R, 2R in last st (48)
4) 2R in first st, 30R, 17W (49)
5) 18W, 30R, 2R in last st (50)
6) 32R, 18W (50)
7) 18W, 32R (50)
8-11) Repeat Rows 6-7
12) Repeat Row 6
13) 17W, 12R, 5B, 16R (50)
14) 15R, 7B, 11R, 17W (50)
15) 16W, 12R, 7B, 15R (50)
16) 15R, 7B, 12R, 16W (50)
17) 15W, 13R, 7B, 15R (50)
18) 16R, 5B, 15R, 14W (50)
19) 1W, Skip next st, 11W, 37R (49)
20) 38R, 7W, Skip next st, 1W, Skip next st, 1W (47)
21) 1W, Skip next, 7W, 38R (46)
Remaining Rows in Red
22) 38R, leave rest of row unworked (38)
23-35) SC in each st across. (38)
36) SC in first, Skip next, SC in next 34, Skip next st, SC in last. (36)
37) SC in first, Skip next, SC in next 32, Skip next st, SC in last. (34)
38) SC in first, Skip next, SC in next 30, Skip next st, SC in last. (32)
39) SC in first, Skip next, SC in next 28, Skip next st, SC in last. (30)
40) SC in first, Skip next, SC in next 26, Skip next st, SC in last. (28)
41) SC in first, Skip next, SC in next 24, Skip next st, SC in last. (26)
42) SC in first, Skip next, SC in next 22, Skip next st, SC in last. (24)
43) SC in first, Skip next, SC in next 20, Skip next st, SC in last. (22)
44) SC in first, Skip next, SC in next, Skip next, SC in next 14, Skip next, SC in next, Skip next, SC in last. (18)
45) SC in first, Skip next, SC in next, Skip next, SC in next 10, Skip next, SC in next, Skip next, SC in last. (14)
Finish off, weave in the ends. (You can also leave the ends and tuck them inside or crochet over them. Weaving will make them the most secure though and will keep them out of your way later.)


Border
SC evenly around the edges, changing colors to match the sides. Join with sl st to the first SC of the border to finish off.
Details
If you are going to add your own Team Logo on the sides, using Surface Slip Stitch or embroidery, I would suggest doing so before you join your two panels. If you are going to attach a team patch, you can do that now or at the end.
The Face Mask details are easiest to put on after that section has been joined but before the helmet is stuffed. You just want to make sure that your Surface stitches are not too tight so that the mask stays the right shape. You can tie off and trim the ends here just be careful to keep the black from showing through the white.
Join/Mask Details
Rejoin your White yarn to the first White row along the back side of the helmet. With the wrong sides facing each other, begin to SC the two panels together going through coordinating stitches. Once you get to the Red section, change your yarn to red. I would suggest continuing up a few inches with your red and then stopping to add your Face Mask details.
You’ll use a Surface Slip Stitch (or embroidery) to add the face mask lines. I used a double strand so that the lines were bolder. You can use a single strand or a bulky yarn if you prefer.
To do the Surface Slip Stitch, you will start with a slip knot in your yarn. Insert your hook from the front to back of the work (only through one of your panels), hook your slip knot and pull through to the front side of your work. Insert your hook into the next space in line (with the double strand I spread my stitches out and hit every other row), yarn over from the back side and pull through the work and the loop on your hook. This completes a slip stitch. You will want to make sure that your stitches are relatively loose so that they do not change the shape of your pillow. You may also want to use a larger hook if you are doubling strands or using a bulky yarn.
Once you have finished your face mask details, you will want to tie off or weave in those ends on the inside. A couple of notes, the black yarn tails are likely to show through the white mask if you leave them alone. Weaving them in is probably the most effective way of dealing with them. I am generally pretty lazy when it comes to weaving ends so I chose to tie them off keeping the knots close to the lines themselves. Then I also made sure to stuff that section carefully, placing stuffing between the ends and the surface so that the black tails were hidden inside.
Once you’ve dealt with the ends, you will want to continue to SC join the remaining panels together. Stop when you are a few inches from the end and stuff your pillow. Again, I would be sure to stuff the mask section first and then fill the rest. When you have your pillow as full as you want, finish SC around and join with a sl st to the first SC of the join. Finish off, weave in the end.
While you’re here, check out these other Auburn Elephant patterns!