This post may contain affiliate links. If you use these links to buy something I may earn a small commission at no cost to you. Thanks.
…
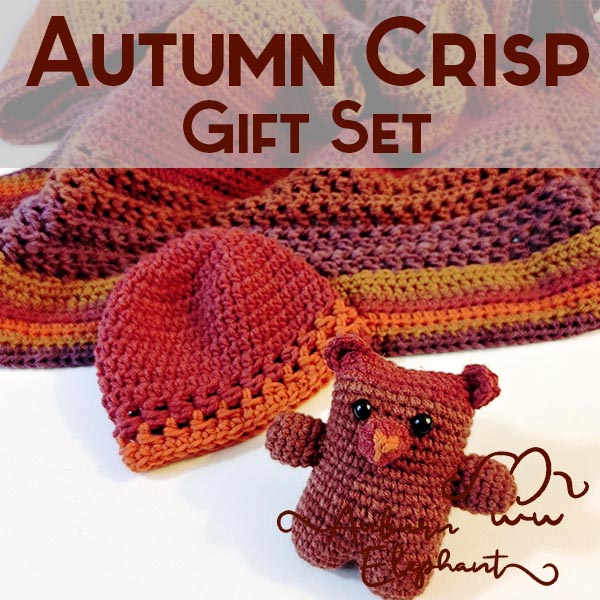
Last Fall I released a pattern set that included a little bear, Bearly Bear. That Autumn Crisp Gift set came about in an effort to use up some stash yarn and finish with no leftovers. After the blanket, there was barely enough for a little Bear. After that worked out so well I was looking at the Bear and saw sooo many possibilities!
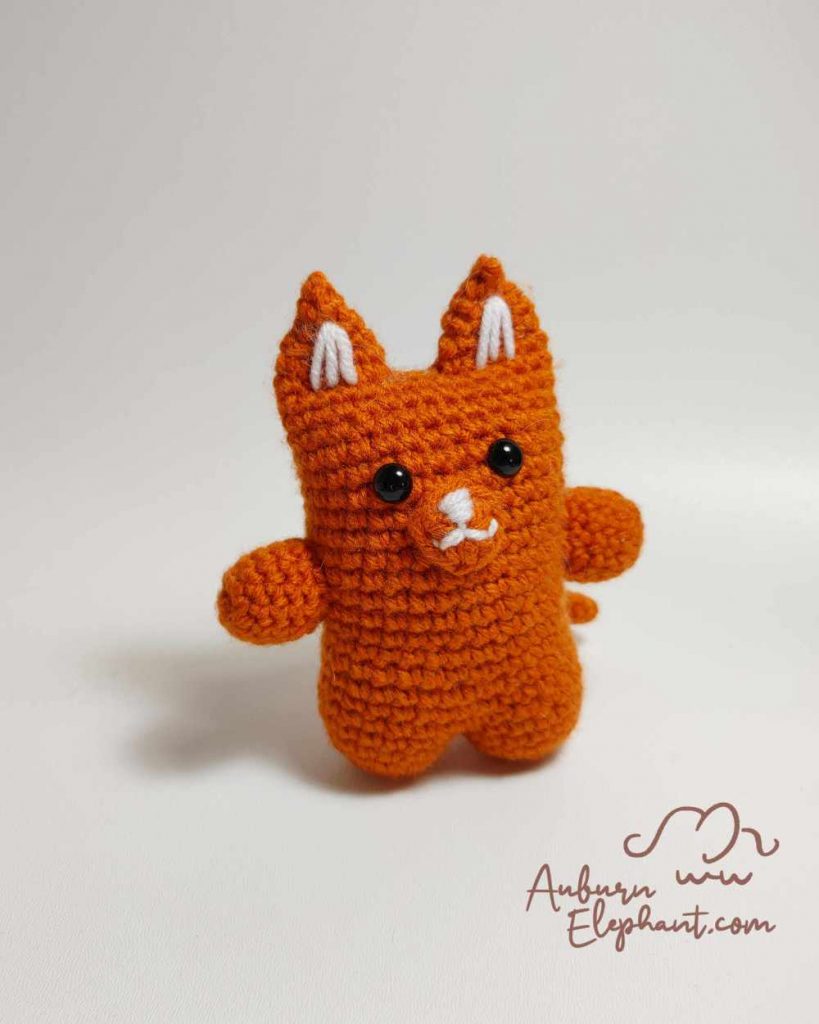
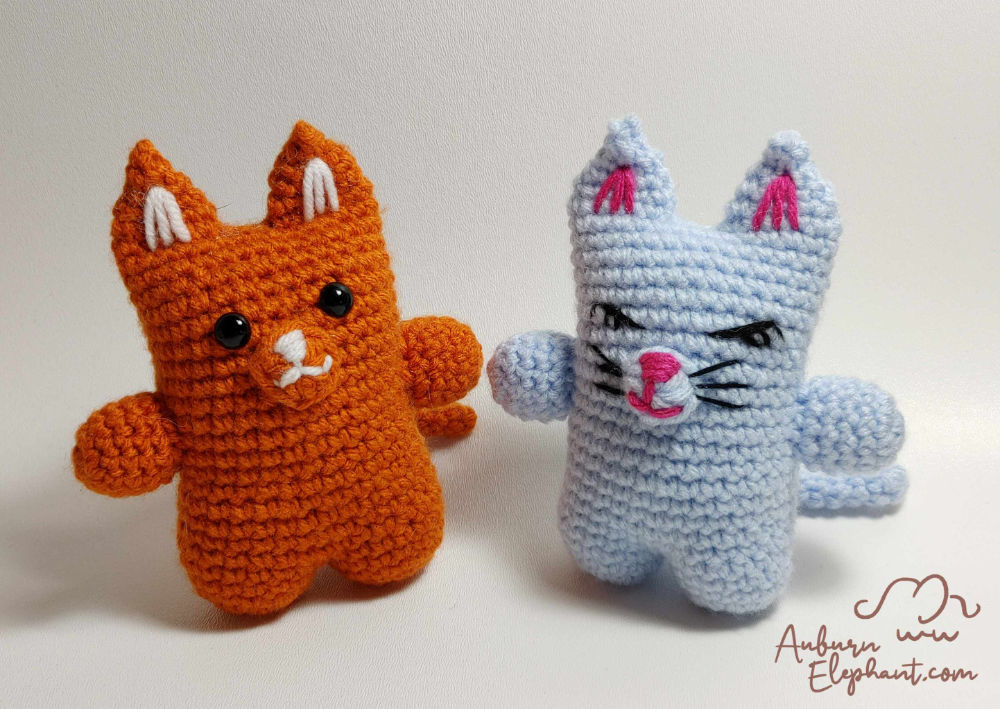
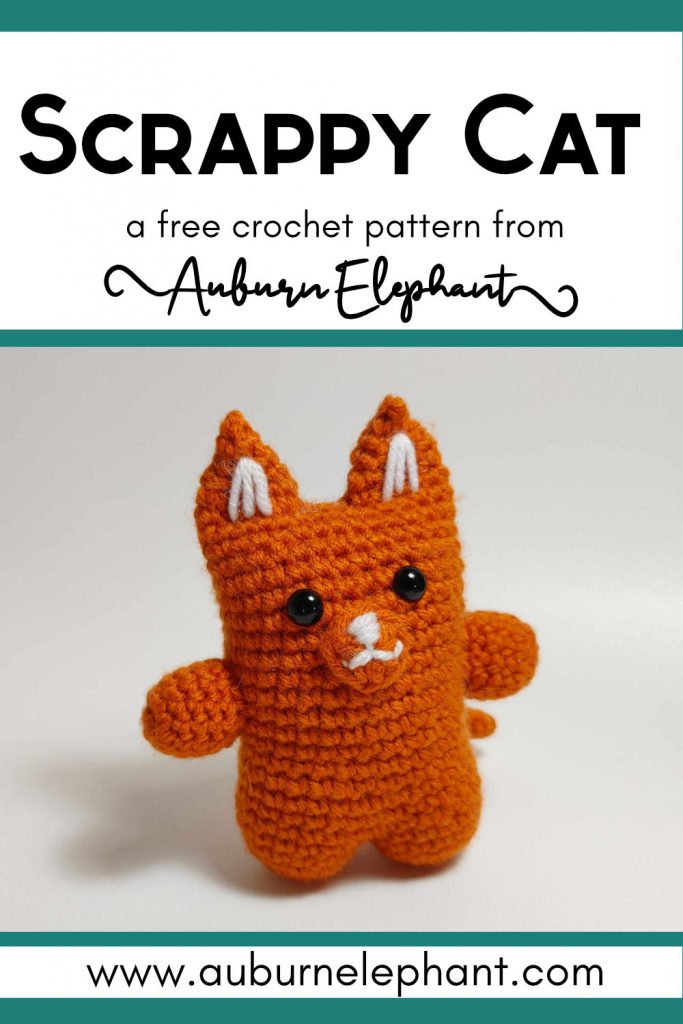
I’m obsessed with anything quick and simple and with easy variations! It didn’t take much to turn Bearly Bear into Scrappy Cat! I have a whole Scrappy Pets series lined up and I’m super excited.
Scrappy Cat is quick to make. It uses up those leftover balls of yarn that you aren’t sure what to do with (seriously, it only uses 1 oz or 60 yds, about a baseball sized ball). You can give this Cat a ton of details or leave it simple.
It’s appropriate to release this Cat in May since it is my Cat Kid’s birthday month. He loves this little guy!

I hope you enjoy this pattern too. You can get the FREE written version below. You can also snag the Premium PDF download from Ravelry or ETSY. The PDF includes extra tutorial photos to help you through.
I hope you enjoy this crochet pattern and that I’ve made it easy enough to follow. If you have any questions you can contact me at auburnelephant@gmail.com, through the contact page, or leave a comment below. I’d also love to see your finished creations! Connect with me on Facebook or Instagram- @AuburnElephant!
A couple of disclaimers: This pattern is intended for personal use only. You are welcome to use the pattern to make and sell products, to keep for yourself, or to give away as gifts. I would appreciate receiving credit and a link back to the site. Please do not republish or distribute the pattern in any way, or use my photos in your listings.
Supplies Needed:
- Big Twist Value Yarn
, Medium Worsted Weight #4 (100% Acrylic, 371 yds, 6 oz) Any color, approximately 60 yds.
- G/6 4.25 mm hook
- Poly-Fil
- Safety eyes, 6-10mm (2) (optional)
- Tapestry Needle
- T-Pins, for placing pieces (optional)
Stitches/Terminology Used (US):
- Ch- Chain
- St(s)- Stitch(es)
- Sl st- Slip Stitch
- SC- Single Crochet
- HDC- Half Double Crochet
- DEC- Single Crochet Decrease, Using the Invisible Decrease method, insert hook up through front loops of next 2 stitches, yarn over, pull through front loops, yarn over, pull through to finish decrease
- 2SC- SC increase, work 2 SC in the same stitch to increase
Notes:
- Unless noted, each piece will be worked in joined rounds. Each round will begin with a Ch 1 and end with a sl st to the first stitch of the round. The first stitch of a round will be worked in the same as joining. Chains do NOT count as stitches. If you need help with this technique, you can find my tutorial HERE.
- This Cat is worked mostly in a single piece. You will start by making 2 legs and then joining them together and continuing around all the way up to the ears. You will separately create the arms, nose, and tail and those will be sewn on. You can also add any other details you wish, like whiskers, inner ears, eyelashes, spots, etc.
- Gauge isn’t terribly important. You do want to make sure that your stitches are tight enough so that your stuffing doesn’t show through but not so tight that you can’t work into them. If you need to go down a hook size to maintain tight stitches that’s fine, your cat may just come out a little more petite. Finished size of the Cat as I made it is about 5” tall.
Legs
Make 2
Worked in joined rounds
1) Using the Magic Ring technique (OR Ch 3 and join with a sl st to first ch to form a ring) SC 8 in the ring. Pull ring tight. (8)
2) 2SC in each st around. (16)
3-4) SC in each st around. (16)
Finish off Leg 1. You can weave in your ends or tuck them inside the leg for stuffing. Continue off of 2nd leg to start the body.


Join Section
Off of Leg 2, Ch 1, SC in next 2. Ch 1, turn. Leave rest of the round unworked. Sl st through last row and 2 sts of Leg 1 to join. Ch 1. You will continue to the Body section by going around the outside of the legs.
Body
Worked in joined rounds
Continuing from the Join Section-
1) SC in next 14 around Leg 1, SC in edge of the joining section, SC in next 14 around Leg 2, SC in edge of other joining section. (30)
2-19) SC in each st around. (30)
The next round will start the ears. You will crochet one ear and then reattach to repeat for the other ear. Before starting the next round, you should make sure that your ears will line up properly. Flatten the body to see that the next round will place your ears evenly. If it does not (this would happen if your joins don’t shift the same way mine did) adjust the counts of rounds 20-24. You want 12 sts going evenly around the sides for each ear and 3 sts in between on the front and back. There will be a DEC on either side of the ear going up.
20) SC in next st, Skip 18, SC in remaining 11. (12)
21) DEC, SC in next 4, DEC, SC in remaining 4 sts. (10)
22) DEC, SC in next 3, DEC, SC in remaining 3 sts. (8)
23) DEC, SC in next 2, DEC, SC in remaining 2 sts. (6)
24) DEC around. (3)
Finish off, sew the tip of the ear closed and weave in the end.
Stuff your cat a little at this point as well. If you are using safety eyes this would also be a good time to check placement and get them in. I used 9mm eyes and placed them between Rounds 14 and 15 about 4 stitches apart. Do whatever suits your eyes though.
Going back to the unworked stitches in Round 19, skip 3 from the first ear, rejoin in the 4th st. If you leave a long enough starting tail you can use this to sew the opening between the ears closed as well.
20b) SC in next 12, skip rest of unworked stitches (should be 3). (12)
21b) DEC, SC in next 4, DEC, SC in remaining 4 sts. (10)
22b) DEC, SC in next 3, DEC, SC in remaining 3 sts. (8)
23b) DEC, SC in next 2, DEC, SC in remaining 2 sts. (6)
24b) DEC around. (3)
Finish off, sew the tip of the ear closed and weave in the end.
Stuff your cat the rest of the way, it’s not really necessary to stuff into the ears. Using the starting tail from the second ear, sew the 3 sts between the ears together and weave in the end.
Arms
Make 2
Worked in joined rounds
1) Using the Magic Ring technique (OR Ch 3 and join with a sl st to first ch to form a ring) SC 6 in the ring. Pull ring tight. (6)
2) 2SC in each st around. (12)
3-6) SC in each st around. (12)
Finish off. You can weave in your ends or tuck them into the arm as stuffing.
Nose
1) Using the Magic Ring technique (OR Ch 3 and join with a sl st to first ch to form a ring) HDC 8 in the ring. Pull ring tight. Join with a sl st to the first st of the round. (8)
Finish off. Leave a long tail to attach.
You can use a scrap piece of yarn in a lighter or darker color than your nose to stitch on some detail. You could also use embroidery thread.
Tail
This piece will be made in continuous rounds. Do not join.
1) Using the Magic Ring technique (OR Ch 3 and join with a sl st to first ch to form a ring) SC 5 in the ring. Pull ring tight. Do not join.
2) SC in each st around. (5)
You can use a stitch marker or scrap piece of yarn to track your rounds but it isn’t very important. You will simply continue Round 2 until you reach about 3” in length, should be 12-13 rounds.
You can make your tail longer or shorter if you prefer, simply stop Round 2 when you reach your desired length.
Once your tail is as long as you want, sl st to the next st of the round and finish off, leave a long yarn tail to attach.
Assembly/Details
Place the arms on either side of your cat, 3-4 rows below the eyes, or about centered on the side of the body. Use a little bit of stuffing to plump them up or you can leave them flat and stitch them down horizontally.
Place the nose centered between the eyes and down slightly. Use the yarn tail to sew it down.
Place the tail on the cat’s back side, about 4 rows up from the top of the legs and centered. Sew it in place.
You can now add any other extra details such as whiskers, inner ears, eyelashes, spots, etc.
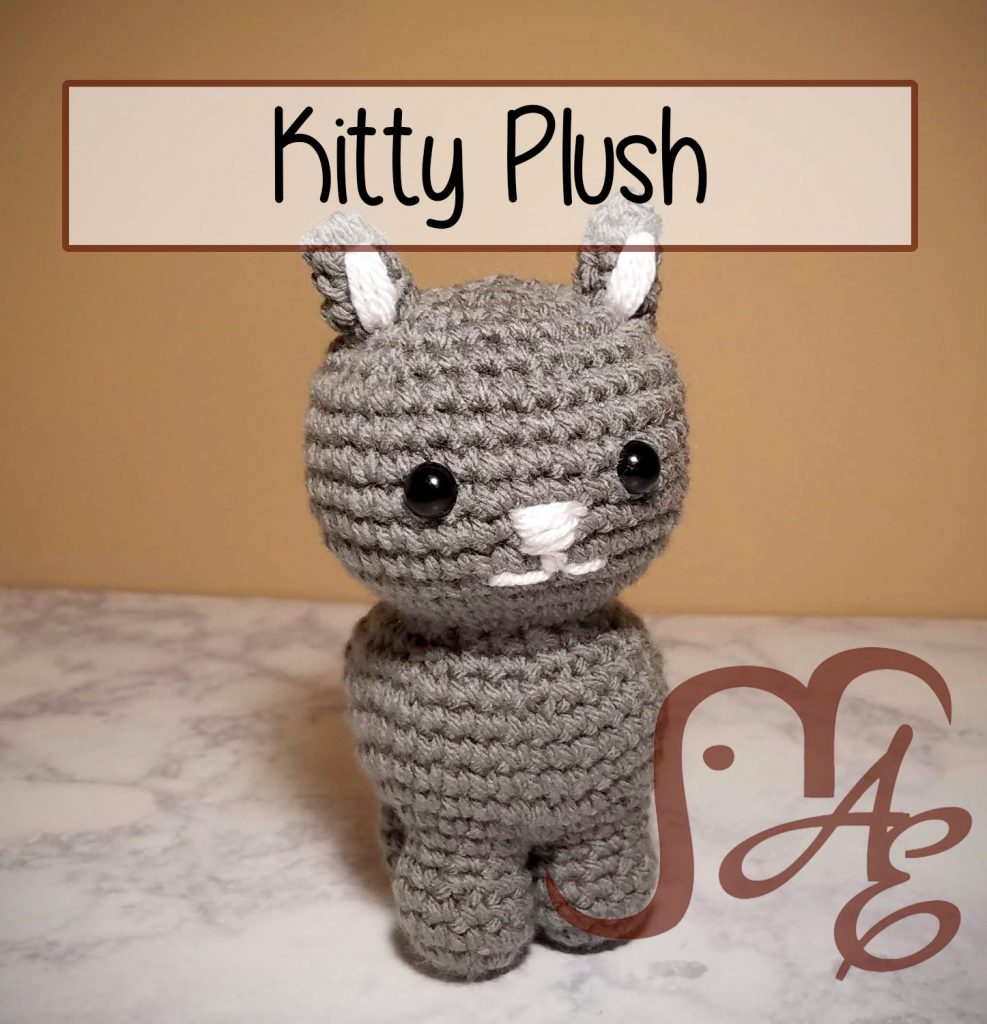
Check out some other Auburn Elephant patterns while you’re here!