
This post may contain affiliate links. If you use these links to buy something I may earn a small commission at no cost to you. Thanks.
…
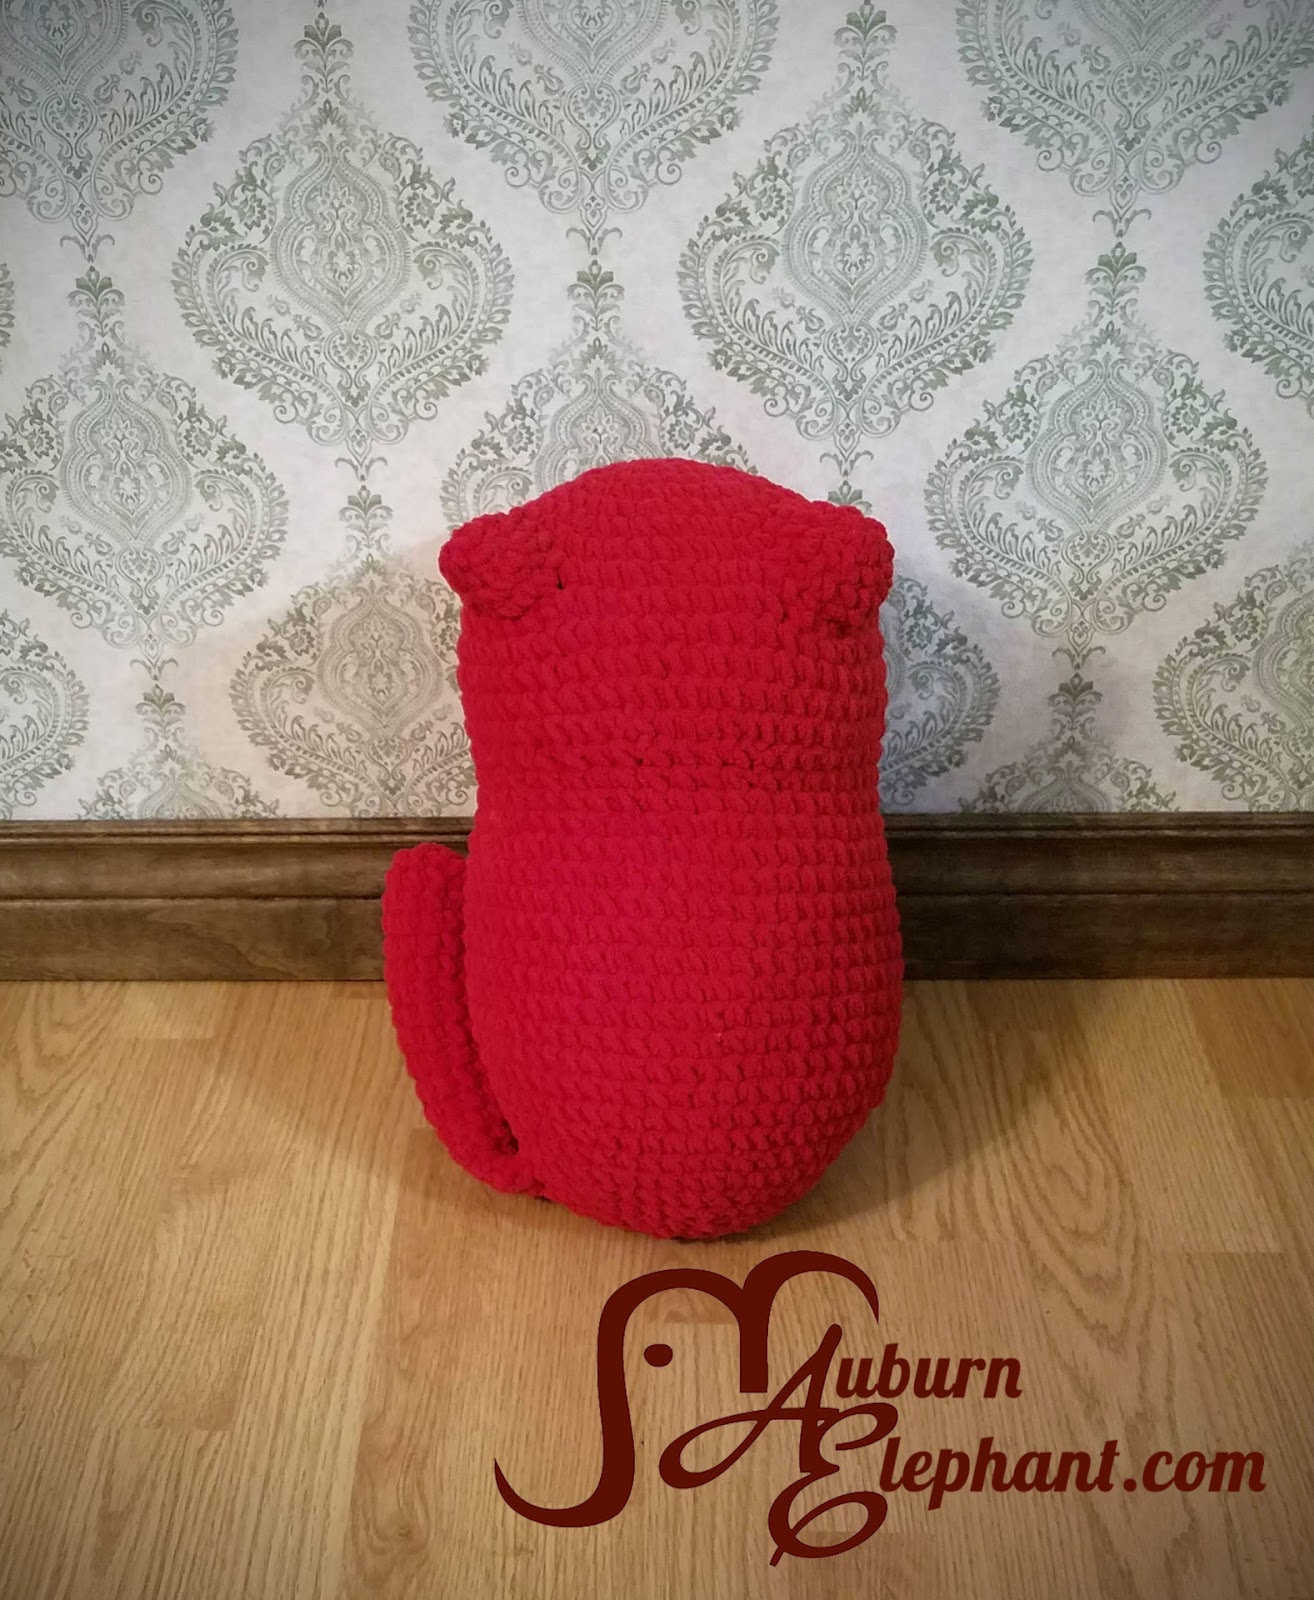
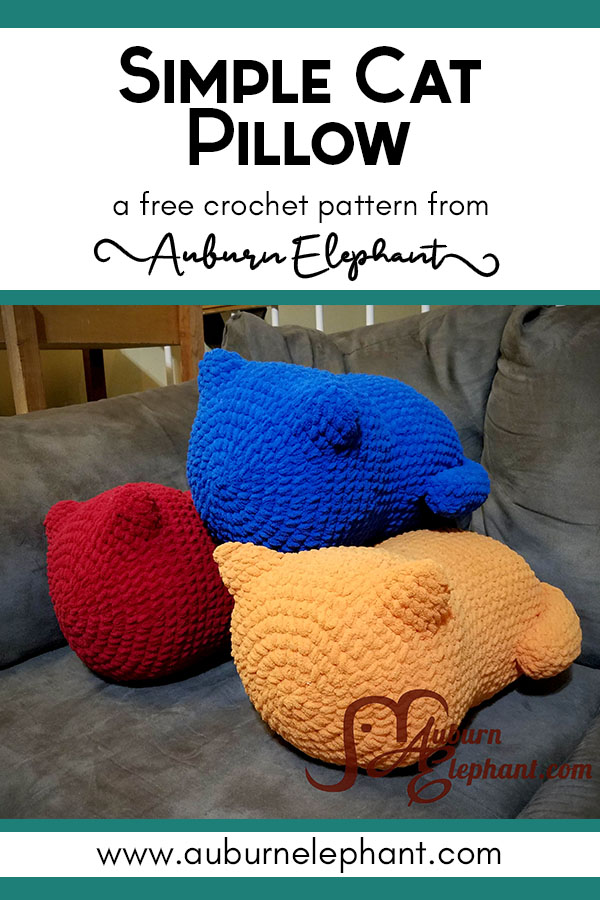
I saw a pillow similar to this online and immediately went, “I could totally crochet that!” (Which is a common thought that I have!) And, of course, boy 2 is in LOVE with all things cat so I knew he would be happy to have one or two!
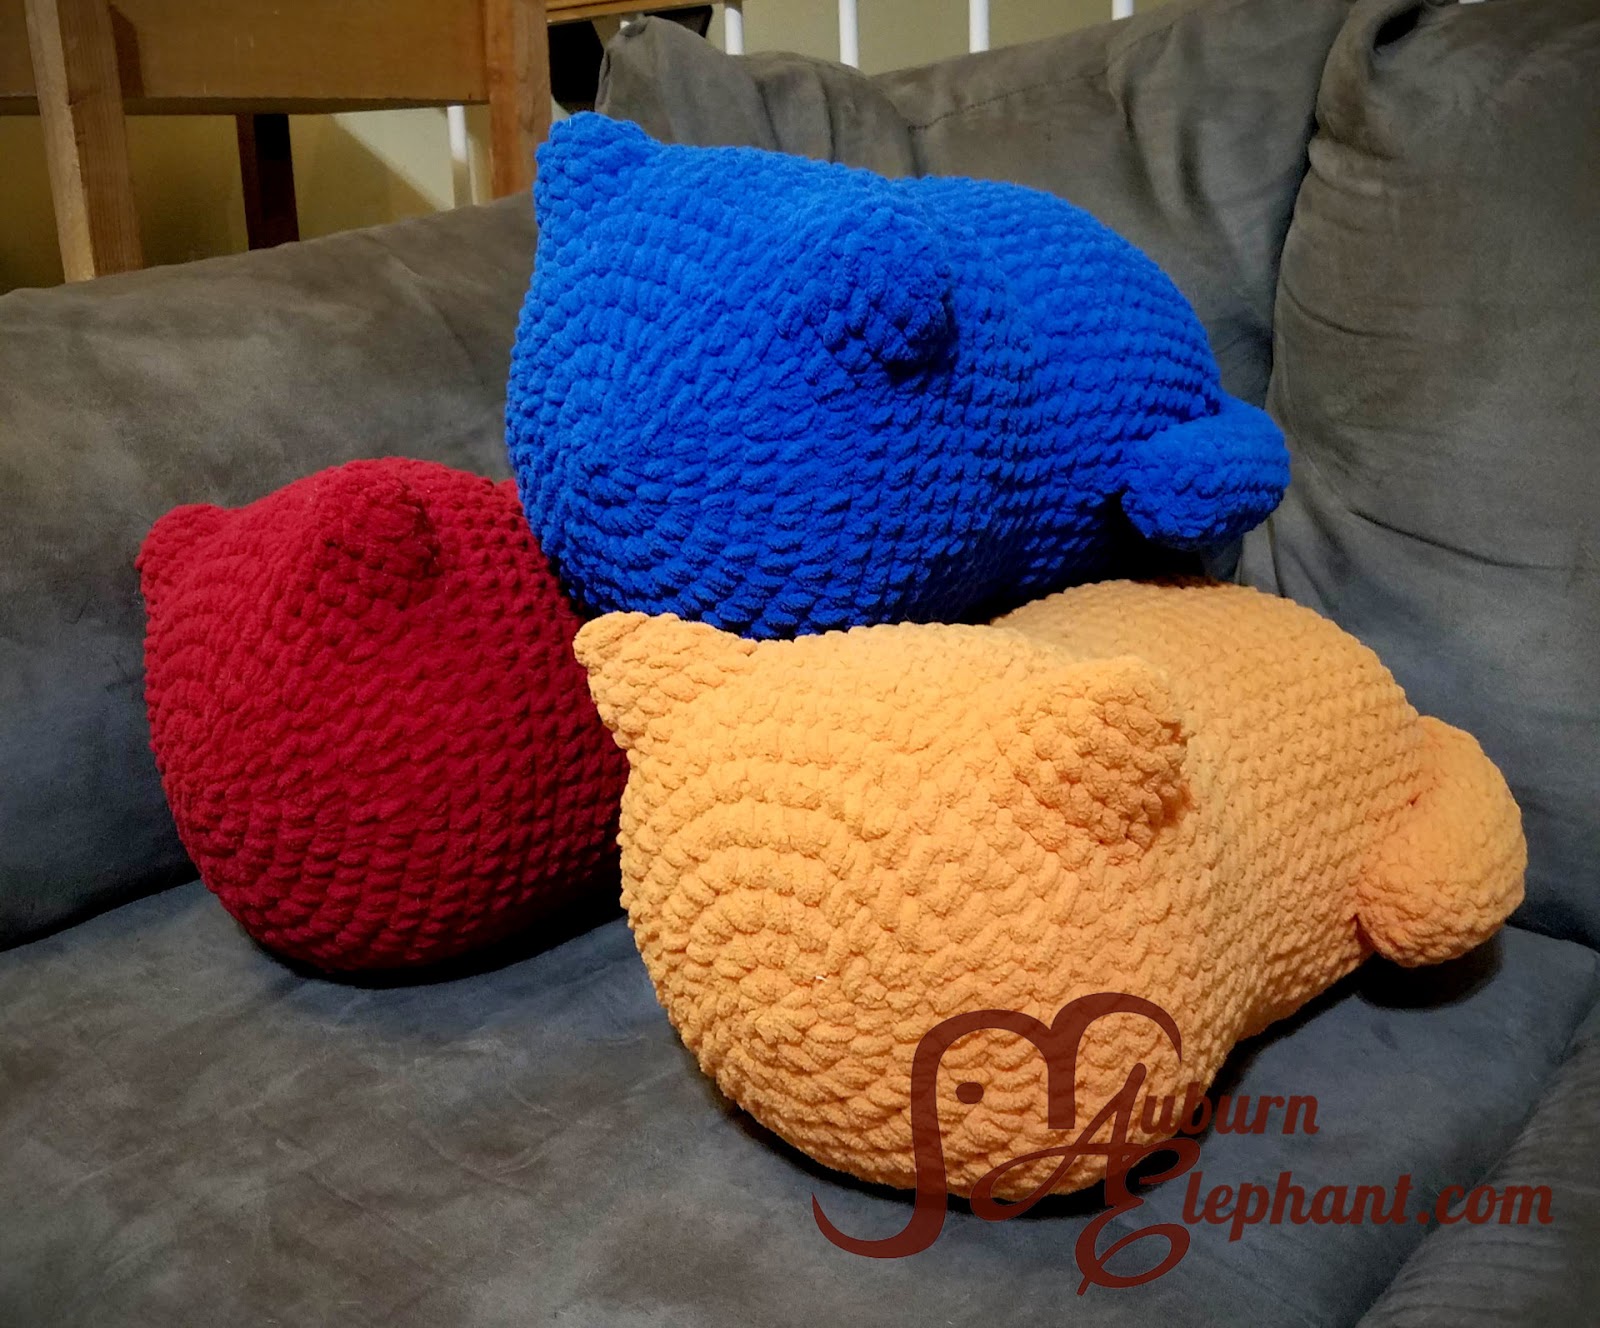
Knowing that it was going to be kind of big and that I wanted it to be plush and soft I thought the perfect yarn to use was Bernat Blanket. It’s so cozy and warm. I love using it. This pattern takes one of the large skeins almost exactly and a lot of stuffing. But it works up quickly and would make a great gift or accent for your home!

Boy 2 immediately claims anything cat-like I make!

Simple Cat Pillow
A couple of disclaimers: This pattern is intended for personal use only. You are welcome to use the pattern to make and sell products, to keep for yourself, or to give away as gifts. I would appreciate receiving credit and a link back to the site, however. Please do not republish or distribute the pattern in any way, or use my photos in your listings.
I am not a robot, so if you find any typos, errors, or places that need clarification, please let me know so that I can fix my mistakes or explain things differently. 🙂
I hope you enjoy this crochet pattern. If you have any questions or comments you can leave them below OR email me at auburnelephant@gmail.com OR through the contact page on this site. I’d also love to see your finished creations! 🙂
You can now purchase a Printable, Ad-Free, PDF-version of this pattern from Ravelry HERE!
Supplies Needed:
- Bernat Baby Blanket, Super Bulky 6 (100% Polyester, 220 yds, 10.5 oz) any color, 1 skein
- L/8 mm Hook
- Yarn Needle
- Polyfil (16 oz bag)
Stitches/Terms Used:
- Ch- Chain
- Sl st- Slip Stitch
- St(s)- Stitch(es)
- SC- Single Crochet
- 2SC- Single Crochet Increase- 2 SC in same stitch to increase
- DEC- Single Crochet Decrease, Using the Invisible Decrease method, insert hook up through front loops of next 2 stitches, yarn over, pull through front loops, yarn over, pull through to finish decrease
- Skip- Skip Stitches
- HDC- Half Double Crochet
Notes:
- Pillow is worked in joined rounds. Each round will begin with a Ch 1 and end with a sl st to the first stitch of the round. If you need help with this technique, you can find my tutorial at auburnelephant.com/home/joined-rounds.
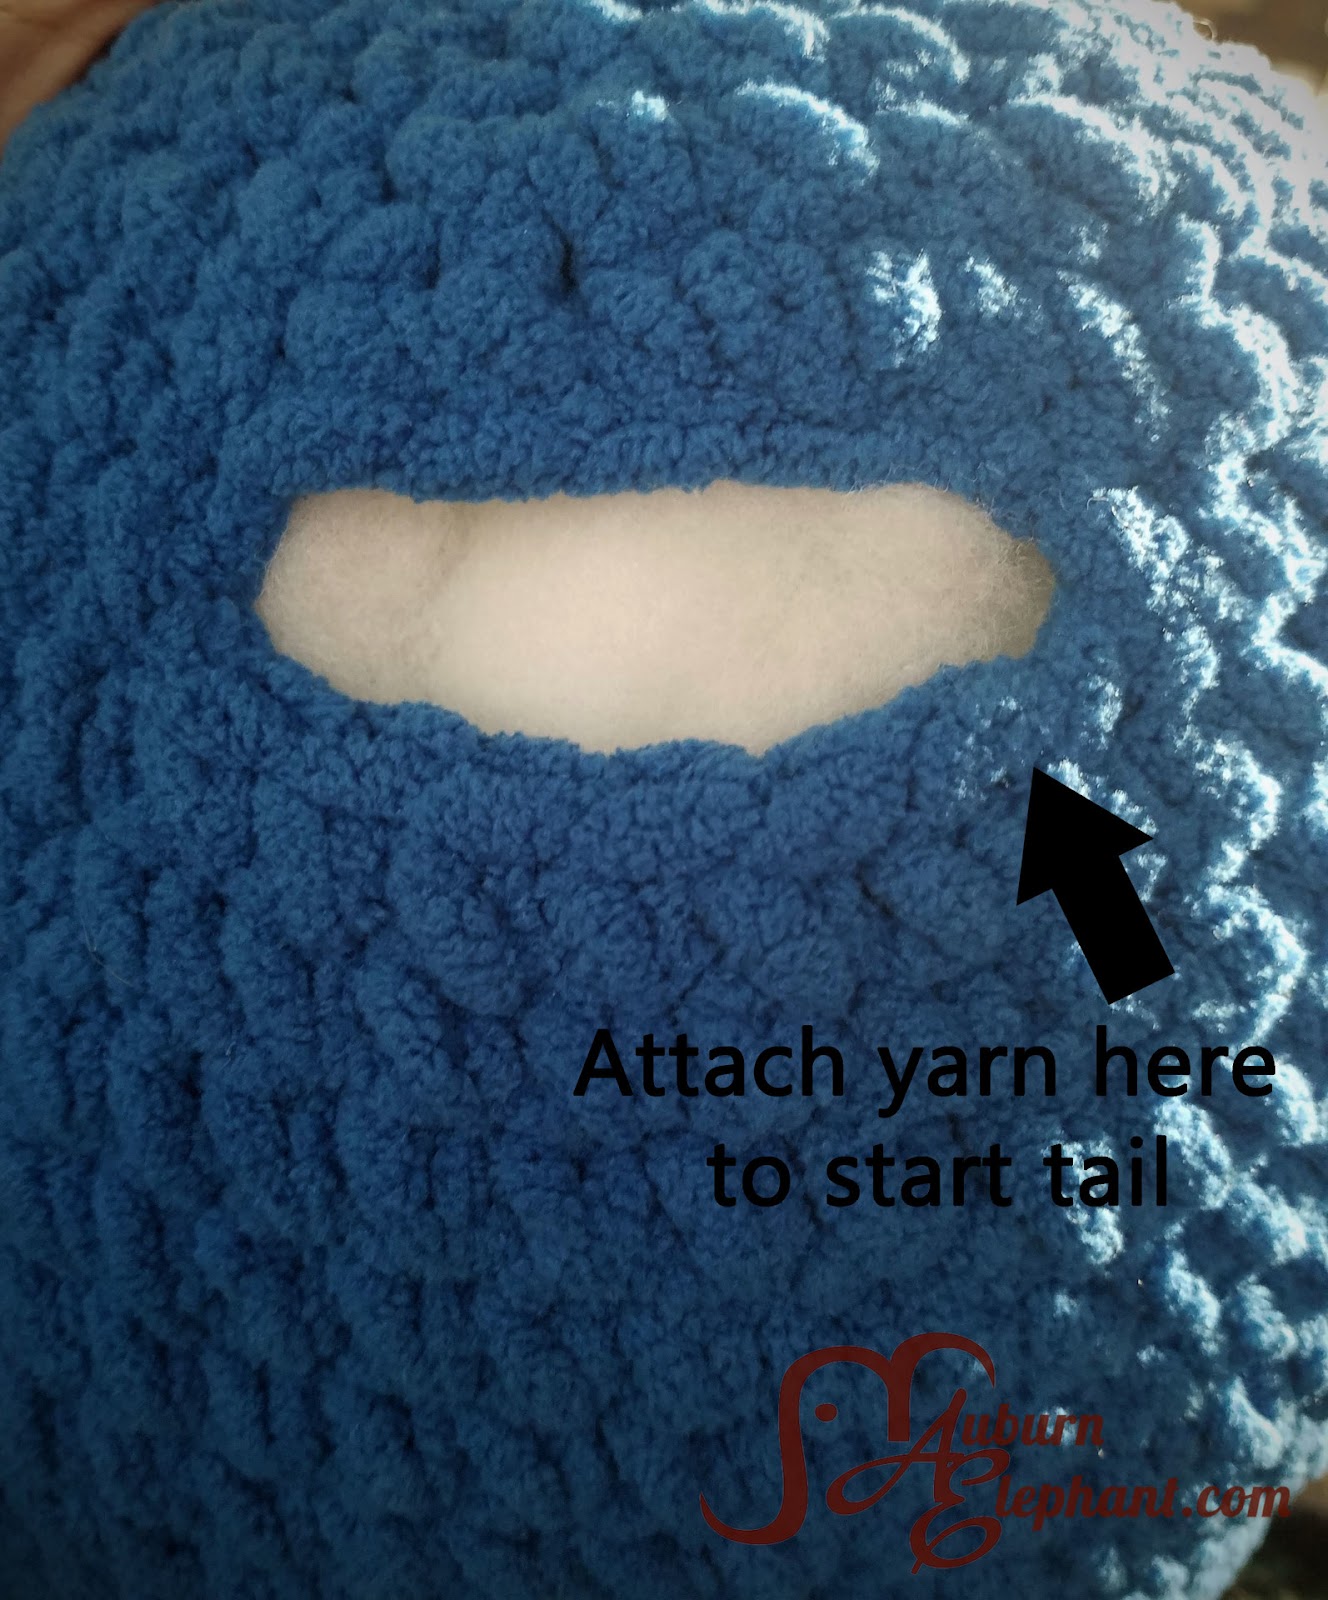
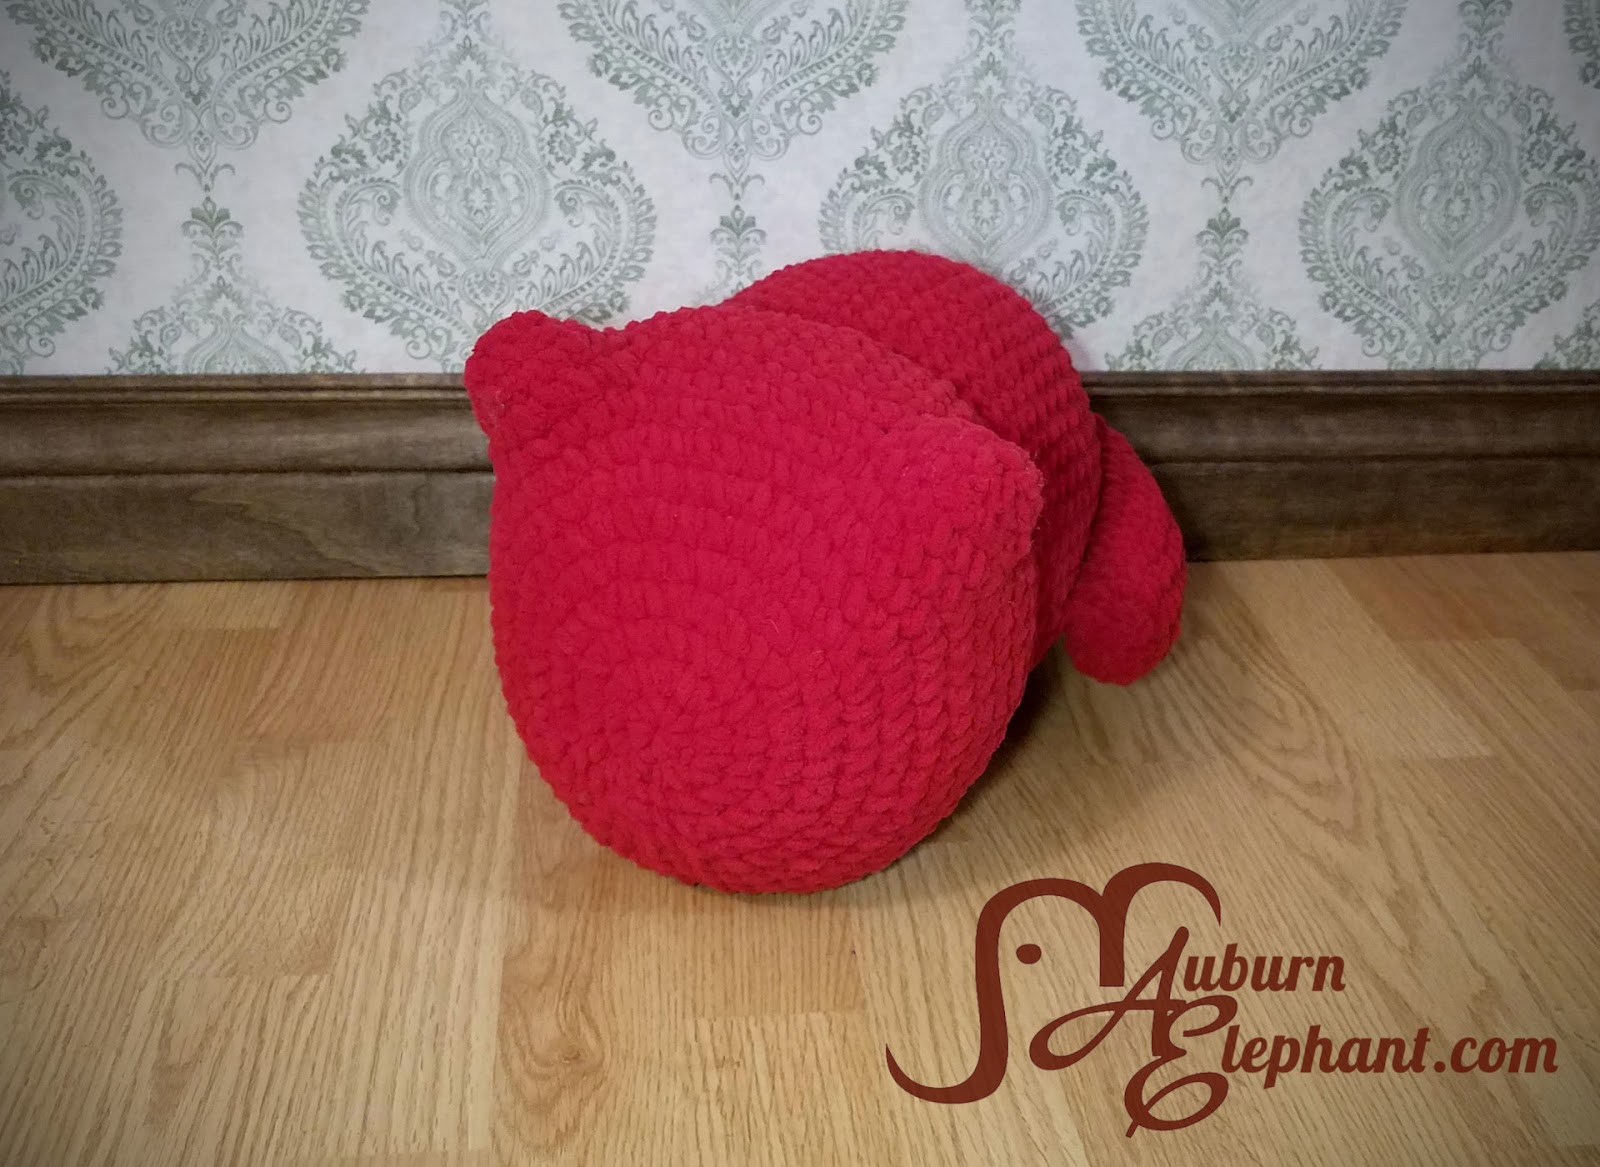
- The body of the pillow is made all at once with two holes left open for the ears and one for the tail. You’ll reattach your yarn to those openings to crochet the ears and tail.
- My pillow came out to be about 16” long and about 8” wide (not including the tail). To obtain that size, you should have a circle about 4” in diameter after Round 4. Overall, gauge for this pillow isn’t terribly important. You do want to make sure that your stitches are tight enough that the stuffing won’t show through. Also, if the gauge isn’t the same, you may need more than 1 skein of yarn.
- I liked this pillow in its simple form with no real details. However, if you feel like your pillow needs a face my suggestion would be to still keep it simple. Using a double strand of worsted weight yarn, you could stitch on a nose and whiskers centering the nose over the starting circle. If you are also going to do eyes on your cat, I would suggest lowering the nose so that there’s room. There’s an example at the end of the pattern.
Body
1) Using the Magic Ring technique (OR Ch 3 and join with a sl st to first ch to form a ring) SC 8 into ring. (8)
2) 2SC in each st around. (16)
3) *SC in next, 2SC;* Repeat from * to * around. (24)
4) *SC in next 2, 2SC;* Repeat from * to * around. (32)
5) *SC in next 3, 2SC;* Repeat from * to * around. (40)
6) SC in next 2, 2SC, *SC in next 4, 2SC;* Repeat from * to * around. SC in remaining 2. (48)
7) *SC in next 5, 2SC;* Repeat from * to * around. (56)
8) SC in next 3, 2SC, *SC in next 6, 2SC;* Repeat from * to * around. SC in remaining 3. (64)
9) SC in each st around around. (64)
10) SC in next 21, Ch 6, Skip 6, SC in next 10, Ch 6, Skip 6, SC in remaining 21. (64-52 SC, 12 Chains, 12 skipped)
11) SC in each st around. (Going into the chain stitches so that you can use the other side of the chain to make the ears.) (64)
12-14) SC in each st around. (64)
15) *SC in next 14, DEC;* Repeat from * to * around. (60)
16) SC in next 23, DEC, DEC, SC in next 2, DEC, SC in next 2, DEC, DEC, SC in remaining 23. (55)
17) *SC in next 9, DEC;* Repeat from * to * around. (50)
18) SC in each st around. (50)
19) *SC in next 4, 2SC;* Repeat from * to * around. (60)
20-30) SC in each st around. (60)
31) *SC in next 13, DEC;* Repeat from * to * around. (56)
32) *SC in next 5, DEC;* Repeat from * to * around. (48)
33) SC in each st around. (48)
34) SC in next 4, DEC, SC in next 4, DEC, Ch 5, Skip 6, *SC in next 4, DEC;* Repeat from * to * around. (40)
35) SC in each st around. (40)
36) *SC in next 3, DEC;* Repeat from * to * around. (32)
I wait until about here to start stuffing. I think it is easier to turn when it is flat. But you will need a LOT of polyfil. Like the whole 16 oz bag. Make sure to leave a few handfuls to fill in the ears and the tail.
37) *SC in next 2, DEC;* Repeat from * to * around. (24)
38) *SC in next, DEC;* Repeat from * to * around. (16)
39) DEC around. (8)
Finish off, weave in ends.
Ears
Reattach yarn to the first of the 6 skipped stitches in Round 10. (See photo below, the starting placement will be the same.) Still working these in joined rounds.
1) SC in next 6, 2SC in side of next SC, SC in next 6 (the unworked side of the chain), 2SC in side of next SC. (16)
2) *SC in next 2, DEC;* Repeat from * to * around. (12)
3) DEC around. (6)
Add in some stuffing. Finish off. Leave tail to close the hole. Weave in ends.
Repeat for both ears.
Tail
Reattach yarn to first of the 6 skipped stitches (See photo above) Continuing to work in joined rounds.
1) SC in next 6, 2SC in the side of the next SC, SC in next 5 (the unworked side of the chain), 2SC in side of next SC. (15)
2) SC in next 8, HDC in next 5, SC in remaining 2. (15)
3) SC in next 6, DEC, HDC in next 5, DEC. (13)
4-15) SC in each st around. (13)
Stuff this a little along the way. If you wait too long it will be harder to fill to the base. I also didn’t stuff the tail too full. I wanted it to be able to fold flat to the body easily.
16) SC in next 4, DEC, SC in next 5, DEC. (11)
17) *SC in next, DEC;* Repeat from * to * around. SC in remaining 2. (8)
Add stuffing to the rest of the tail. Finish off. Leave a long tail to close the hole and attach the tail to the body. You could also leave the tail free and not tacked on to the side of the pillow. It’s up to you!
Details (Optional)
If you want your pillow to have more details you certainly can add them.
If you have some of the Bernat Blanket yarn in a coordinating color (I would think Black or White would work for most solid colored pillows) you could definitely use that. You would not need to go and buy a full skein of it though just for the details.
A good alternative would be to use worsted weight yarn either doubled up or as a single strand. The double strands would make your details thicker and keeps in line with the chunkiness of the blanket yarn. The single strand may give you some extra room to be even more detailed if that’s your preference.
For the example below, I used a double strand of black worsted weight yarn and a large needle. I started with the nose, centering it over the starting circle and then going below for the bottom point of the nose. Then, I added 3 stripes for whiskers on each side.


Real kitty was not impressed…
Thank you so much for this pattern, my daughter loves these and my crazy cat family have all asked for some. I also adapted to make them into smaller baby sized kittens. They have been great gifts!!
That’s amazing! Smaller ones would be so fun. I’m glad you have a crazy cat family too! 🙂
The pattern calls for 1 Skein, but I’m almost through a skein after the head, was this a typo?
Are you using the 10.5 OZ skein? I know some blanket yarn comes in a smaller skein, which would require more than one. It will take around 220yds total. I hope that helps!
I’m almost on my second skein as well. I’m on round 22. They are the 10.5oz/220yd skeins.
Hi! I’m sorry to hear this. Each of the ones I made used almost every inch of one skein. There is a note about gauge but I don’t think it was very clear. I’ve updated it to hopefully be more helpful. Thanks for letting me know!
I had some blanket yarn that I had never before been successful working up. I saw this pattern and thought it was perfect! I was making it for myself but it’s so cute I think I’ll gift it to my niece for Christmas. I used just about every inch of 1 skein – I think I had about a foot left at the end.
Thank you for this wonderful pattern. I will definitely be making more of these!
I’m almost done my first pillow, it’s going to be a gift, and I’m already looking forward to making a cat pillow army for myself! What a wonderful pattern, thank you so much for this!!