
This post may contain affiliate links. If you use these links to buy something I may earn a small commission at no cost to you. Thanks.
…
I am by no means an expert on cross stitch. I do enjoy it though. It’s actually one of the first fiber crafts that I learned how to do. In fact, I think I made a little picture of a rooster in my Home Ec class back in junior high maybe. I thought it was fun and pretty easy, although I do remember that first one being pretty sloppy.
The first time I saw someone combine crochet and cross stitch though, it seriously blew my mind! I thought the end result was super neat and definitely was excited to try the process.
The basics of cross stitching are that you are using embroidery floss or yarn to create little Xs over squares on a canvas, for this, our canvas is the SC panel. Each SC is one block. If you look closely, you’ll see that it forms a little square with four holes at the corners.
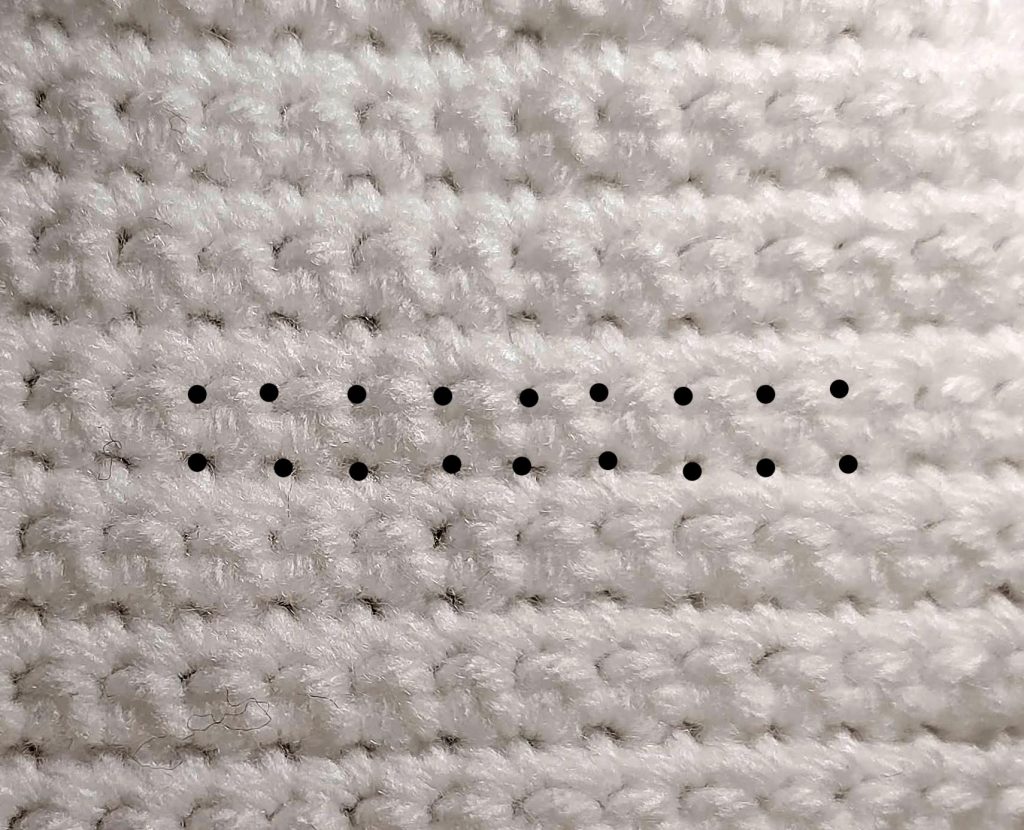
Starting from the back side of your canvas, insert your needle to the front side at point 1 and pull the yarn through (be sure that you’ve either knotted the end or that you stop pulling before the entire strand comes through). Insert the needle from the front through at point 2 and pull it back to the back. Next, insert the needle from back to front at point 3, and then back down again at point 4. This will complete one stitch. You want to make sure that your yarn is pulled snug after each pass through the canvas otherwise you’ll end up with uneven stitches or tangles.

When you are doing a section of squares, several blocks in a row, you’ll want to do the left to right cross over for as many blocks as you need.
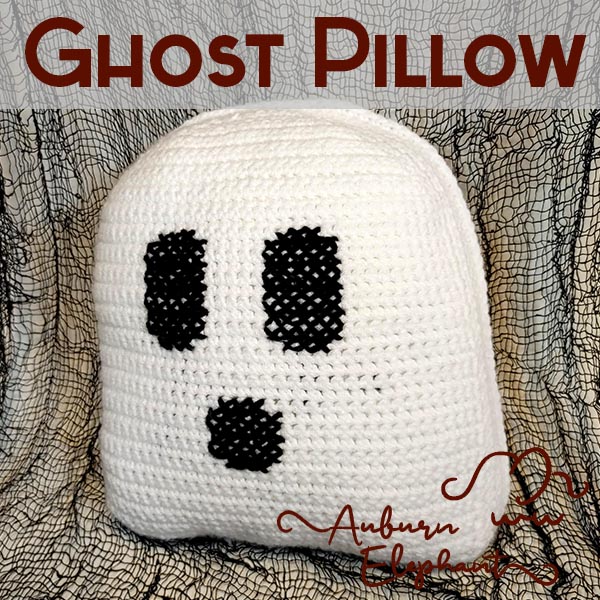
In the chart above, the dotted lines are your first cross overs and the solid lines are the final ones. You’ll move from left to right, going from the back to front at the odd number (on the bottom) and from front to back at the even numbers (on the top) And then you’ll return to the start going right to left. So for this four block section you would go up at 1, down at 2, up at 3, down at 4, up at 5, down at 6, up at 7, down at 8, up at 9, down at 6, up at 7, down at 4, up at 5, down at 2, up at 3, down at 0. Then you can move on to the next section of the graph. Below you’ll find a photo guide for these steps as well. The backside of this won’t be visible so you don’t have to make it look pretty. Note: Be aware though that dark colored yarn easily shows up behind white. For the Ghost Pillow in the example especially, keep your ends short (or weave them in) so that they don’t show through.
PHOTO STEPS

VIDEO STEPS
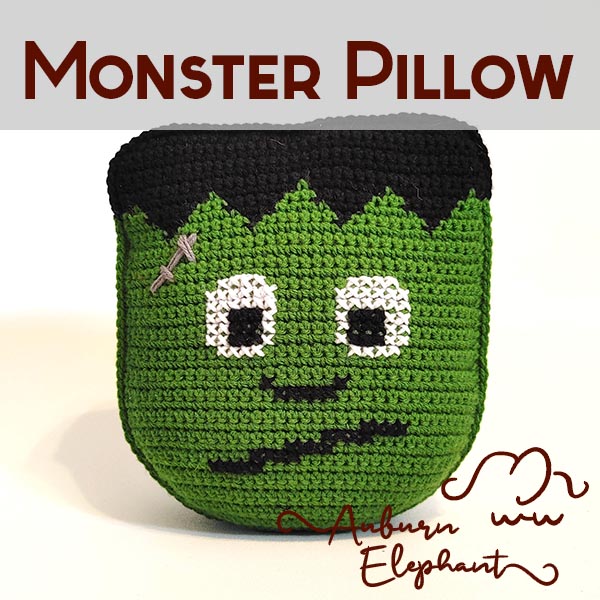
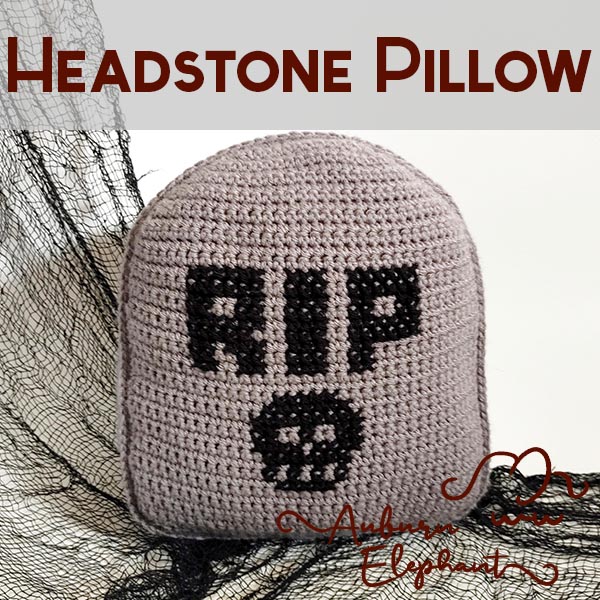
So there you go! It’s not as complicated as it might look once you get started. There are so many cool projects out there for you to try this technique. You can find links to a couple of my patterns below!

6 thoughts on “Cross Stitch on Crochet”
Comments are closed.