
This post may contain affiliate links. If you use these links to buy something I may earn a small commission at no cost to you. Thanks.
…
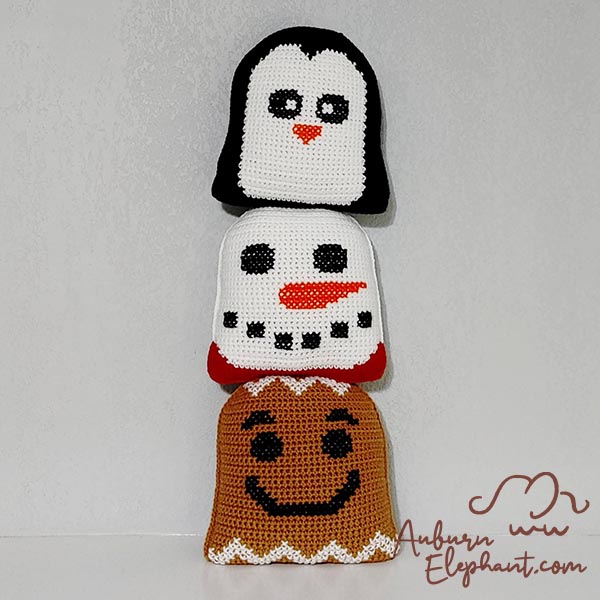
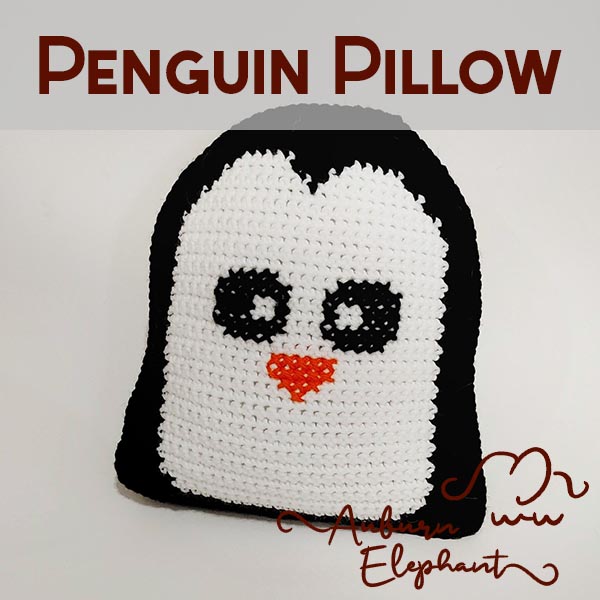
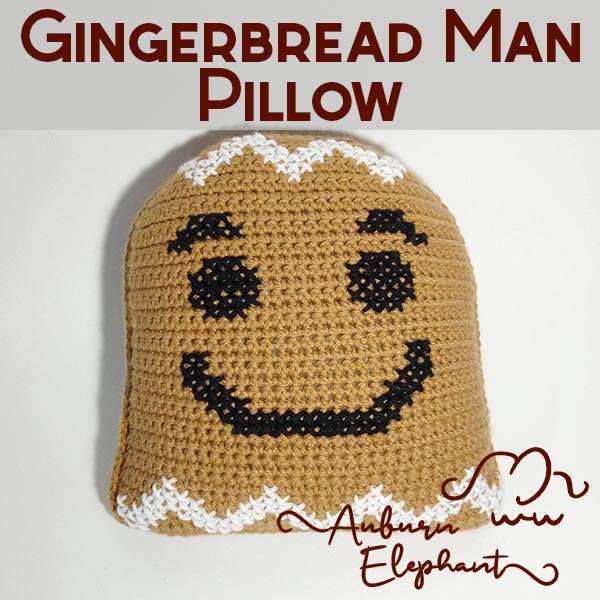
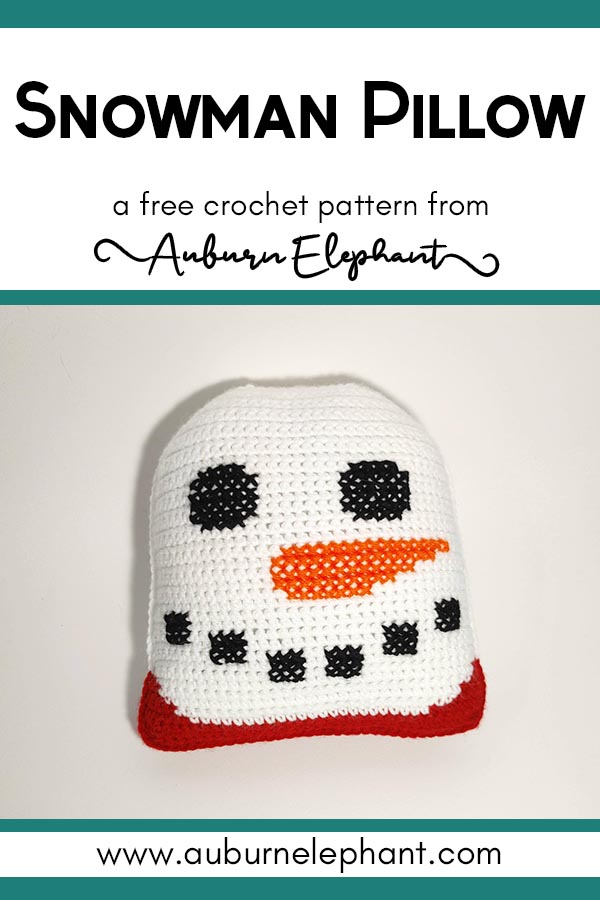
The Snowman Pillow is part of the Winter Friends Pillow set. I love the combination of crochet and cross stitch on these pillows. They are quick to make and work well as decorations or as snuggle buddies!
You’ll find the free version of this Snowman Pillow pattern below. You can also download the Ad-Free PDF version of this one from Ravelry. Or you can get the Bundle with all 3 Winter Friends from Ravelry or Etsy!
A couple of disclaimers: This pattern is intended for personal use only. You are welcome to use the pattern to make and sell products, to keep for yourself, or to give away as gifts. I would appreciate receiving credit and a link back to the site, however. Please do not republish or distribute the pattern in any way, or use my photos in your listings.
I have done my best to ensure that this pattern is tested and edited to be easy to follow and understand. But I am not a robot, so if you do find any typos, errors, or places that need clarification, please let me know so that I can fix my mistakes or offer extra guidance. 🙂
I hope you enjoy this crochet pattern. If you have any questions or concerns you can email me at auburnelephant@gmail.com OR through the contact page. I’d also love to see your finished creations! 🙂

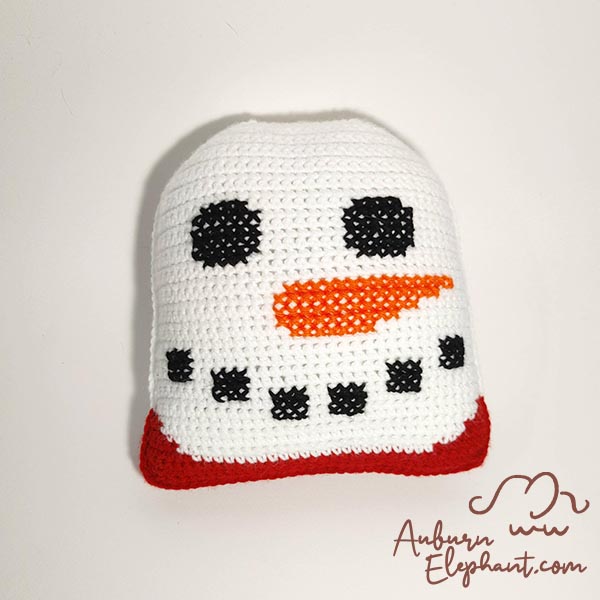
Snowman Pillow
Supplies Needed:
- Big Twist Value Yarn
, Medium Worsted Weight 4 (100% Acrylic, 380 yds, 6 oz)
- White, 1 skein- approx 200 yds; Deep Red, approx 50 yds; Black, approx 8 yds; Orange, approx 2 yds
- G/6 4.25mm hook
- Needle
- Polyfil stuffing
Stitches/Terminology Used (US):
- FSC- Foundation Single Crochet
- Sl st- Slip Stitch
- Ch- Chain
- St(s)- Stitch(es)
- SC- Single Crochet
- Skip- Skip next stitch
Notes:
- Please read through the pattern in its entirety before beginning.
- The graph is located at the very bottom of the PDF. It is a full page so it is easy to print off or view from a mobile device.
- This pillow will have 2 panels with SC borders that will be stitched together. You will cross stitch your image onto one of the panels.
- I did my design in cross stitch, you can also do this as a graph with color changes as you go. I really enjoy the process of cross stitch and the look of the result but if you prefer to do the color changing go for it. I’ve included the graph for you to be able to follow.
- This pillow does include some color changes on the front Panel itself. These changes are included in the written pattern. You can also refer to the graph if needed.
- If you need help with the cross stitching aspect of this pattern, check out my tutorial post HERE.
- If you choose to crochet the graph as you go, you will follow the graph from the bottom up, right to left, then left to right for the next row and so on. You don’t have to keep the back side very tidy as it will be hidden. But keep in mind a dark color is more likely to show up behind a lighter color.
- Panels are worked in rows. Each row will end with a Ch 1 and turn. Chains do NOT count as stitches throughout.
- Gauge for this project is not important. You want to make sure that your stitches are consistent and even though so that you have a good base for your cross stitching and that your stuffing doesn’t show through. My pillow came out to be about 9” wide x 9” tall x 4” deep. This is a relatively flat pillow. If you want a fuller, thicker pillow you can continue adding border rounds to increase the thickness. I would recommend about 5 extra border rounds on each panel, you can follow the same join instructions.

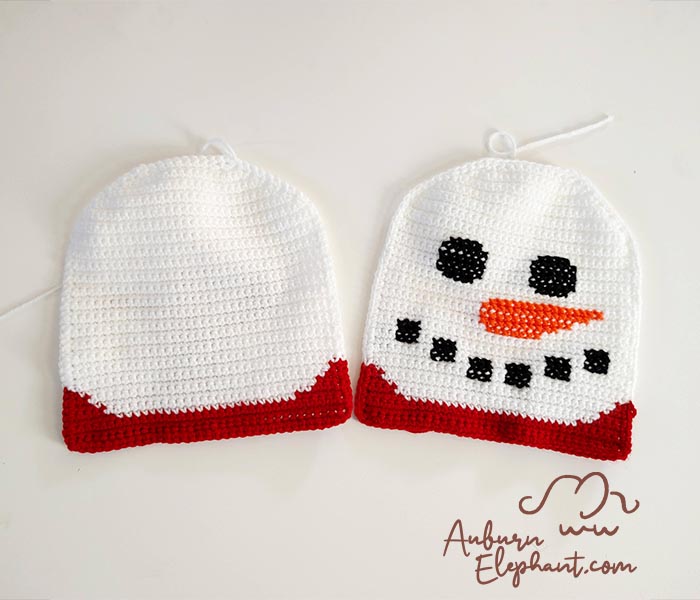
Snowman Panels
(Make 2)
Note: You can choose to only do the scarf colors on the front panel and do the second panel in solid white, in which case you would start in white and repeat Row 2 until Row 33. I liked that the scarf wrapped around on mine though.
In Red
1) FSC 35 OR Ch 36, starting in 2nd from hook, SC in each across. (35)
2-3) SC in each st across. (35)
Row 4 is when the color changing will start. You can use the graph at the bottom of this pattern to do the changing across or use the pattern written out as follows. #R indicates the number of stitches in Red, #W indicates the number of stitches in White. You will still end with 35 SC on each row. I would also recommend making bobbins for each of the red ends so that the red doesn’t show through.
4) 6R, 23W, 6R
5) 4R, 27W, 4R
6) 3R, 29W, 3R
7) 2R, 31W, 2R
8) 1R, 33W, 1R
In White
9-33) SC in each st across. (35)
34) SC, Skip next st, SC in next 31, Skip next st, SC in last. (33)
35) SC, Skip next st, SC in next 29, Skip next st, SC in last. (31)
36) SC, Skip next st, SC in next 27, Skip next st, SC in last. (29)
37) SC, Skip next st, SC in next 25, Skip next st, SC in last. (27)
38) SC, Skip next st, SC in next 23, Skip next st, SC in last. (25)
39) SC, Skip next st, SC in next 21, Skip next st, SC in last. (23)
40) SC, Skip next st, SC in next 19, Skip next st, SC in last. (21)
41) SC, Skip next st, SC in next 17, Skip next st, SC in last. (19)
42) SC, Skip next st, SC in next, Skip next st, SC in next 11, Skip next st, SC in next, Skip next st, SC in last. (15)
43) SC, Skip next st, SC in next, Skip next st, SC in next 7, Skip next st, SC in next, Skip next st, SC in last. (11)
Do NOT finish off.
You can do your border in all white or you can change to red as you go by the red rows. I like the colors to match up so I changed colors as I went.
Continuing from Row 43-
1) Ch 1, Continue to SC around the edges, Place an extra SC in each of the bottom corners. Join with a sl st to the first SC of the edging.
The count for your edging doesn’t have to be exact but you should be placing about one stitch per row down the sides and one per stitch across the top and bottom. That should be about 132, with the extras in each bottom corner. If yours is off by a little don’t worry as long as you’ve kept the spacing even. Just repeat this count on the other panel.
This will be a relatively flat pillow. If you want it to be “fatter” you can continue with SC rounds for your edging until it is as thick as you want (I would suggest 5 rounds on each panel). Keep in mind that will increase the amount of yarn and stuffing you will need.
Finish off Panel 1, weave in ends. You will continue off of Panel 2 to join the 2 together.
After finishing Panel 1, you may want to go ahead and cross stitch your design before crocheting Panel 2. That way, you can continue to join them right away when that second panel is finished. Or you can just set Panel 2 aside with your yarn still attached.
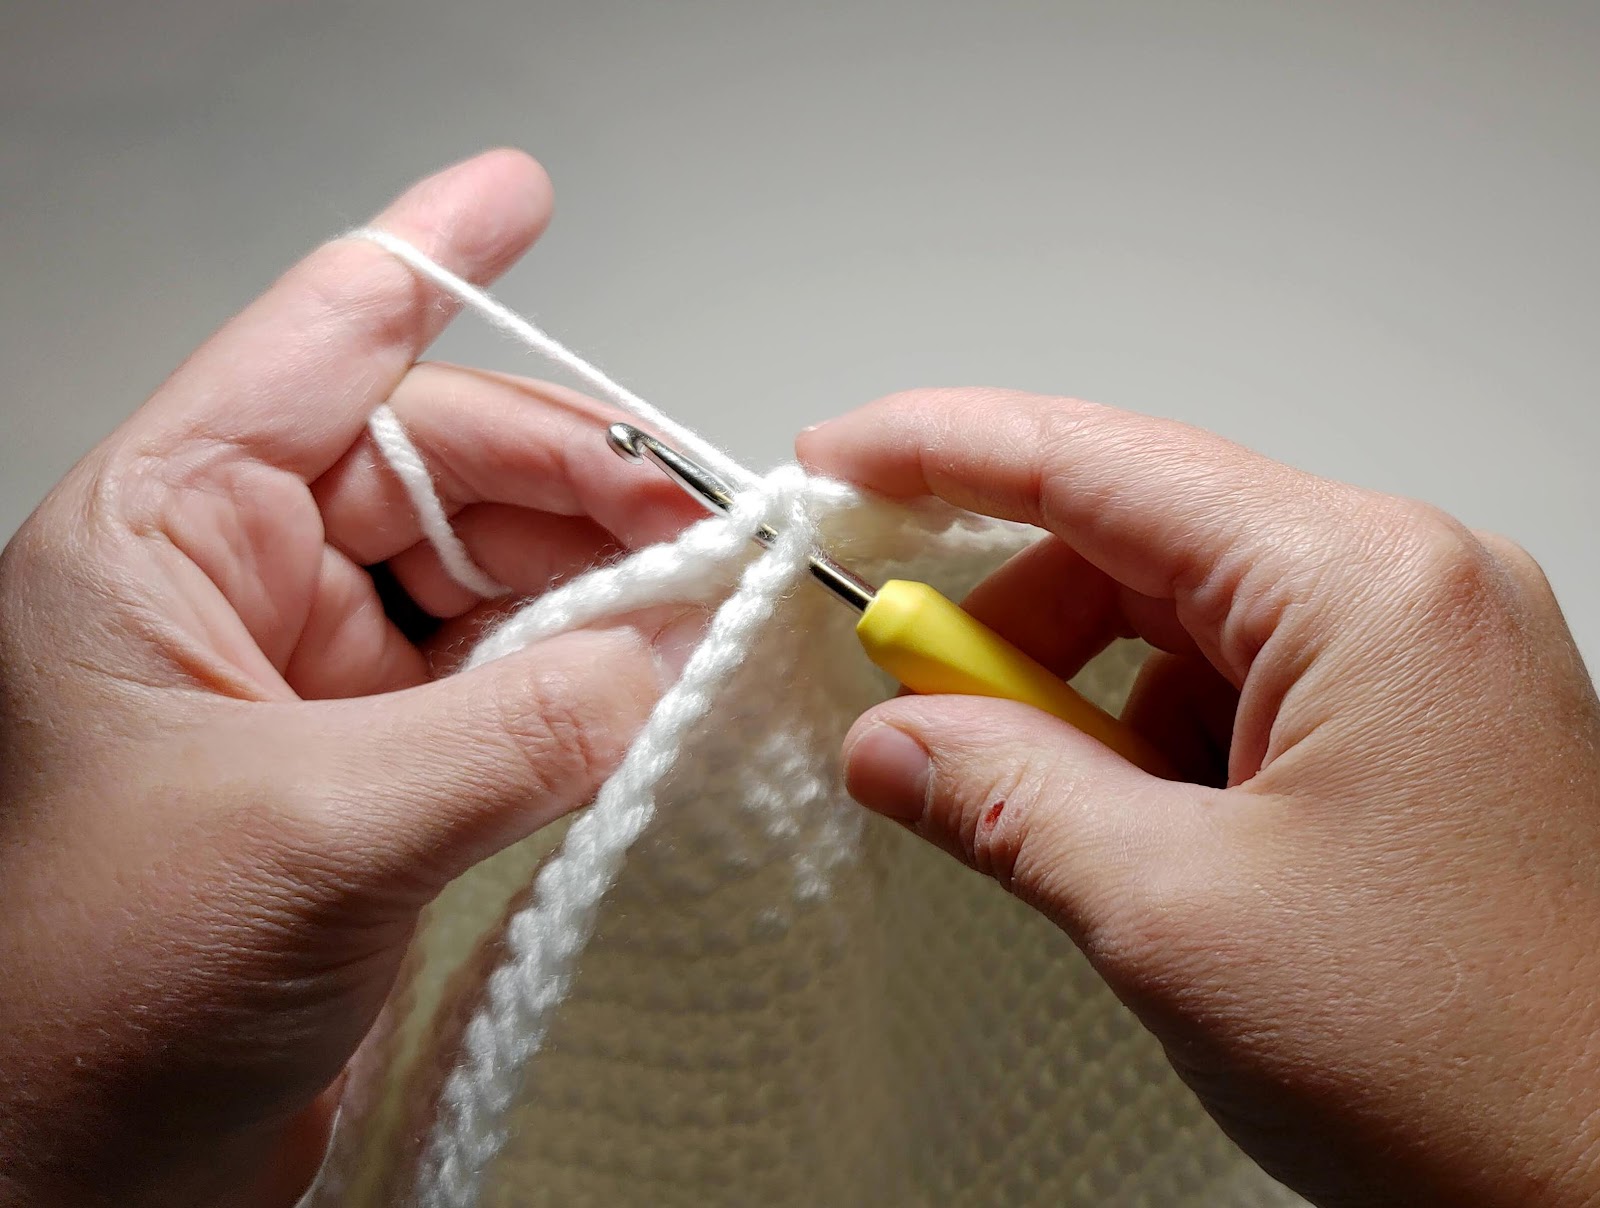
Join
Continuing from Panel 2 you will join the two panels. I chose to do this with a SC round going through both panels. You want the “right side” of your SC joining round to be facing the front of your pillow so when you put your pieces together you will be going through Panel 1 first and then through Panel 2.
Again, if you want your join round to match the colors on the sides, you can change colors to join those rows together.
Continuing from the SC round of the side, Ch 1, Insert hook through the front panel at the stitch that lines up with where your join is and through the first stitch of your side round, work a SC through both layers at the same time. Continue around the side. Stop about 4 inches from the end and stuff your pillow as firmly as you like. The more you stuff it the rounder the pillow will get. You want to give it enough filling that the shape holds but not so much that the image becomes distorted. Once your pillow is stuffed, finish SC around. Join with a sl st to the first of the round. Finish off, weave in your ends.
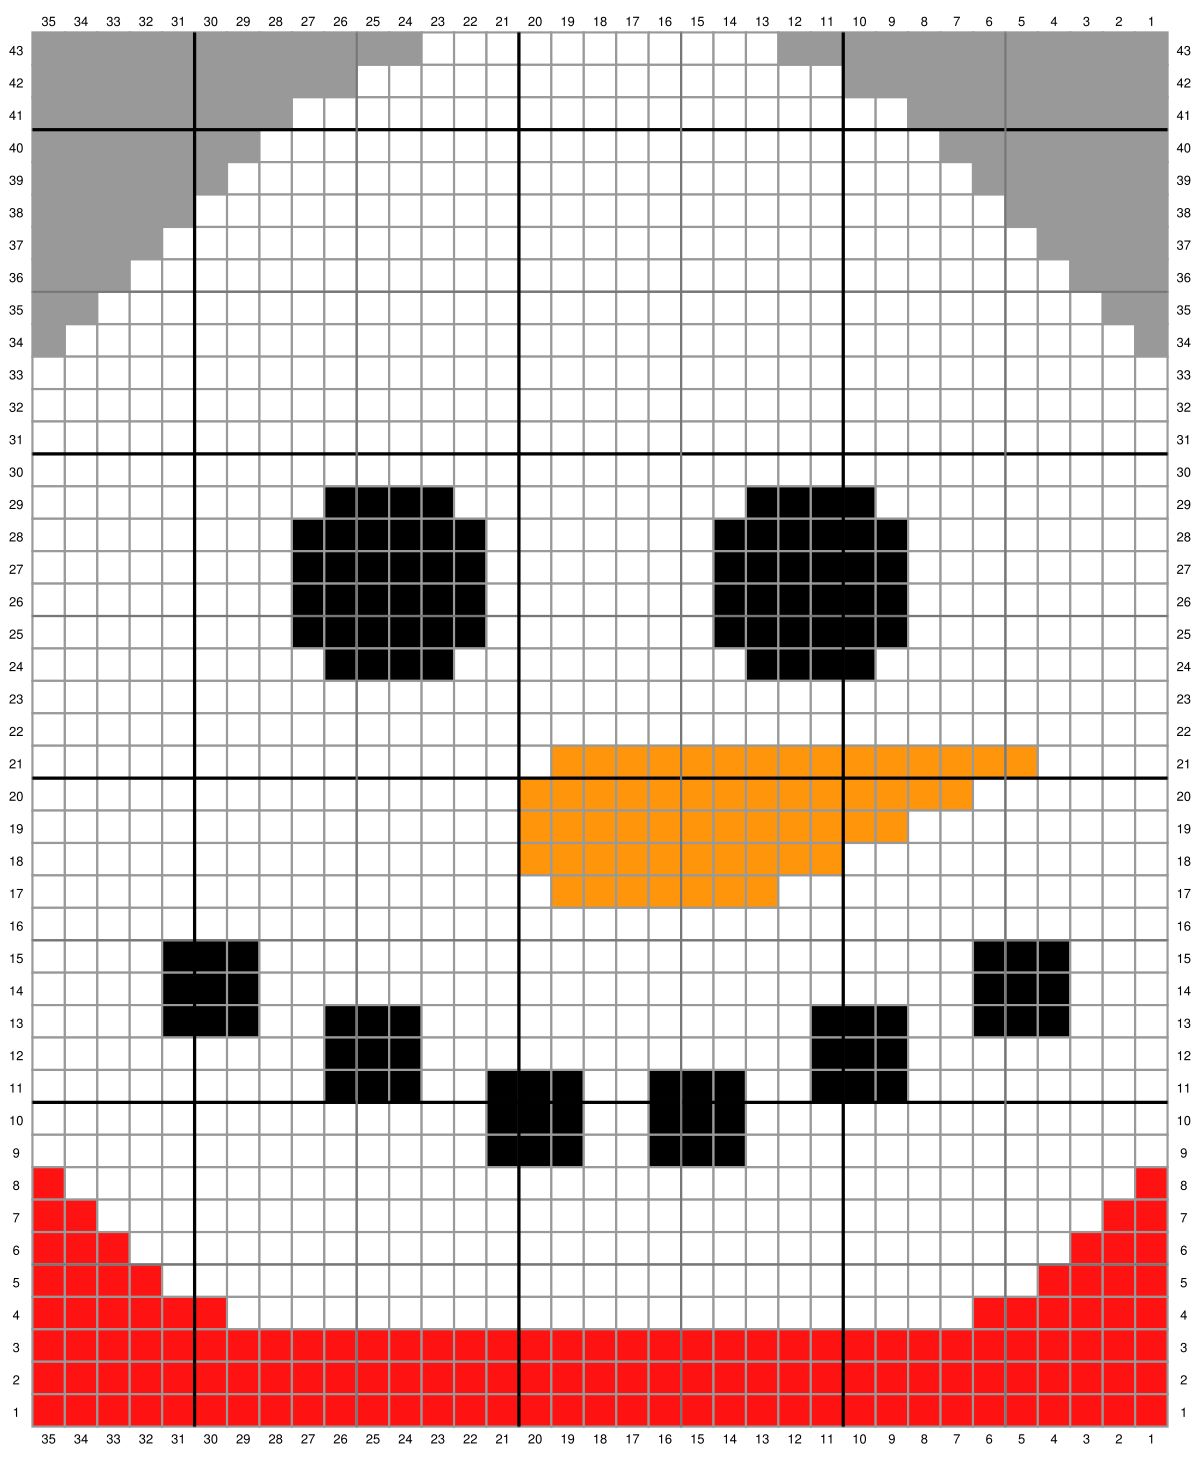
Graphs
Below you will find the design for your Snowman Pillow.
To cross stitch your design, you will simply follow the pattern as written above for the front panel and then using a needle and length of yarn (you want a pretty long piece so you don’t have to tie off and restart so many times but also you don’t want it to be so long that you end up with tangles) you will count over and down to the appropriate place on the graph to start. I suggest starting at the top left corner and working left to right and top to bottom.
If you need help with Cross Stitching on Crochet, check out my post about it HERE.
GRAPH
KEY
– Black
– White
-Orange
-Red, or chosen scarf color
– These are NOT part of your design. These are unused boxes of the graph.
You can make the entire Winter Friends set! Check out the other pillow patterns.
2 thoughts on “Snowman Pillow”
Comments are closed.