
This post may contain affiliate links. If you use these links to buy something I may earn a small commission at no cost to you. Thanks.
…
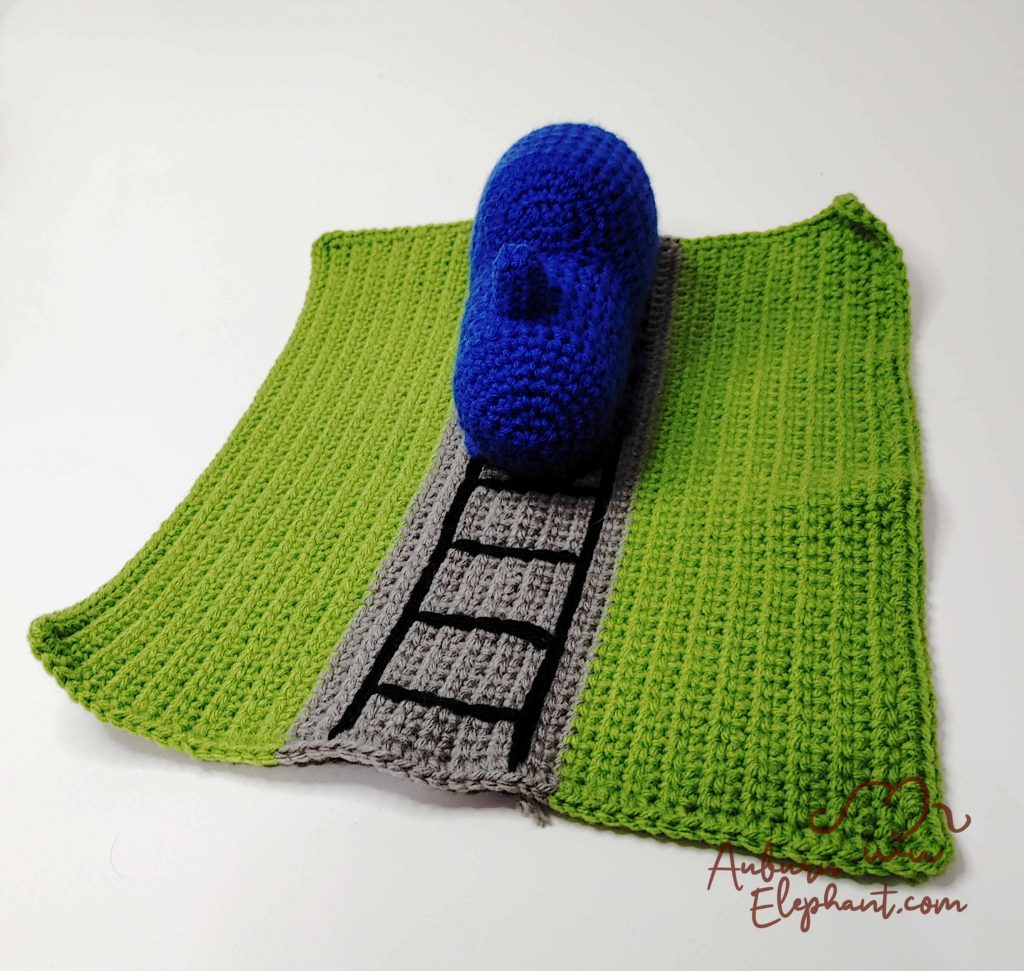
One of my goals for 2021 is to try and design more patterns geared toward boys. When I first started crocheting finding patterns for things my boys would want to play with were sparse. They loved the super hero dolls I made (like my Little Super Hero) but it would have been nice to have some more options. (FYI, I don’t think toys should really be boy or girl specific but there’s still a lack of what are considered boyish toy crochet patterns.)
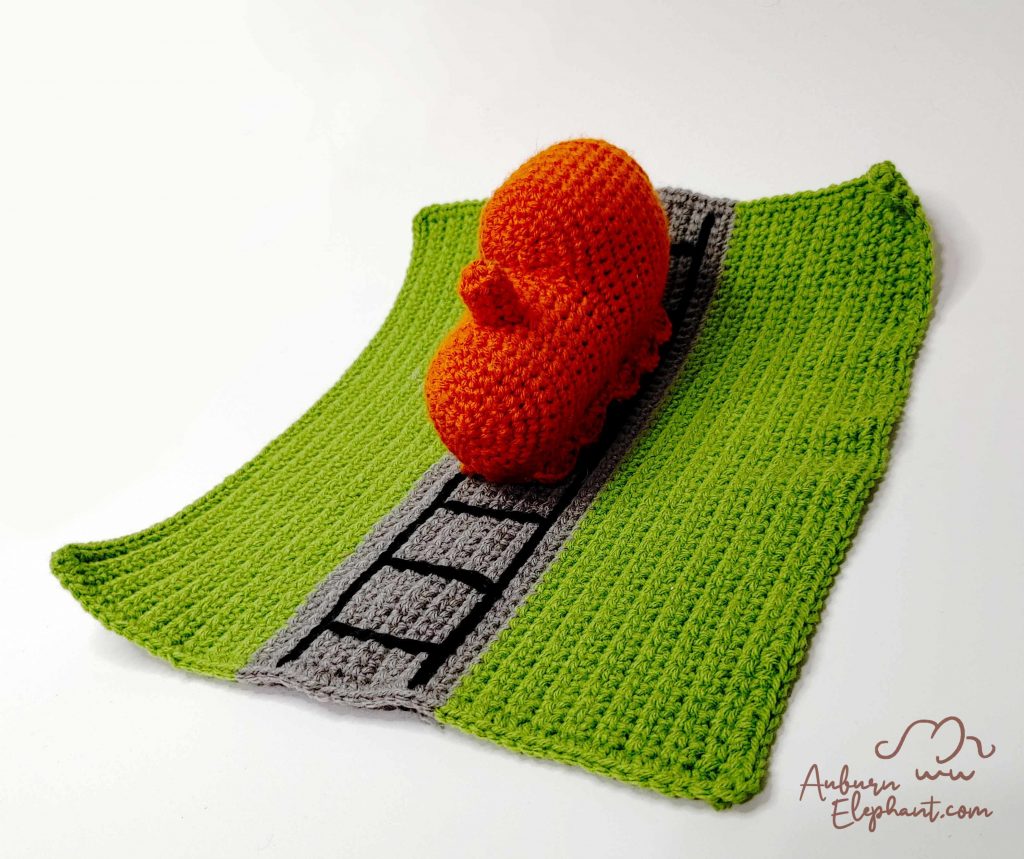
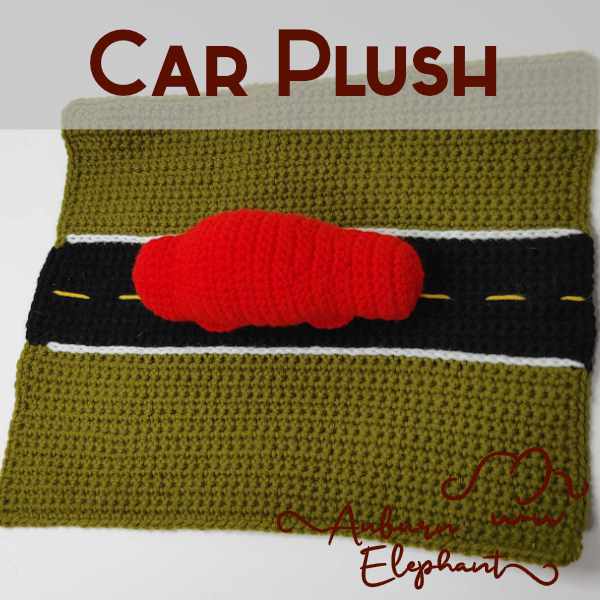
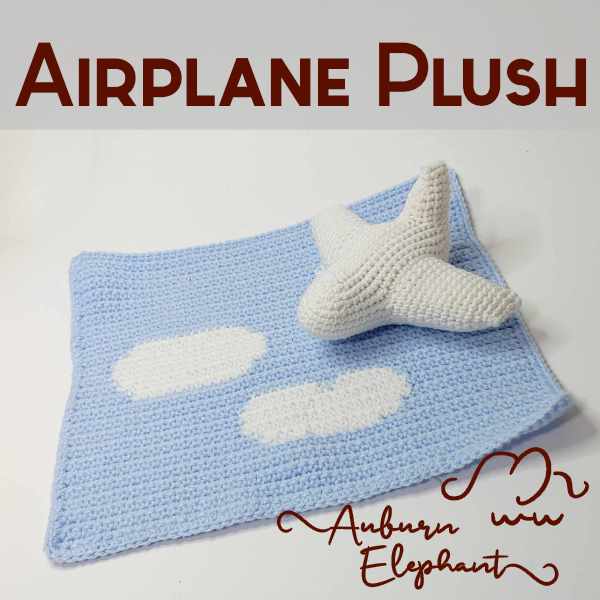
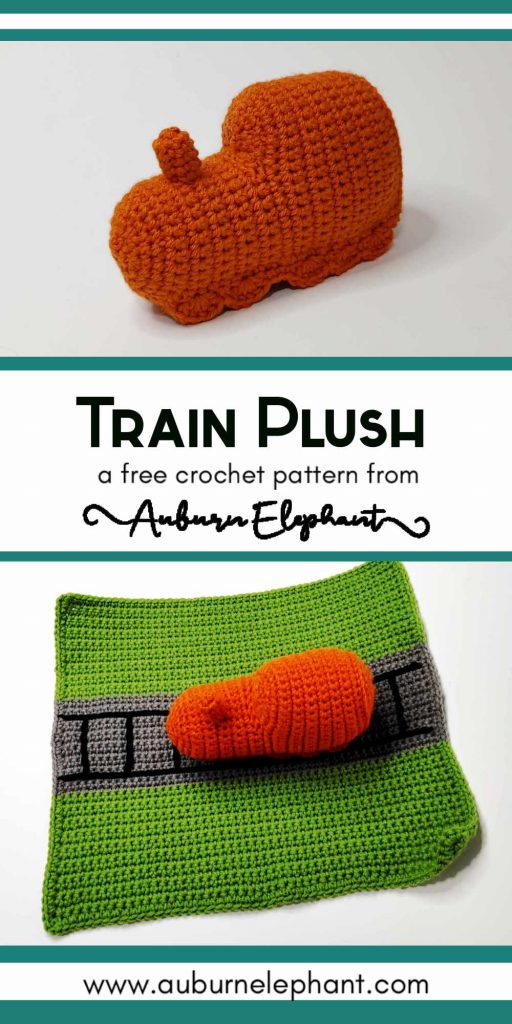
This Train Plush and Play Mat, along with the Airplane and Car, are the first of hopefully many.
These patterns are really quick to make, they require very little sewing of pieces, they are simple in design but open to being customized! The train is great on it’s own or as part of the set!
Below you’ll find the FREE written pattern. If you would like additional explanatory photos to help with some of the joining, you can purchase the PDF download from either Ravelry or Etsy.

This pattern is available on it’s own or as part of the Vroom Plushies Set, where you’ll get the Train, Airplane and Car patterns along with their individual play mats!
I hope you enjoy this crochet pattern and that I’ve made it easy enough to follow. If you have any questions you can contact me at auburnelephant@gmail.com OR through the contact page here. I’d also love to see your finished creations! Connect with me on Facebook or Instagram!
A couple of disclaimers: This pattern is intended for personal use only. You are welcome to use the pattern to make and sell products, to keep for yourself, or to give away as gifts. I would appreciate receiving credit and a link back to the site. Please do not republish or distribute the pattern in any way, or use my photos in your listings.
Supplies Needed:
- Big Twist Value Yarn, Medium Worsted Weight #4 (100% Acrylic, 371 yds, 6 oz) (yardage listed is approximate)
- Orange (or train color), 75 yds
- Green, 110 yds
- Grey, 55 yds
- Black, 10 yds
- G/6 4.00mm hook, for plush
- H/8 5.00mm hook, for mat
- Polyfil stuffing
- Needle, for weaving in ends
Stitches/Terminology Used:
- Ch- Chain
- Sl st- Slip Stitch
- St(s)- Stitch(es)
- SC- Single Crochet
- FPSC- Front Post Single Crochet
- BPSC- Back Post Single Crochet
- 2SC- Single Crochet Increase- Place 2 SC in same stitch increase.
- DEC- Single Crochet Decrease, Using the Invisible Decrease method, insert hook up through front loops of next 2 stitches, yarn over, pull through front loops, yarn over, pull through to finish decrease
- FSC- Foundation Single Crochet, this will create your base chain and first SC row. To start ch 3, insert hook into first ch, *yarn over, pull through. Yarn over, pull through 1 loop, yarn over, pull through both remaining loops. One FSC made. Insert hook through bottom of the previous FSC* (the mock chain made after the 2nd pull through) and repeat from * to *.
Notes:
- Except where noted, the Train Plush will be worked in rows. Each Row will end with a Ch 1 and turn. Beginning chains do NOT count as stitches.
- The Mat part of this will be worked in rows. Each row will begin with a Ch 1 and turn. Beginning chains do NOT count as stitches.
- The Mat will be a SC square with color changes for the tracks. You will add some details with a Surface Slip stitch. You can also use embroidery if you prefer.
- For the border of the mat, you’re going to SC around one time. You can do extra rounds if you’d like a bigger mat. You can either make the entire border green, or you can change the color to line up with the tracks if you’d like.
- Gauge for each is not very important. You want to make sure that your stitches are tight enough so that your stuffing doesn’t show through and that your pieces hold their shape. If you need to go down a hook size to maintain tight stitches that is fine but your finished size might come out smaller. Finished size for the Plush should be about 6” long. The finished size for the mat should be about 14” x 14”.

Train Plush
Using G hook
In Orange (or train color)
This section will be worked in rows. Each row will begin with a Ch 1 and turn. (see notes)
Rear Section
Ch 12,
1) Starting in 2nd from hook, SC 10, 3SC in last chain. Working down the other side of the ch, SC 10. (23)
2) SC in next 10, 2SC in each of next 3, SC in remaining 10. (26)
3) SC in next 10, 2SC, SC in next, 2SC in each of next 2, SC in next, 2SC, SC in remaining 10. (30)
4) SC in next 11, 2SC, SC in next, 2SC, SC in next 2, 2SC, SC in next, 2SC, SC in remaining 11. (34)
5) FPSC in each st across. (34)
6-18) SC in each st across. (34)
Finish off.
Top Window
This section will be worked in joined rounds. Start each round with a Ch 1 and end with a sl st to join to the first st of the round. (see notes)
Counting from the beginning of Row 18, Skip 9 sts and rejoin.
1) SC in next 16, Ch 6, skip remaining in the row, join with a sl st to the first SC of rejoined round. (16 SC, 6 Ch)
2) Working in each SC and Ch of Round 1, *SC in next, DEC;* Repeat from * to * a total of 7 times. SC in last ch. (15)
3) DEC around. SC in last st. (8)
Finish off. Use tail to sew hole closed.
Engine
This section will be worked in rows. Each row will begin with a Ch 1 and turn. (see notes)
Rejoin to the first skipped st at the beginning of Row 18.
1) SC in next 8, DEC over next SC and first Ch, SC 4 across ch, DEC over last Ch and next SC of the other side, SC in remaining 8. (22)
2) SC in next 8, BPSC in next 6, SC in remaining 8. (22-16 SC, 6 BPSC)
3-6) SC in each st across. (22)
7) SC in next 10, Ch 2, skip 2, SC in remaining 10. (22-20 SC, 2 Ch)
8) SC in each st and ch across. (22)
9) SC in each st across. (22)
10) SC in each st across, Ch 6, join with a sl st to the first SC of the round. Ch 1, turn. (22 SC, 6 Ch)
From here, you’re working in joined rounds again.
11) SC in each st and ch around. (28)
12) *SC in next 2, DEC;* Repeat from * to * around. (21)
13) SC in each st around. (21)
14) *SC in next st, DEC;* Repeat from * to * around. (14)
15) DEC around. (7)
Finish off. Use tail to sew opening shut.
Smokestack
This section will be worked in joined rounds. Start each round with a Ch 1 and end with a sl st to join to the first st of the round. (see notes)
Rejoin yarn at the 2 stitch opening on top of the train.
1) Place 2SC in each of the “corners” (The corners are actually the sides of the stitches before and after the chains of Round 7.) SC in each SC and Ch around. (8)
2-5) SC in each st around. (8)
Finish off, use tail to sew opening shut.
Undercarriage
This section will start in joined rounds. Start each round with a Ch 1 and end with a sl st to join to the first st of the round. (see notes)
Rejoin yarn to the rear bottom edge of the train.
1) SC evenly around. Should have 6 sts across the front and 7 sts across the rear ‘bumpers’ and 23 on each side.
2) SC in first 2, *skip next 1, 5DC in next st, skip 1, SC in next* Repeat from * to * 3 times total, SC in next 2. Repeat from * to * 2 more times. SC in next 6. Repeat from * to * 2 times. SC in next 2. Repeat from * to * 3 more times. SC in remaining 8.
From here, you will work in rows. Each row starts with a Ch 1 and turn.
3) SC in next 7 across rear of train. Leave rest of the round unworked. (7)
4-26) SC in each st across. (7)
27) SC in first 3, skip 1, SC in remaining 3. (6)
28) SC last row together with the front 6 sts of the train.
Finish off, leave long tail to sew down the undercarriage to the sides of the train. Stuff when you are almost finished sewing.


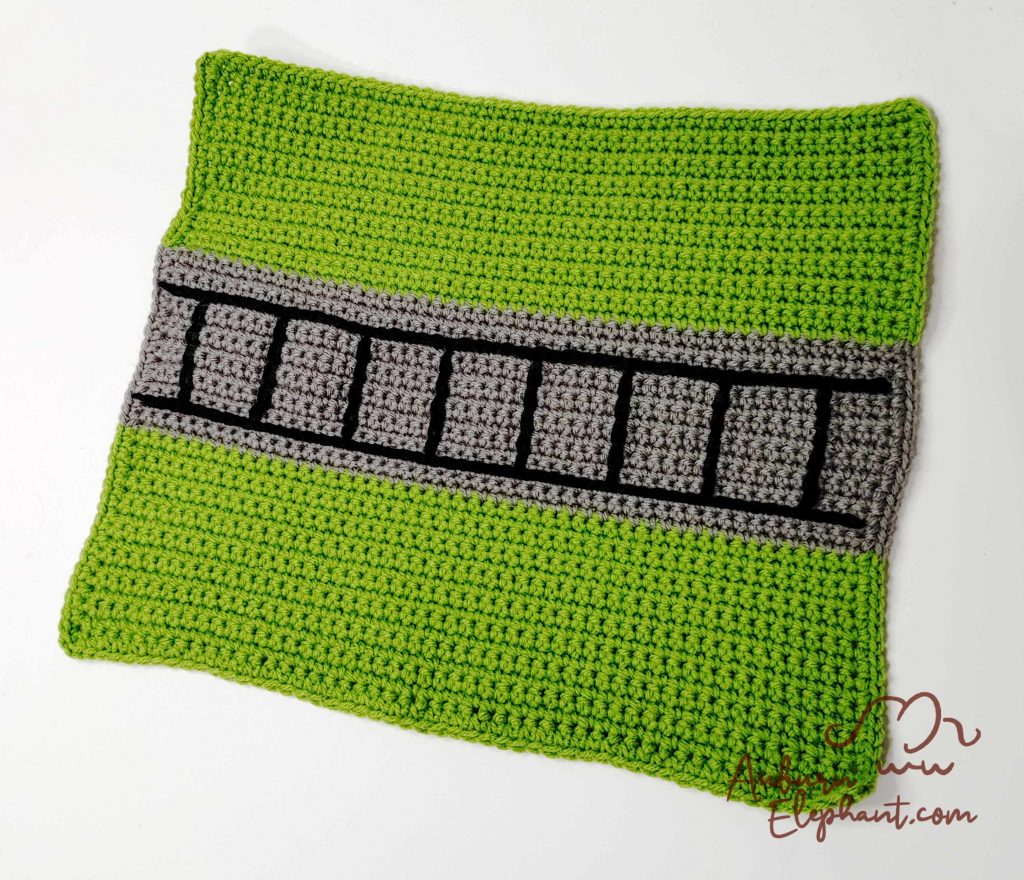
Train Tracks Mat
Using H hook (Tip-If your starting row seems loose, you can use a smaller hook size to do your foundation row.)
This section will be worked in rows. Each row will begin with a Ch 1 and turn. (see notes)
In Green
1) FSC 50 OR Ch 51, starting in 2nd from hook, SC in each ch across. (50)
2-17) SC in each st across. (50)
In Grey
18-32) SC in each st across. (50)
In Green
33-50) SC in each st across. (50)
Ch 1, continuing around the edges, SC evenly. Place 3 SC in each corner. If you want the colors to line up, you will change to black when going by those ends. Join with a sl st to the first st of the edging.
Finish off. Weave in ends.
To add the tracks to your mat, use a surface sl st to do the long black lines 2 rows in from each side. Then surface slip stitch the railroad ties across, spacing them about 5-6 stitches apart.
You can attach your plush directly to the Mat if you would like. You can also leave them separate. Or you can attach the two pieces with a chain, chain a length of about 10” and sew one end to the edge of the mat and the other to the underside of the plush. This will keep the two parts together but still allow for vrooming!!
To attach the plush directly to the mat, you will want to take a long length of grey yarn (so that it doesn’t show through the bottom of the mat) and stitch up through the plush in the place you’d like. You can keep a small join, or connect it longer.
There you go! A happy little train to add to play time. 🙂
Check out the rest of the Vroom Plushies Set while you’re here.
4 thoughts on “Train Plush”
Comments are closed.