This post may contain affiliate links. If you use these links to buy something I may earn a small commission at no cost to you. Thanks.
…
I have always been a big fan of Super Mario. It’s basically the only reason why I own a gaming console and play any video games at all. I’m not great but I’m better than some (cough, cough, my husband ;)) haha! It’s fun and a good time waster (whether that’s actually a good or bad thing). Anyway. I was trying to come up with new things to create and decided that this would be a cute, simple little pattern that people might like.
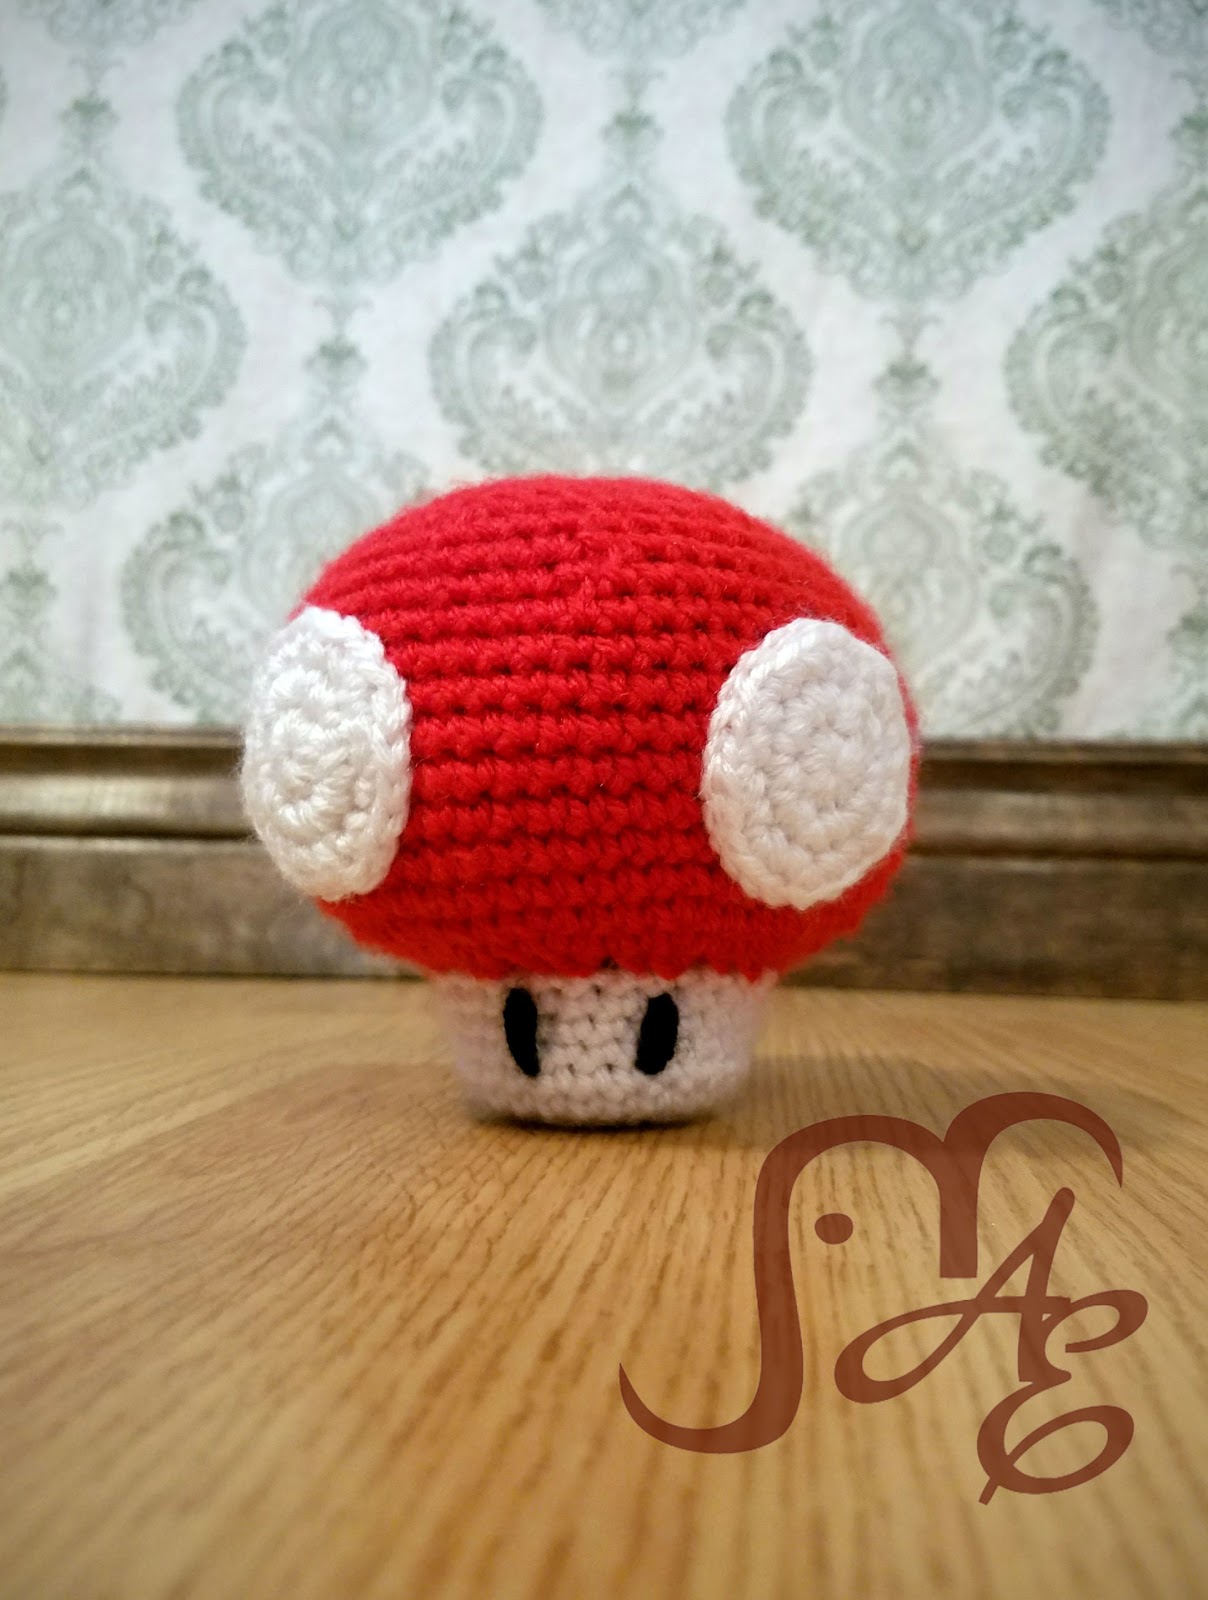
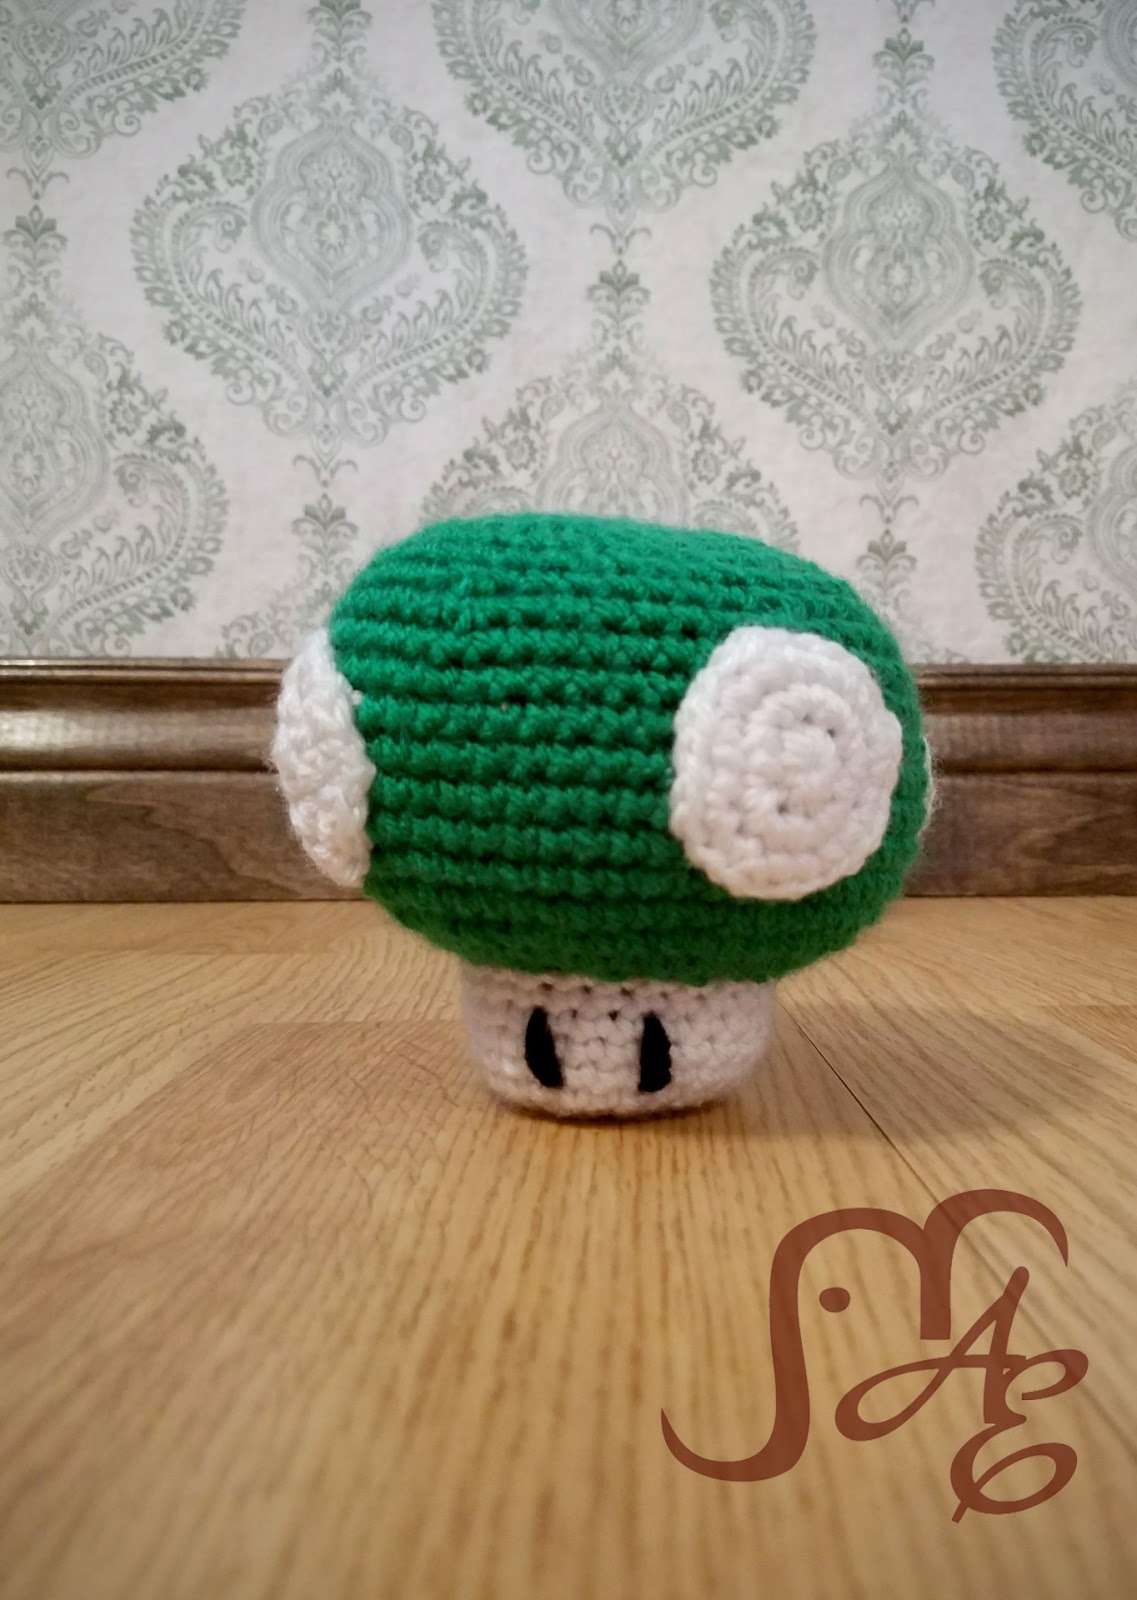
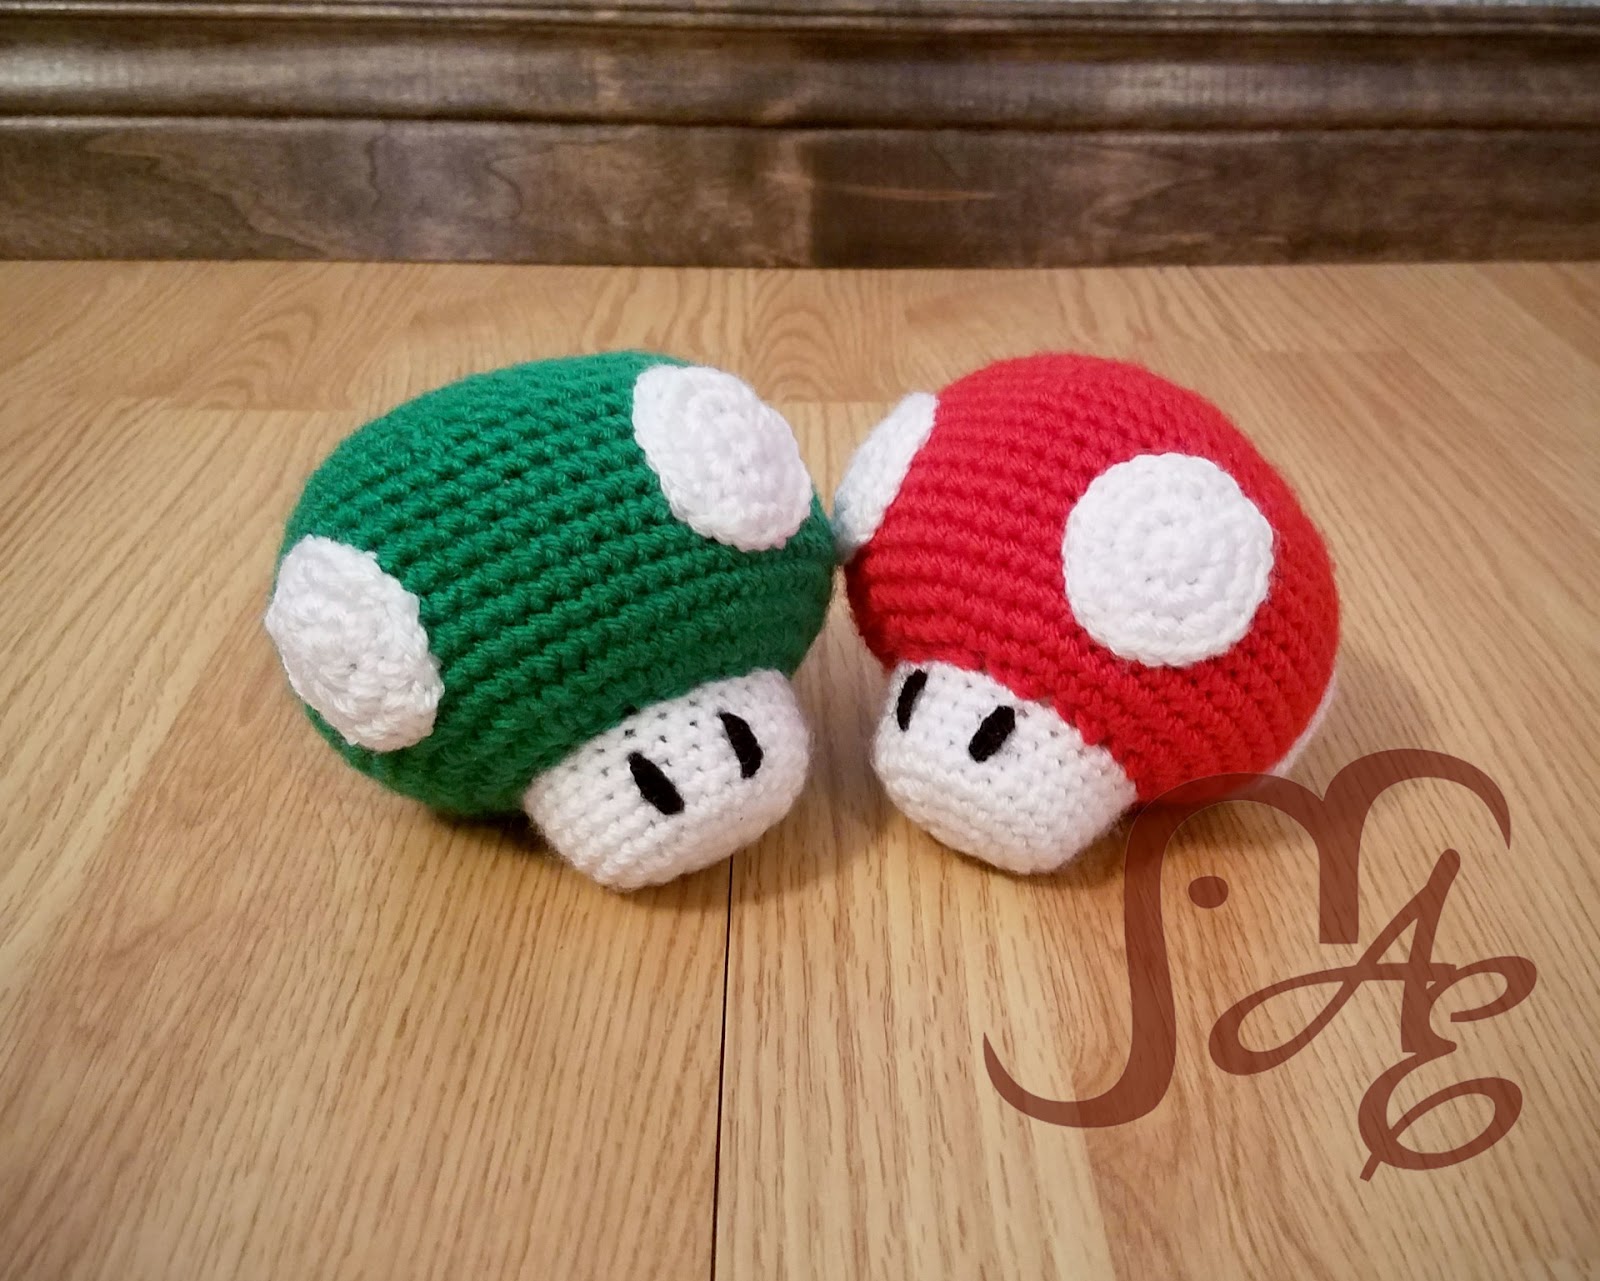
It’s inspired by Mario but I don’t think it’s super accurate, which does bother me a little. Nevertheless, most people will get the reference. The toadstool comes out a little bigger than softball-sized. So good for squeezing or throwing or propping up on a shelf.
Note: This pattern is available for free. You are welcome to use the pattern to make and sell products. I would appreciate receiving credit and a link back to the site. Please do not republish or distribute the pattern in any way, or use my photos in your listings.
Also, these patterns are untested by anyone other than myself at this point. If you find any errors or places that need clarification, please let me know so that I can fix my mistakes.

Toadstool Plush
Supplies Needed:
G Hook
Worsted Weight yarn in White, (or Cream/Tan), Green or Red, Small amount of Black
Tapestry Needle
Stitches Used:
SC2Tog- Single Crochet Decrease
FPSC- Front Post Single Crochet
SS- Slip Stitch
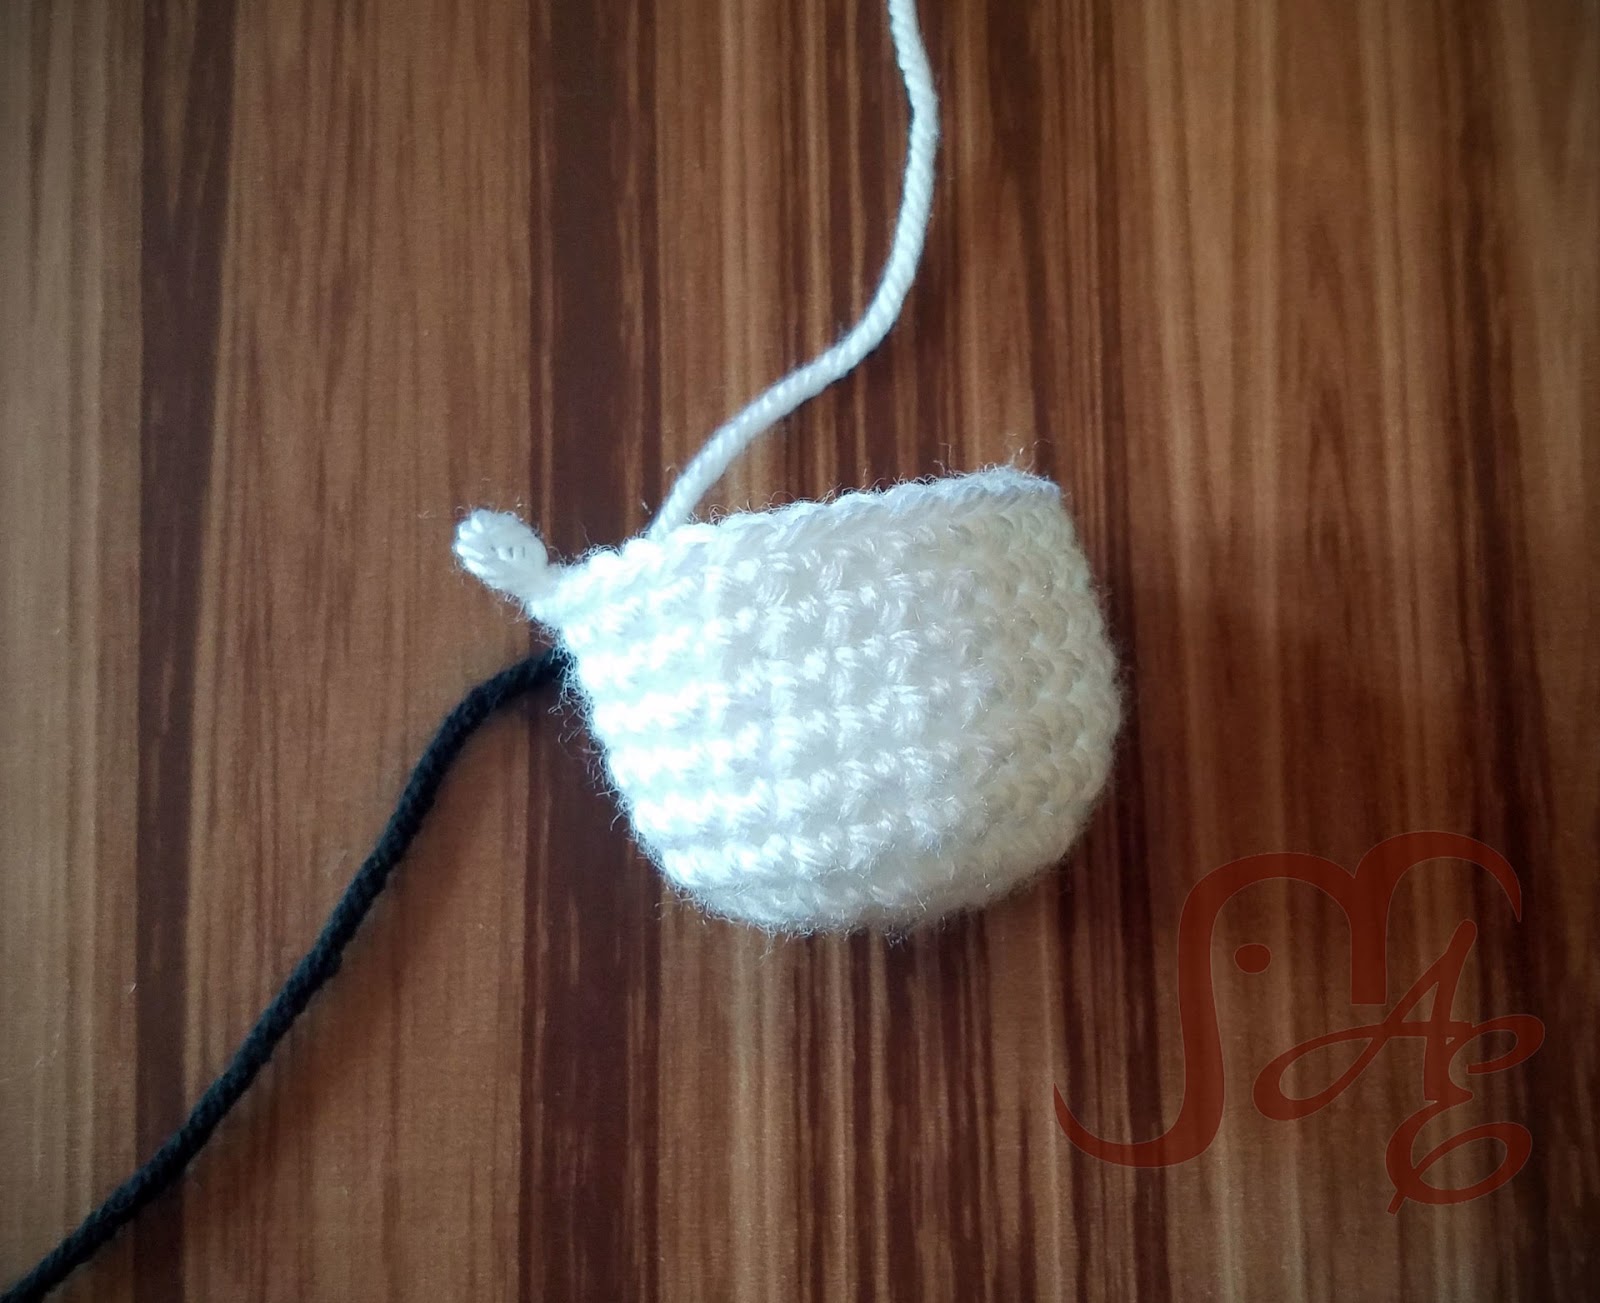
Starting with the base/stem-
In White (or Cream/Tan)
Note: Pattern is worked in continuous rounds, you will not join. Use a stitch marker to keep your place.
1) MR 8 SC (8)
2) 2SC in each stitch around (16)
3) *SC, 2SC* Repeat from * to * around (24)
4-9) SC around (24)
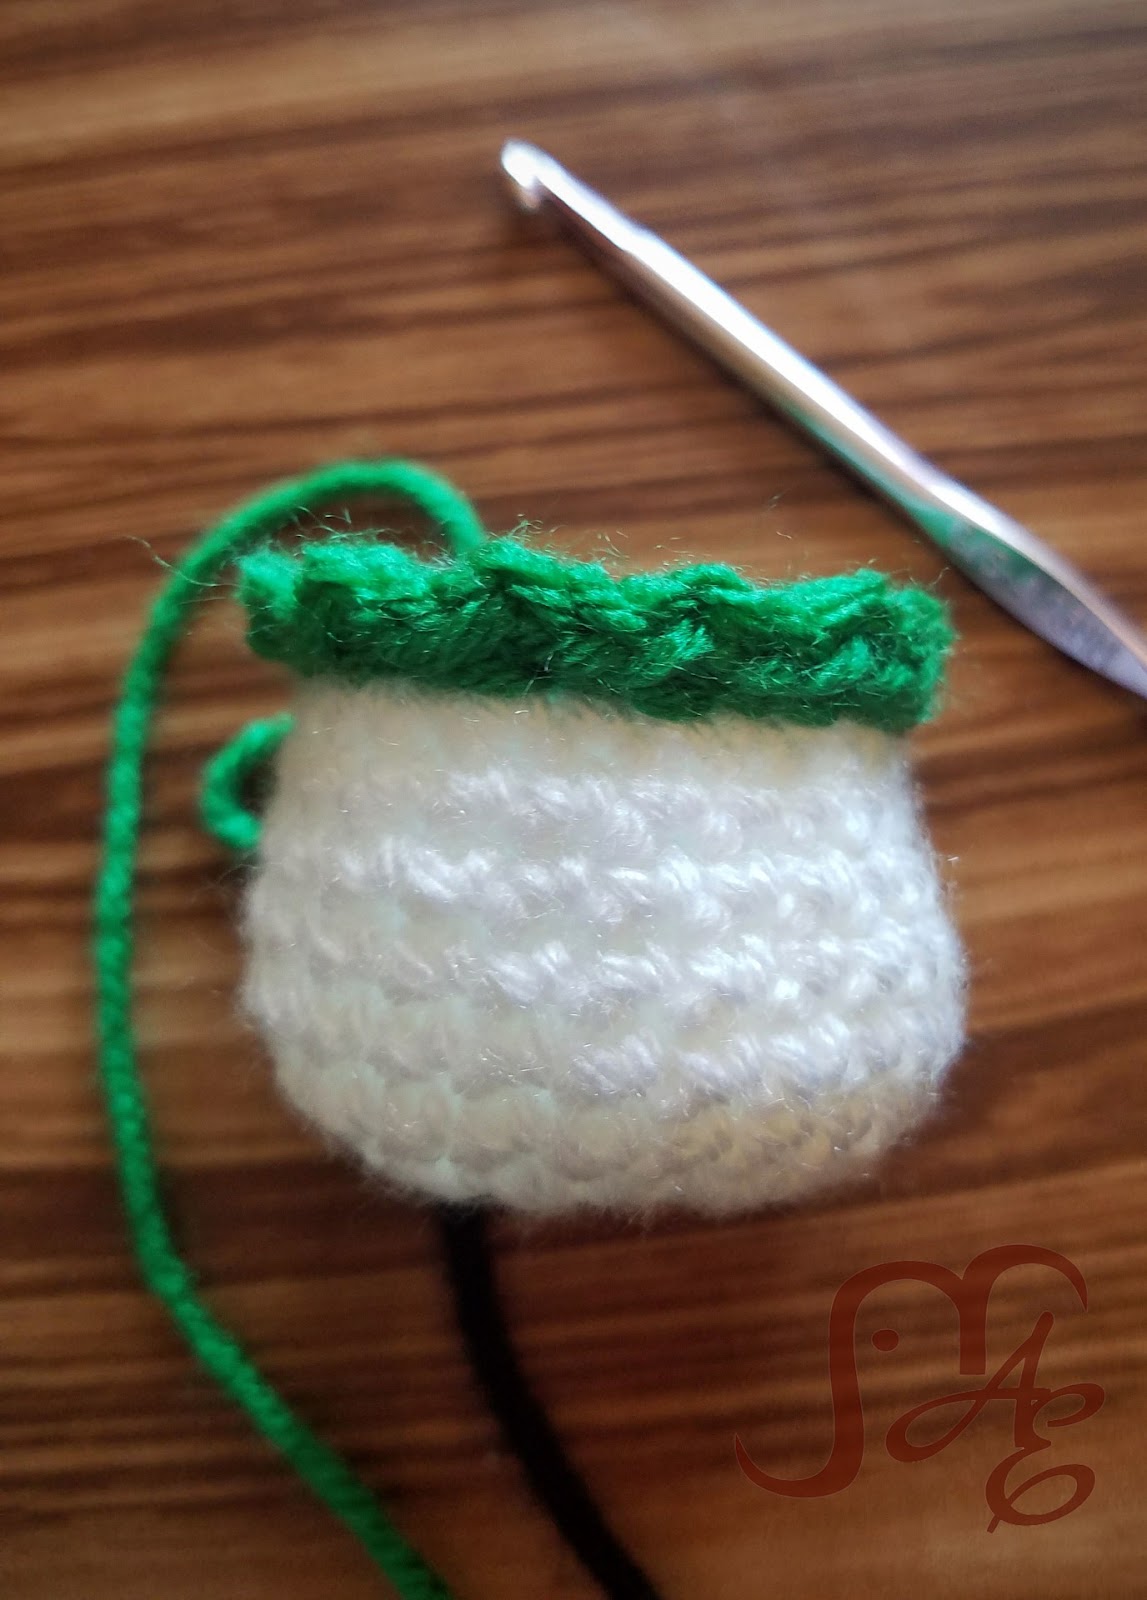
(Change to Red or Green)
10) *FPSC, 2FPSC (do 2 FPSC around the same post to increase)* Repeat from * to * around (36)
11) *SC 2, 2SC* Repeat from * to * around (48)
12) *SC 3, 2SC* Repeat from * to * around (60)
13-20) SC around (60)
21) *SC 8, SC2TOG* Repeat from * to * around (54)
22) *SC 7, SC2TOG* Repeat from * to * around (48)
23) SC around (48)
Now would be a good time to stitch on eyes to the stem section while you have room to get your hand inside. I would use a double strand of yarn, or go through twice to make the eyes a little bolder. I like to do details like these eyes before I stuff so that I can tie the ends on the inside and not have to worry about weaving them in later. You could also stuff a little as you go from here to give the base it’s shape.

24) SC 3, SC2TOG, *SC 6, SC2TOG* Repeat from * to * around. SC in last 3. (42)
25) *SC 5, SC2TOG* Repeat from * to * around (36)
26) SC 2, SC2TOG *SC 4, SC2TOG* Repeat from * to * around. SC in last 2 (30)
27) *SC 3, SC2TOG* Repeat from * to * around (24)
28) *SC 2, SC2TOG* Repeat from * to * around (18)
Stuff
29) *SC, SC2TOG* Repeat from * to * around (12)
30) SC2TOG around (6)
Sew hole shut. Finish off, weave in end.
Spots
Using White and G Hook
Make 4
1) MR 8 SC. Join with SS to first SC. (8)
2) Ch 1, 2SC around. Join with SS to first SC. (16)
3) Ch 1, SC, 2SC. Join with SS to first SC. (24)
Finish off. Leave long tail for sewing on.
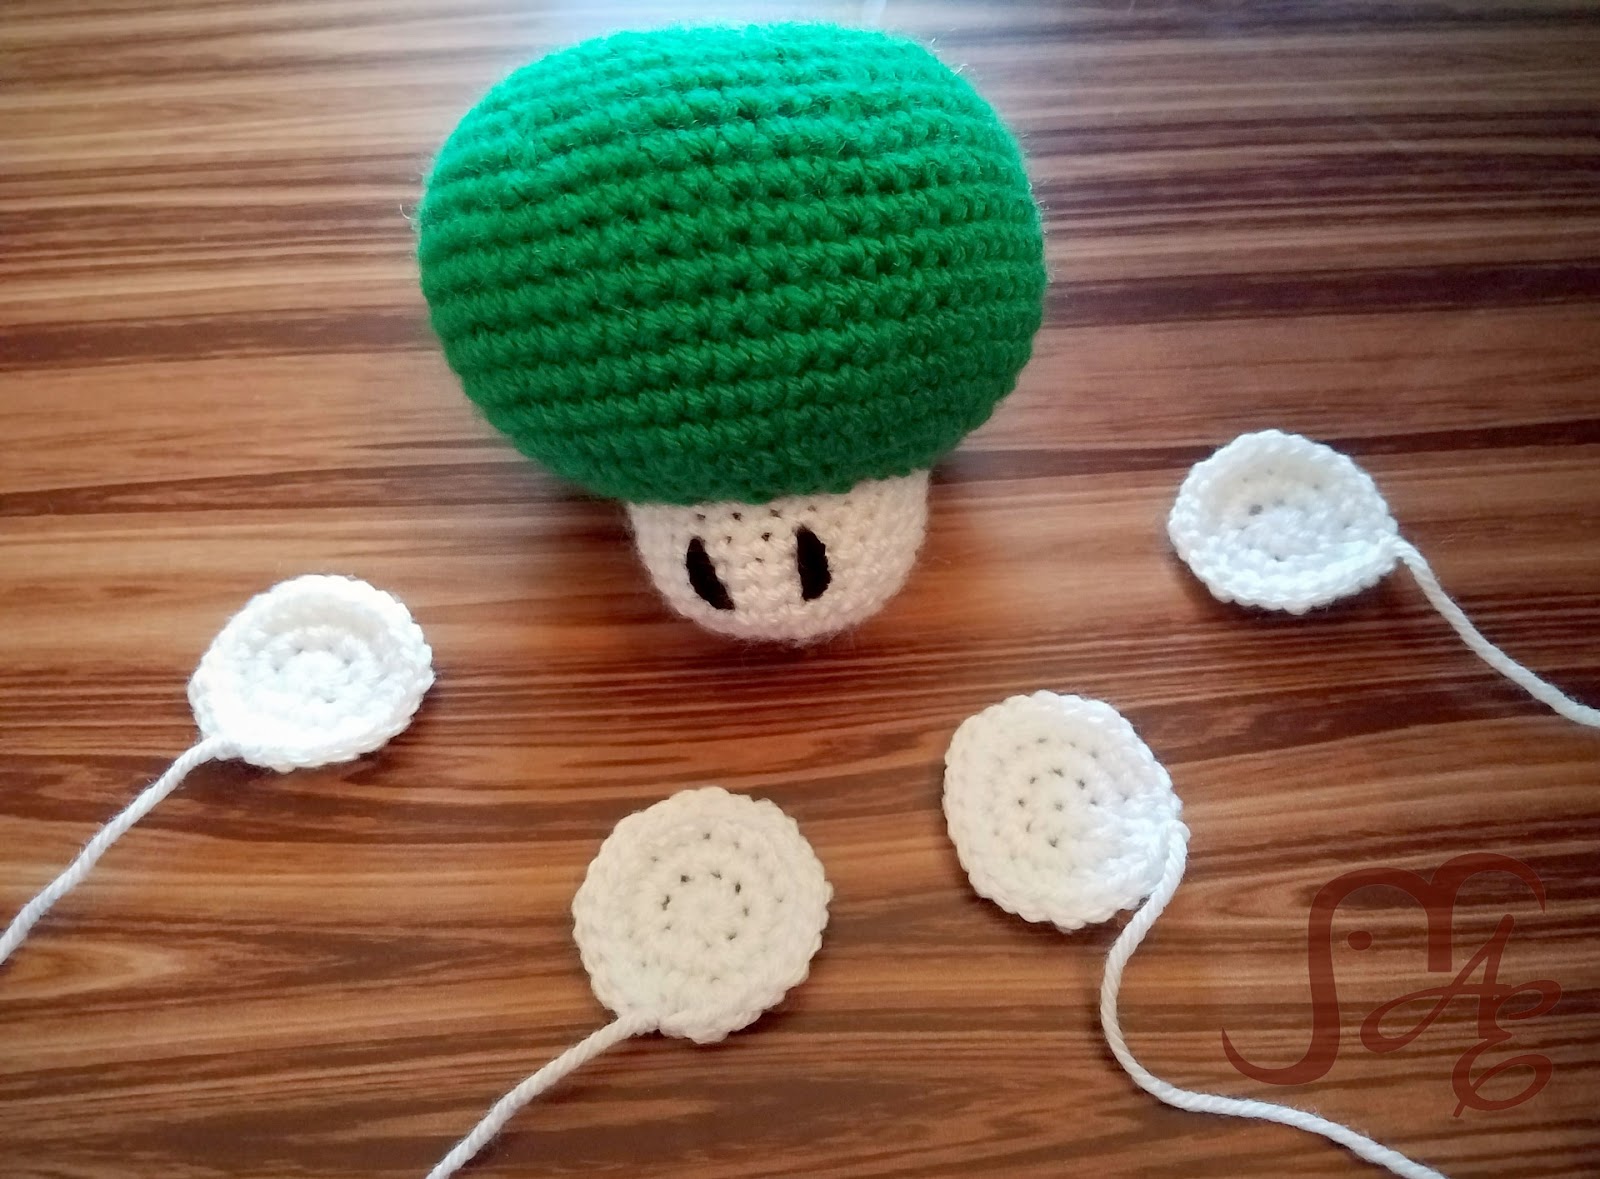
Sew on spaced evenly. I like to offset them from the eyes. You can center them if you’d rather. POWER UP!