This post may contain affiliate links. If you use these links to buy something I may earn a small commission at no cost to you. Thanks.
…
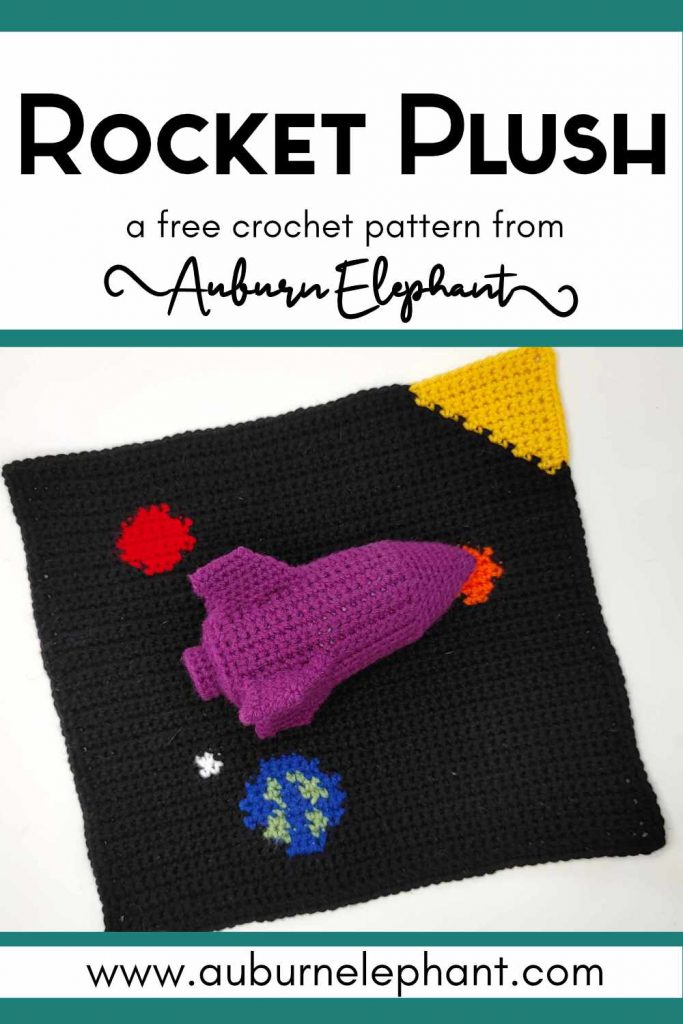
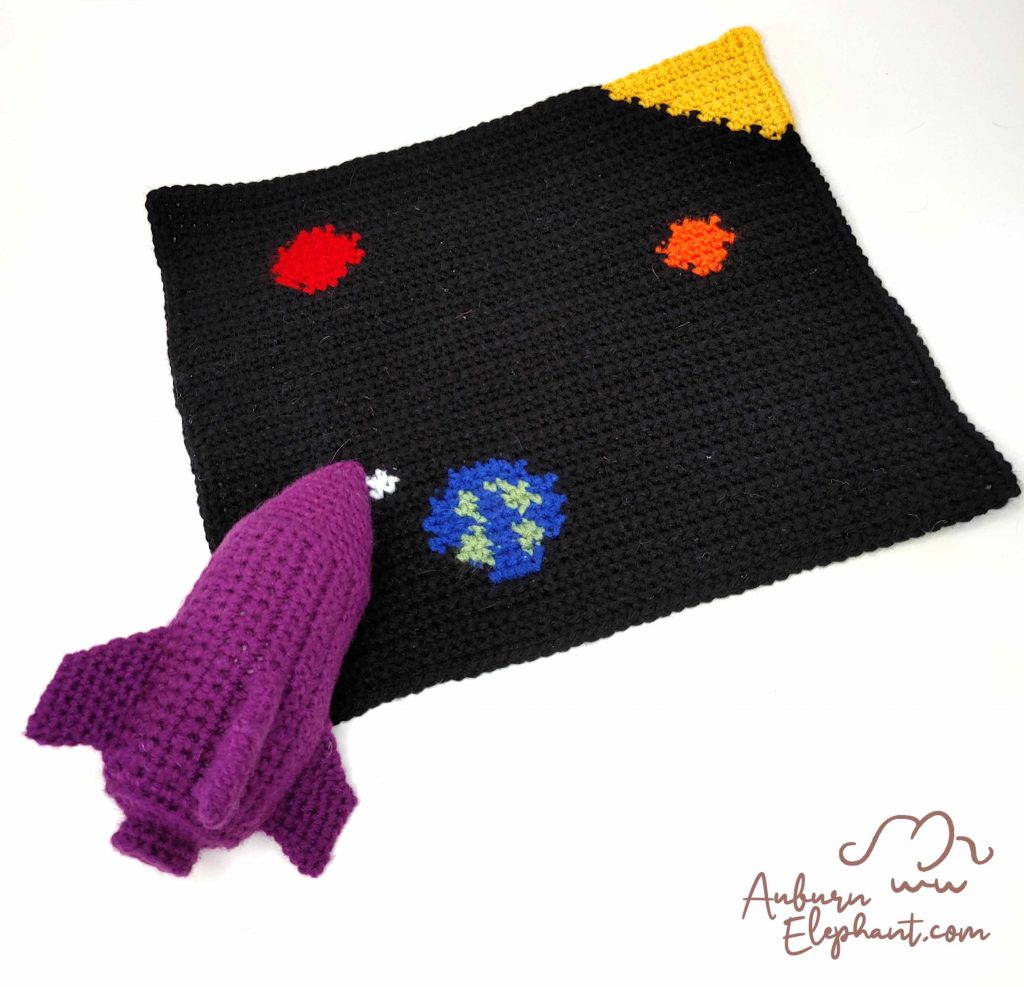
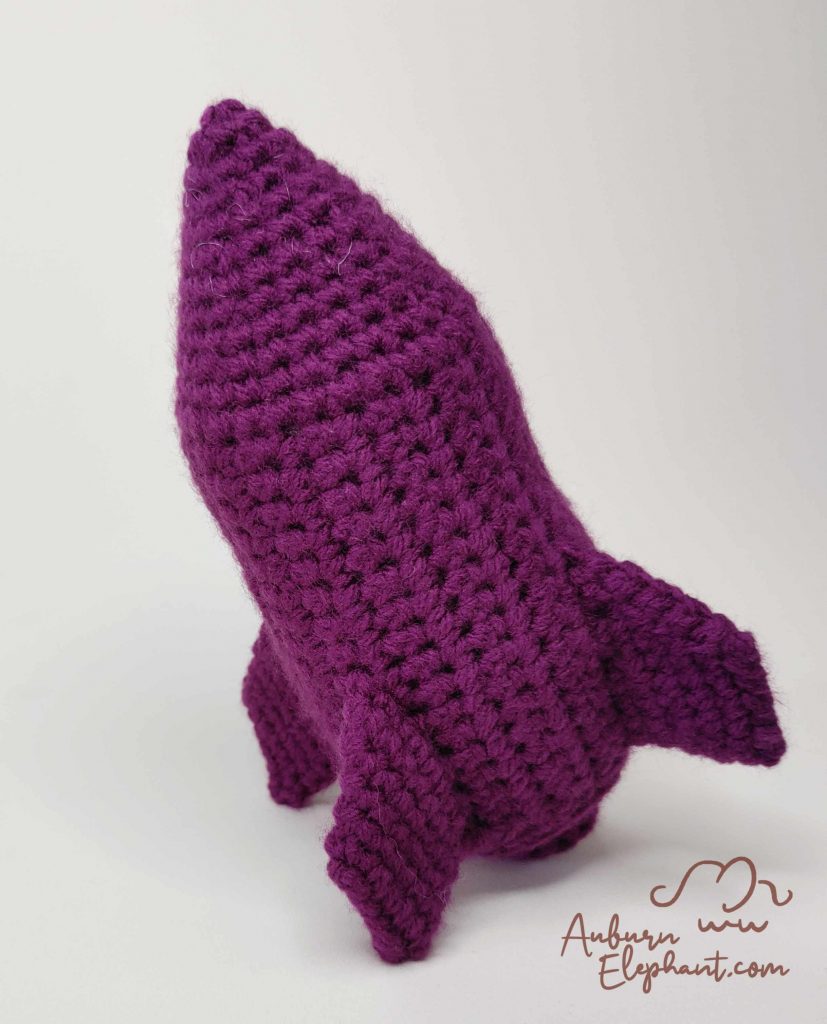
This fun little Rocket is the next in my Vroom Plushies line up! It seemed pretty logical after making the car, train, and airplane to head to space! 🙂
Like those plushies, this is made in one piece so there’s no sewing! You could absolutely add any extra details that you would like along the way to make it your own (I think a tassel as flames coming out of the booster would be fun!)
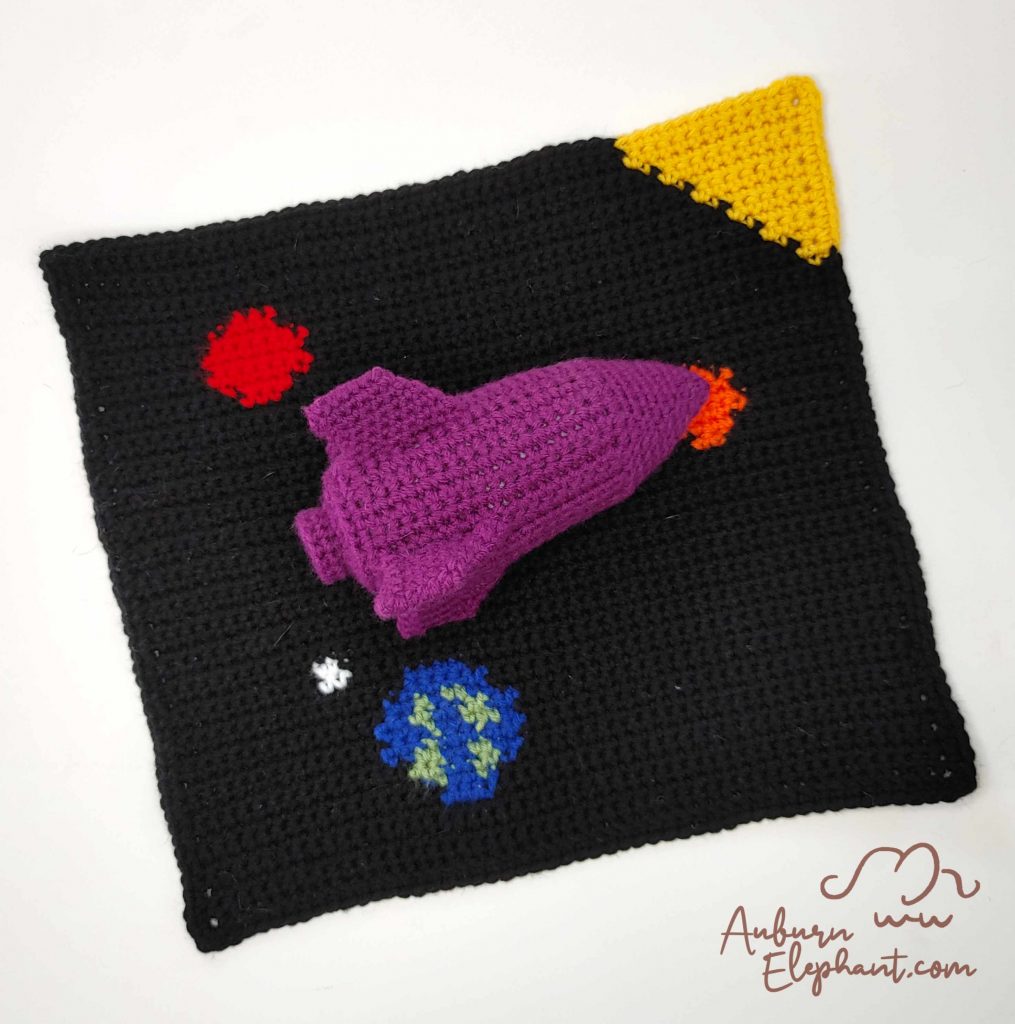
This works great on it’s own or with the play mat. You can even make the whole Vroom set and join the squares together! (Although, I may have another option for that in the near future… wink*wink*)
The FREE written pattern can be found below as always. You can also grab the PDF downloads which include extra photos for guidance as well as the graph for the play mat if you prefer using a different graphing method. The PDFs are available via Ravelry or Etsy.

Rocket Plush and Play Mat
I hope you enjoy this crochet pattern and that I’ve made it easy enough to follow. If you have any questions you can contact me through email OR through the Contact Page. I’d also love to see your finished creations! Connect with me on Facebook or Instagram- @AuburnElephant!
A couple of disclaimers: This pattern is intended for personal use only. You are welcome to use the pattern to make and sell products, to keep for yourself, or to give away as gifts. I would appreciate receiving credit and a link back to the site. Please do not republish or distribute the pattern in any way, or use my photos in your listings.
Supplies Needed:
- Big Twist Value Yarn, Medium Worsted Weight #4 (100% Acrylic, 371 yds, 6 oz), yardages listed are approximate
- For Rocket- 80 yds of Purple (or your color of choice)
- For Play Mat- 150 yds of Black; less than 5 yds each of Blue, Green, White, Orange, Red, Yellow
- G/6 4.25mm hook, for Rocket
- H/8 5.0mm hook, for Play Mat
- Poly-Fil, for stuffing
- Needle, for weaving in ends
Stitches/Terminology Used (US):
- Ch- Chain
- SC- Single Crochet
- Sl st- Slip stitch
- St(s)- Stitch(es)
- DEC- Single Crochet Decrease, Using the Invisible Decrease method, insert hook up through front loops of next 2 stitches, yarn over, pull through front loops, yarn over, pull through to finish decrease
- 2SC- Single Crochet Increase- 2 SC in same stitch to increase
- SC3TOG- Single crochet decrease over 3 stitches, Using the Invisible Decrease method, insert hook up through front loops of next 3 stitches, yarn over, pull through front loops, yarn over, pull through to finish decrease
- BPSC- Back Post Single Crochet, insert hook from back to front to back around post of indicated stitch to draw up a loop, finish single crochet as usual
- FPSC- Front Post Single Crochet, insert hook from front to back to front around post of indicated stitch to draw up a loop, finish single crochet as usual
- FSC- Foundation Single Crochet, this will create your base chain and first SC row. To start ch 3, insert hook into first ch, *yarn over, pull through. Yarn over, pull through 1 loop, yarn over, pull through both remaining loops. One FSC made. Insert hook through bottom of the previous FSC* (the mock chain made after the 2nd pull through) and repeat from * to *.
Notes for Rocket Plush:
- The Rocket Body will be made in rows. Each row ends with a Ch 1 and turn. The remainder of the Rocket sections are worked in joined rounds. Each round will begin with a Ch 1 and end with a sl st to the first stitch of the round. The first stitch of a round will be worked in the same as joining. Chains do NOT count as stitches. If you need help with this technique, you can find my tutorial HERE.
- Gauge for the Plush is not very important. You want to make sure that your stitches are tight enough so that your stuffing doesn’t show through and that your pieces hold their shape. If you need to go down a hook size to maintain tight stitches that is fine but your finished size might come out smaller. As written, the finished Rocket should be approximately 7” tall.
- I made the rocket in a solid color because I wanted a simple look to go along with the Vroom plush set I had made previously. This would also do well with color changes for the fins, nose, and booster. You could also add any other details you like. A window, a logo, etc.
- You may choose to leave these two as separate pieces, or you may want to join them together as a lovey or with a short chained section to keep them as one.


Rocket Plush
Rocket Body
Worked in Rows. See notes.
Ch 19,
1) Starting in 2nd ch from hook, SC 18. (18)
2-3) SC in each st across. (18)
4) SC in first st, Ch 8, Skip 8, SC in remaining 9. (10 SC, 8 Ch)
These skipped spaces will become the openings for the ‘fins.’
5) SC in each st and ch across. (18)
6-10) SC in each st across. (18)
11) SC in first 9 sts, Ch 8, Skip 8, SC in last. (10 SC, 8 Ch)
12) SC in each st and ch across. (18)
13-17) SC in each st across. (18)
18-28) Repeat rows 4-14.
You have a couple of options at this point. You can finish off your piece and leave a long tail to sew the body into a cylinder. You can bring your sides together and SC to join them. I found it was a little easier to add the fins on while the body piece is flat so I chose to finish off at this point and leave a tail to sew together later. You can also finish off and then reattach after adding the fins to SC join the ends together.
Fins
Worked in joined rounds. See notes.
Rejoin yarn to “fin” opening starting in the first skipped st. I suggest leaving a long starting tail to sew the base of the fin together.
1) SC in each SC and ch around, place one SC in each “corner” (18)
The corners are the sides of the stitches before and after the skipped stitches.
2) SC in each st around. (18)
3) SC in next 7, SC3TOG, SC in next 7, 2SC in last. (17)
4) SC in next 6, SC3TOG, SC in next 7, 2SC in last. (16)
5) SC in next 5, SC3TOG, SC in next 6, 2SC in next, SC in last. (15)
6) SC in next 4, SC3TOG, SC in next 6, 2SC in next, SC in last. (14)
Finish off. Leave long tail to sew end closed. Be sure that the fin is perpendicular to the body when folded flat. You don’t want the fin to be twisted when you sew it together. You can also use your starting or ending tail to sew together at the base of the fin. You don’t need to put any stuffing into these fins and sewing the base together will keep the ship’s body from “ballooning” out.
Repeat this section for each of the 4 fin openings.
If you did not join your body together before, now is the time. Use the long tail left after the body section and sew the last and first rows together. Or rejoin and SC those rows together. If you choose that route, I would suggest going from the top to the bottom so that you can continue to the Rocket Base/Booster section.
Rocket Base/Booster
Worked in joined rounds. See notes.
Rejoin yarn at the base of the rocket (closest to the fins)
1) SC evenly around. (28)
2) BPSC in each st around. (28)
3) *SC in next 2, DEC;* Repeat from * to * around. (21)
4) *SC in next, DEC;* Repeat from * to * around. (14)
5) FPSC in each st around. (14)
6) SC in each st around. (14)
7) BPSC in each st around. (14)
8) DEC around. (7)
Finish off, leave tail to sew the opening closed.
Rocket Nose
Worked in joined rounds. See notes.
Rejoin yarn to top edge
1) SC evenly around. (28)
2) SC in each st around. (28)
3) *SC in next 5, DEC;* Repeat from * to * around. (24)
4) SC in each st around. (24)
5) *SC in next 4, DEC;* Repeat from * to * around. (20)
6) SC in each st around. (20)
Start to stuff your rocket here. Be sure to get a little bit all the way to the bottom. Don’t overstuff or you’ll end up with a pudgy rocket. Add a little more stuffing every couple of rounds from here to the end.
7) *SC in next 2, DEC;* Repeat from * to * around. (15)
8) SC in each st around. (15)
9) *SC in next, DEC;* Repeat from * to * around. (10)
10) SC in each st around. (10)
Be sure you have enough stuffing in at this point.
11) DEC around. (5)
Finish off, leave tail to sew opening closed.
Weave in any ends that are left and your rocket is ready for take off!
Space Play Mat
Notes for Play Mat
- This Play mat is made using a SC graph. This keeps it in line with the others in the series of Vroom Plushes. If you prefer to use a different stitch for your play mat (corner to corner, DC, Bobble, etc) you are welcome to. This will change the yardage requirements and the finished size of your mat. The graph for this is found at the end of the pattern. Read the remaining notes for the SC graph.
- Play mat is worked in rows. Each row will end with a Ch 1, turn. Beginning chains do NOT count as stitches.
- There will be some color changes throughout this piece. The rows are written with only the color changes and will be worked completely in SC.
- The letter will indicate the color to be used and the number will indicate the number of stitches in that color. For example, X17 would be 17 stitches in Black.
- Tip for changing colors, finish the final pull through of the last stitch before a color change in the new color.
- I also suggest using bobbins for the black sections on either side of your planets. You can carry over your yarn if you prefer but you may end up with some pretty thick planets.
- This mat doesn’t exactly have a right side. I would suggest keeping your color changes pulled to the same side throughout, just for consistency. If you leave your beginning and ending tails longer you can use those to tidy up any of the graph that you want. You will need to weave those ends in so do your best to keep it neat.
- Gauge for the Play Mat is also not terribly important, however, you want to aim for a square mat. I find an H hook works pretty well for me when using a SC. You may still want to block the mat to get it more even but that’s optional. If your mat isn’t square that’s fine, your planets just may not be as round. The Play Mat should be approximately 14” x 14”.
- Color Abbreviations-
- X – Black
- B – Blue
- G – Green
- W – White
- O – Orange
- R – Red
- Y – Yellow
Play Mat
Using H/8 5.0mm hook (Tip-If your starting row seems loose, you can use a smaller hook size to do your foundation row.)
Starting in Black
Row 1) FSC 50, OR Ch 51, starting in 2nd ch from hook, SC 50 across.
Rows 2-5) X50
Row 6) X17, B4, X29
Row 7) X28, B1, G1, B2, G1, B1, X16
Row 8) X15, G3, B2, G2, B1, X27
Row 9) X26, B2, G2, B2, G2, B2, X14
Row 10) X14, B3, G1, B6, X26
Row 11) X26, B1, G3, B2, G1, B3, X14
Row 12) X14, B2, G2, B2, G2, B2, X26
Row 13) X27, B2, G2, B1, G1, B2, X15
Row 14) X16, B6, X28
Row 15) X29, B4, X17
Row 16) X11, W2, X37
Row 17) X37, W2, X11
Rows 18-27) X50
Row 28) X39, O2, X9
Row 29) X8, O4, X38
Row 30) X37, O6, X7
Row 31) X7, O6, X37
Row 32) X38, O4, X8
Row 33) X9, O2, X39
Rows 34-37) X50
Row 38) X10, R3, X37
Row 39) Y, X35, R5, X9
Row 40) X8, R7, X33, Y2
Row 41) Y3, X32, R7, X8
Row 42) X8, R7, X31, Y4
Row 43) Y5, X31, R5, X9
Row 44) X10, R3, X31, Y6
Row 45) Y7, X43
Row 46) X42, Y8
Row 47) Y9, X41
Row 48) X40, Y10
Row 49) Y11, X39
Row 50) X38, Y12
Ch 1, continuing around the edges, SC evenly. Place 3 SC in each corner. Join with a sl st to the first st of the edging. You can do the border in all black or change to yellow when going around the sun corner.
Finish off. Weave in your ends.
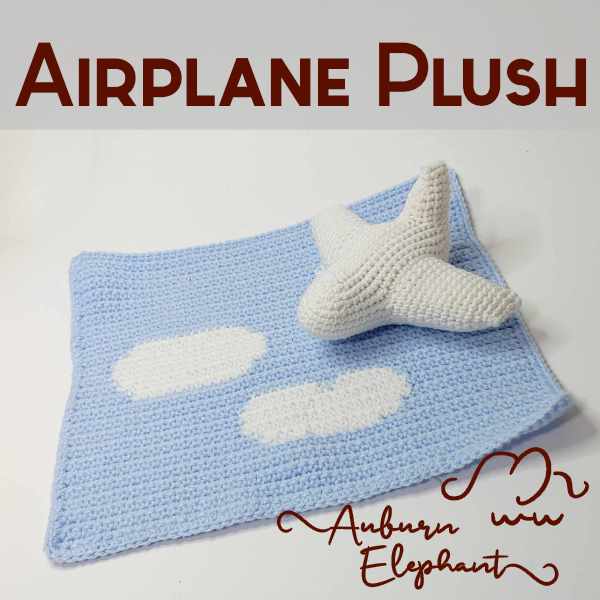
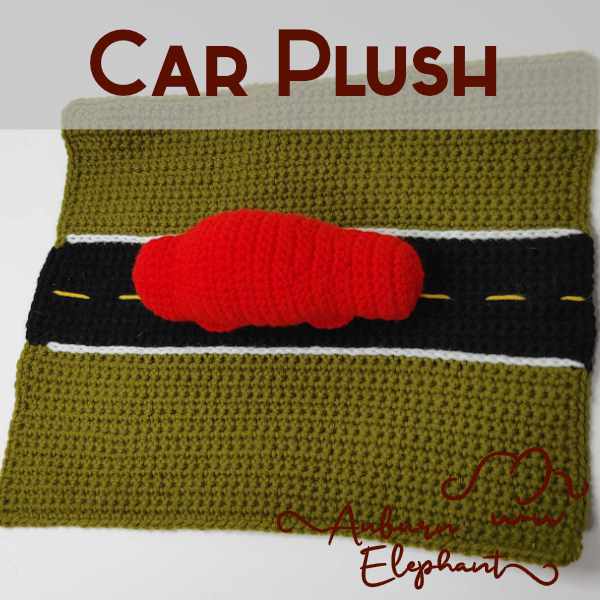
Check out the other patterns in the VROOM PLUSHIES set!