
This post may contain affiliate links. If you use these links to buy something I may earn a small commission at no cost to you. Thanks.
…
When I started this blog I knew that I would have a hard time keeping myself on track. I always make grand plans to be organized and stay on a schedule and then the first time something changes I get completely thrown off. I feel like at this point in my life I should be better at follow through but I’m just not there yet.
My plan was to make sure that I was coming up with new posts/patterns that were seasonally relevant in advance of the season. So that if any of you wanted to try to make my patterns you would actually have time to do so. So far, I’ve missed a few things. But I am trying. Maybe I’ll get better as we go. It’s a learning process, life is. And a new endeavor like this blog is doubly so.
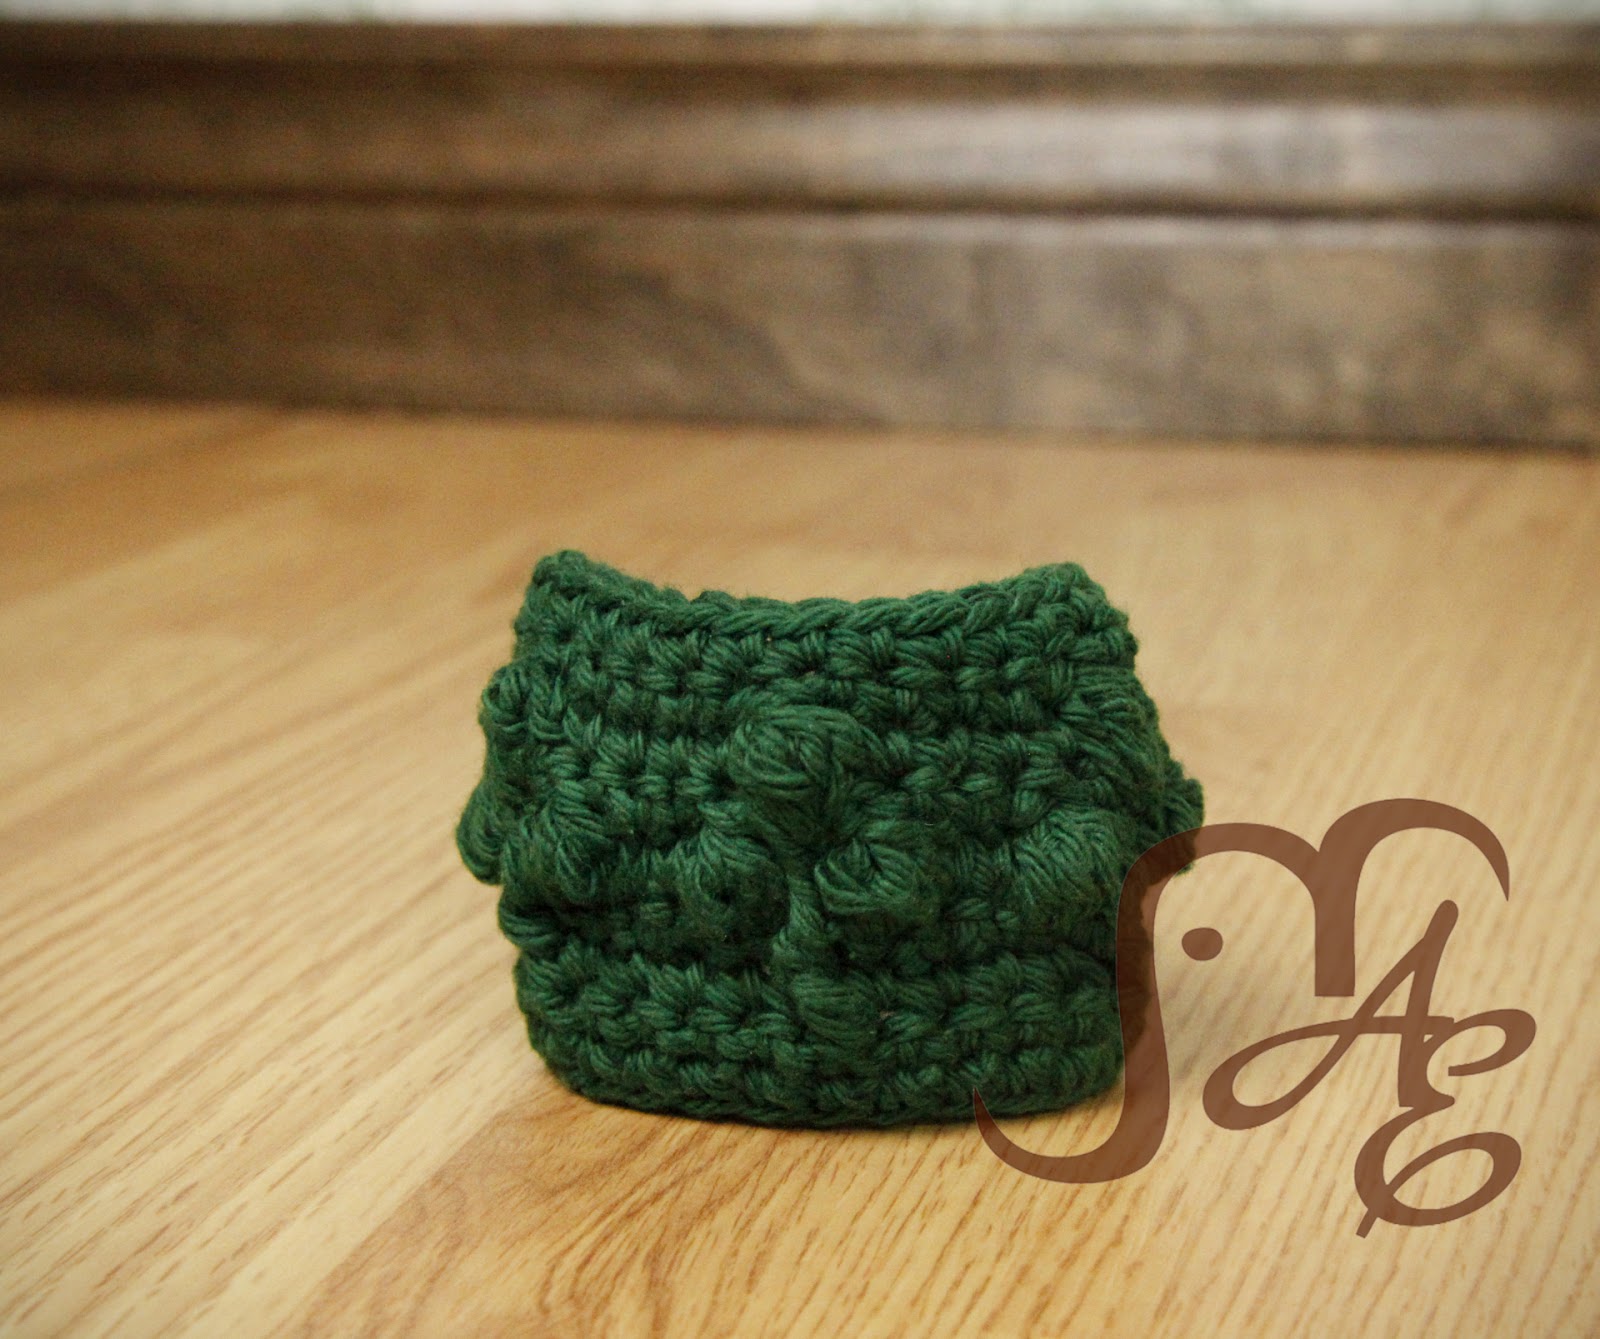
Anyway, I’m surprising myself even by getting this pattern out early. (And not really even that early, more like just in time.) I wanted to come up with something for Saint Patrick’s Day that hadn’t already been made a bunch of times and that was quick. I came up with this little Shamrock Cuff Bracelet. It’s quick to make and will add that little bit of green to your wardrobe so that you don’t end up black and blue from lots of pinches. (A super weird tradition, btw.)

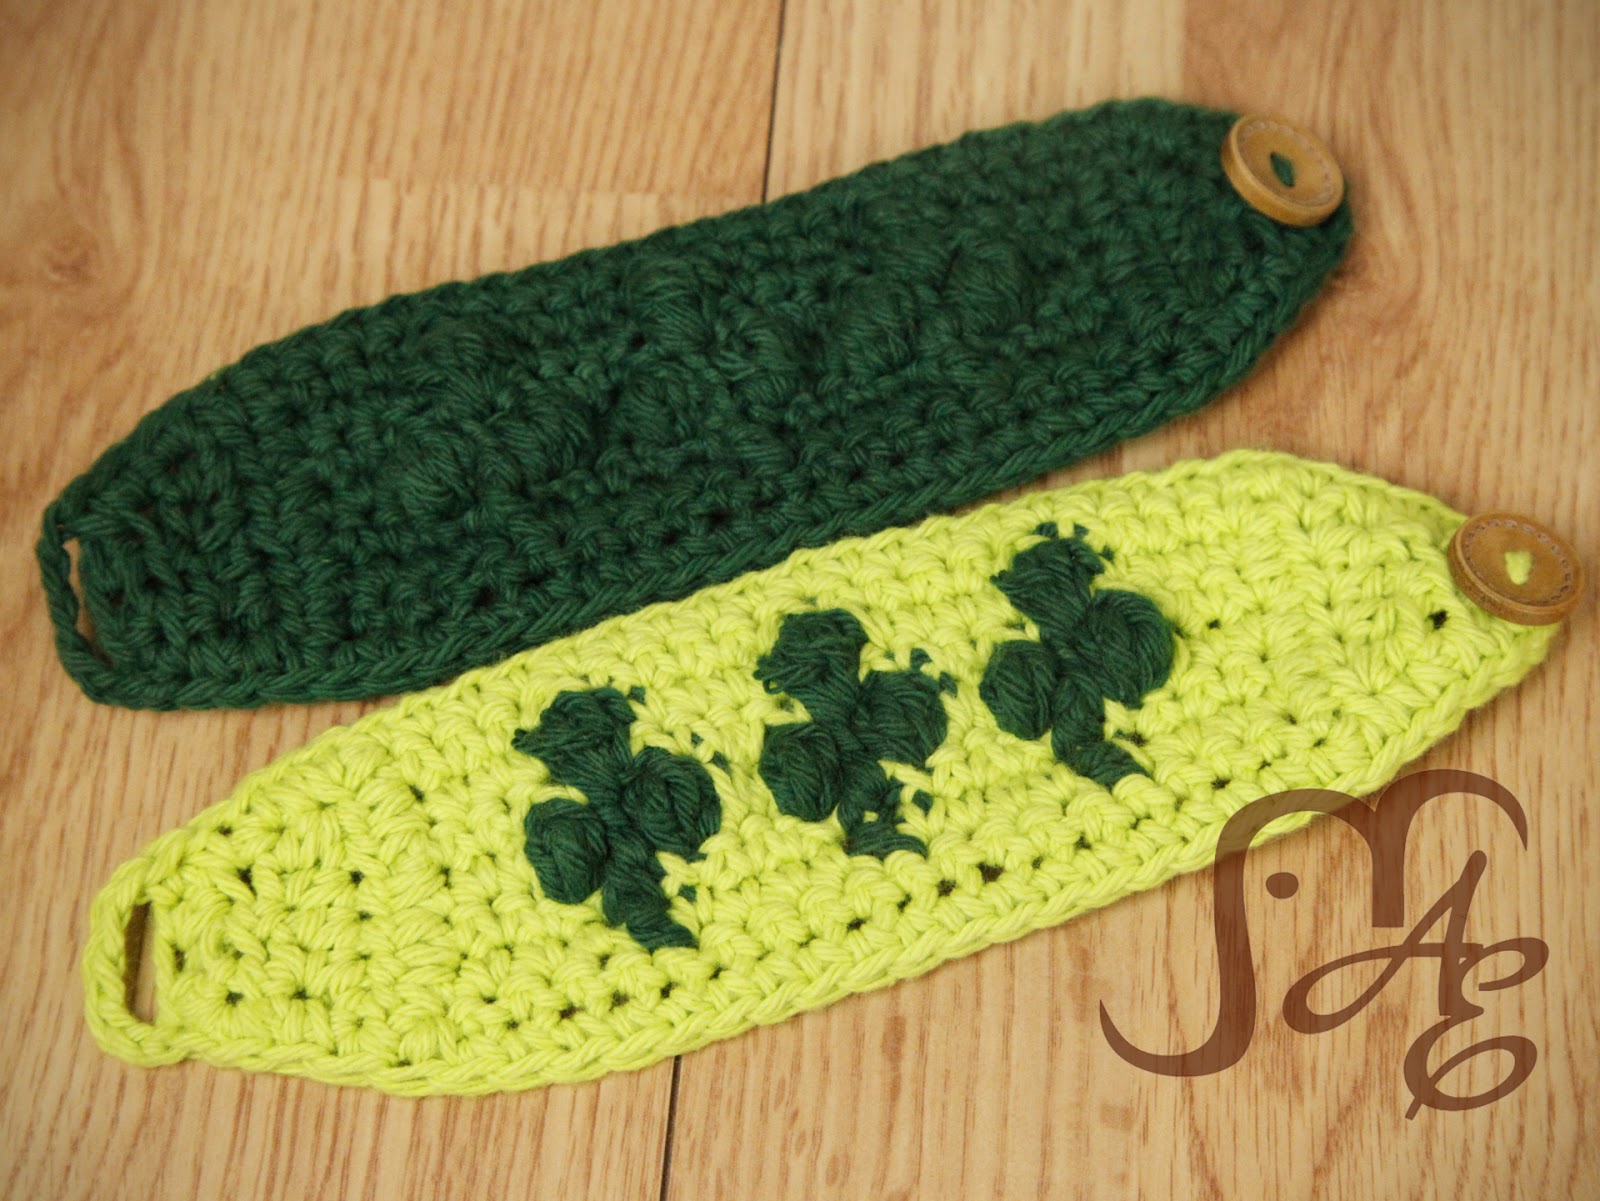
You can make this in a solid green or do color changes and make the shamrocks stand out more!

A couple of disclaimers: This pattern is intended for personal use only. You are welcome to use the pattern to make and sell products, to keep for yourself, or to give away as gifts. I would appreciate receiving credit and a link back to the site, however. Please do not republish or distribute the pattern in any way, or use my photos in your listings.
I am not a robot, so if you find any typos, errors, or places that need clarification, please let me know so that I can fix my mistakes or explain things differently. 🙂
I hope you enjoy this crochet pattern. If you have any questions or comments you can leave them below OR email me at auburnelephant@gmail.com OR through the contact page on this site. I’d also love to see your finished creations! 🙂
Shamrock Cuff Bracelet
Supplies Needed:
Cotton yarn (such as Lily Sugar ‘N Creme)
H/8 5.0mm Hook
Tapestry Needle
Button
Stitches Used:
SS- Slip Stitch
FPDC- Front Post Double Crochet
BPDC- Back Post Double Crochet
FPHDC- Front Post Half Double Crochet
Bobble- Yarn Over (YO), Insert Hook into stitch, YO, Pull Through, YO, Pull Through 2 stitches, YO, Insert Hook into Stitch, YO, Pull Through, YO, Pull Through 2 Stitches (3 loops on hook), YO, Insert Hook into Stitch, YO, Pull Through, YO, Pull Through 2 Stitches (4 loops on hook), YO, Insert Hook into Stitch, YO, Pull Through, YO, Pull Through 2 Stitches (5 loops on hook), YO, Pull through all 5 stitches.
Note: Each row will end with a Ch 1 then turn, unless otherwise noted.
Chain 20
1) SC in 2nd Ch from hook, SC 18 across (19)
2) SC 4, FPDC, SC in next 4, FPDC, SC in next 4, FPDC, SC in remaining 4 (19-16 SC, 3 FPDC)
3) SC 4, BPDC around previous FPDC, SC in next 4, BPDC around previous FPDC, SC in next 4, BPDC around previous FPDC, SC in remaining 4 (19-16 SC, 3 BPDC)
4) (SS in this round serve to tighten the bobbles closed, they do NOT count as stitches) SC 3, Bobble, SS, FPHDC around previous BPDC, Bobble, SS, SC in next 2, Bobble, SS, FPHDC around previous BPDC, Bobble, SS, SC in next 2, Bobble, SS, FPHDC around previous BPDC, Bobble, SS, SC in remaining 3 (19-10 SC, 6 Bobbles, 3 FPHDC)
5) SC in each across (19)
6) (SS in this round serve to tighten the bobbles closed, they do NOT count as stitches) SC 4, Bobble over Row 5 into Row 4 (the top of the FPHDC), SS, SC in next 4, Bobble over Row 5 into Row 4, SS, SC in next 4, Bobble over Row 5 into Row 4, SC in remaining 4 (19-16 SC, 3 Bobbles)
7) SC in each across (19)
Do NOT finish off. Turn work to short side and continue.
Ends
1) HDC 7 across the side of the cuff. Ch 2, turn. (7)
2) HDC, Skip 1, HDC in next 3, Skip 1, HDC. Ch 2, turn. (5)
3) HDC, Skip 1, HDC, Skip 1, HDC. Ch 2, turn. (3)
4) HDC, Skip 1, HDC. (2)
Finish off.
Reattach yarn to the other short end. Ch 2.
1) HDC 7 across the side of the cuff. Ch 2, turn. (7)
2) HDC, Skip 1, HDC in next 3, Skip 1, HDC. Ch 2, turn. (5)
3) HDC, Skip 1, HDC, Skip 1, HDC. Ch 2, turn. (3)
4) HDC, Skip 1, HDC. (2)
Ch 1, SC down the side and around the end. Stop when you get back to the last 2 HDC, Ch 5, Skip the last 2 HDC, SS to the first SC (This makes the loop to fasten around the button). Finish off. Weave in all the ends.
Sew on Button to the other end.

One thought on “Shamrock Cuff”