
This post may contain affiliate links. If you use these links to buy something I may earn a small commission at no cost to you. Thanks.
…
This blanket has been nearly a year in the making. It didn’t actually take that long but it kept getting pushed aside. It also ended up being bigger than I expected, which isn’t a bad thing really.
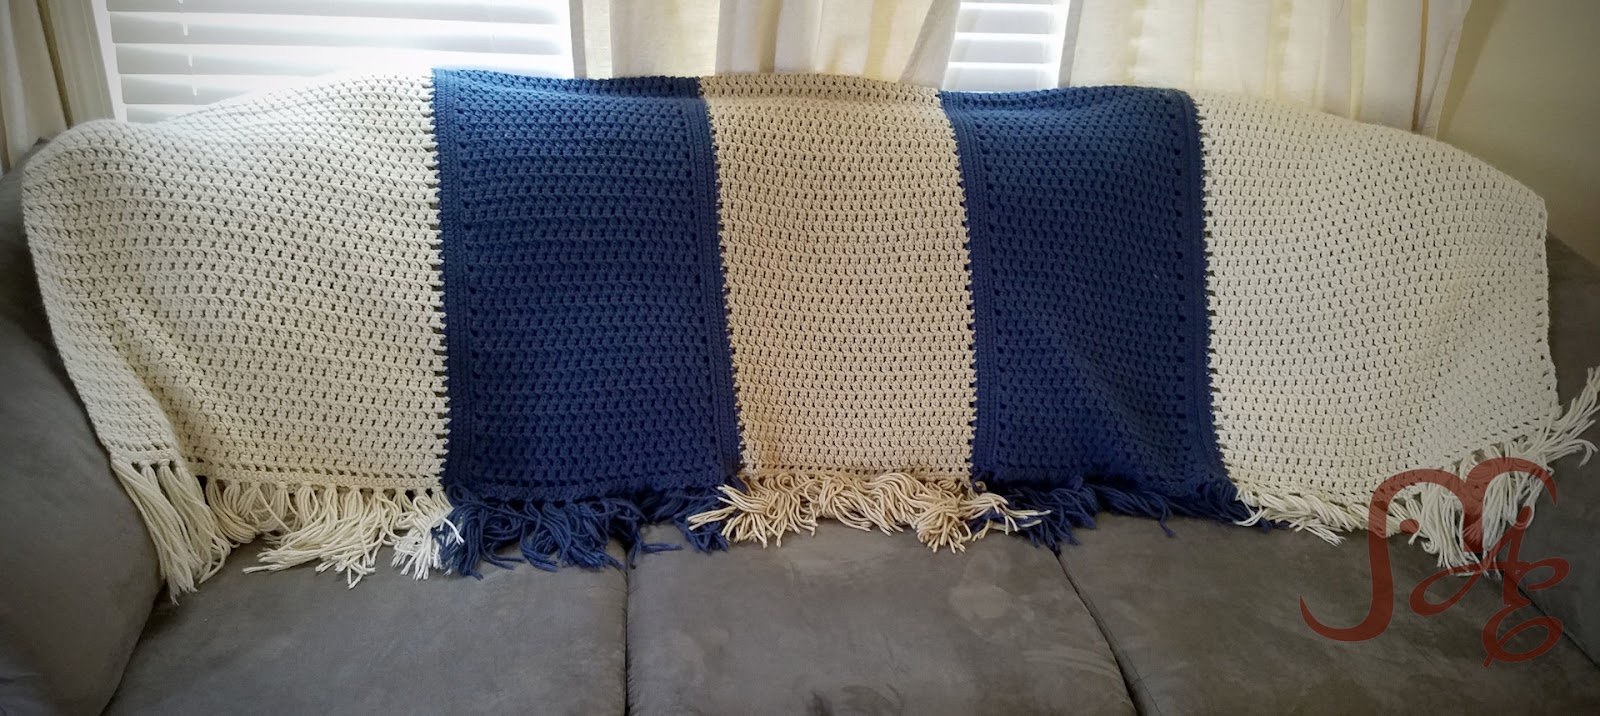
(This is it folded in half along the back of my full-sized sofa.)
There’s a bit of a back story on this one. My little brother got married last October in Wisconsin, near a river, outside, at sunset. I don’t know if you’ve ever been to Wisconsin in October but it can be a bit chilly. Also, if you’ve ever been dress shopping you know that finding a “warmer” formal dress is next to impossible. And really finding a dress at all is difficult. I think I tried on at least a dozen and probably bought 3 or 4. I finally found one that I felt comfortable in and thought was cute. But, of course, it was sleeveless and on the thinner side. I looked for a wrap or shawl that I could wear with it that would give me a little extra coverage but still look nice. I picked up a couple of scarves that were okay but not exactly what I wanted. I decided after some Pinterest searching that I would just crochet one.
Luckily, we had an 8+ hour drive to get there so I had plenty of time to work on it. It did actually take almost that long and I had to send the hubby out for an extra skein of yarn once we got there. But I was pretty pleased with how it came out. And it worked perfectly. Definitely warm enough and I thought it was pretty. However, I have very few occasions that would require a shawl like this. It’s not really my style to dress up much. But I didn’t want it to go to waste so I decided that if I made a few more of the same type of shawls that I could sew them together and make a blanket. I’ve been wanting an afghan for our living room for a while but couldn’t decide what to do. This stitch was super easy and repetitive and I loved the fringe. I picked out a couple of coordinating colors and started on some more. My idea was to do them at varying widths so they would be random. But after I made a few I decided to do more of a patterned look. This could be super versatile though. You could do one section wide enough to be the full blanket or only 2 or 3 sections. Mine came out big enough for a twin bed. lol! It is super comfy though and really warm! (Although, it’s summer now and I don’t really need the warm part yet. I’ll be thankful when winter comes!)

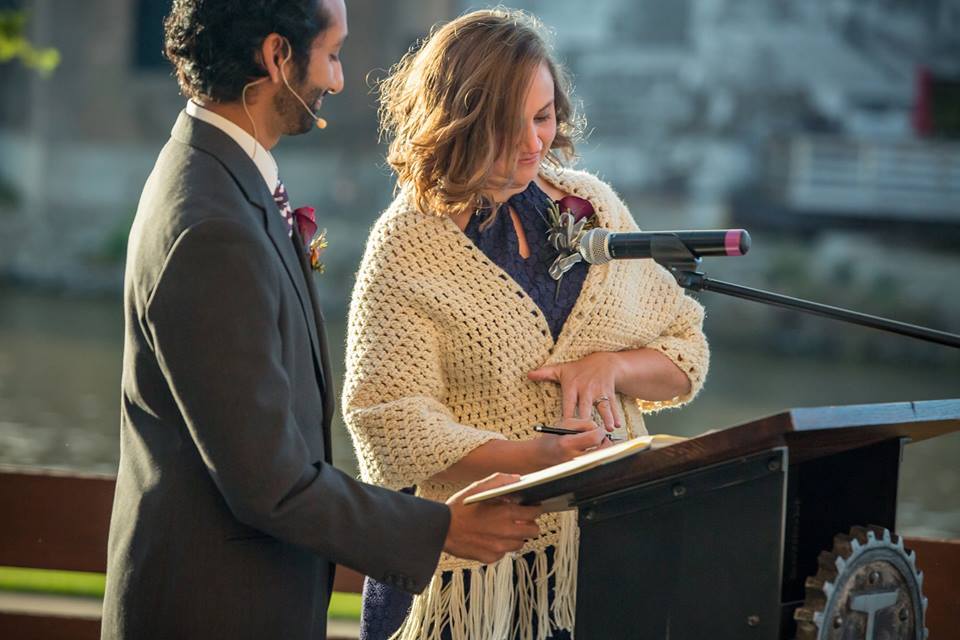
(Here I am wearing the original shawl being a witness for the wedding.)
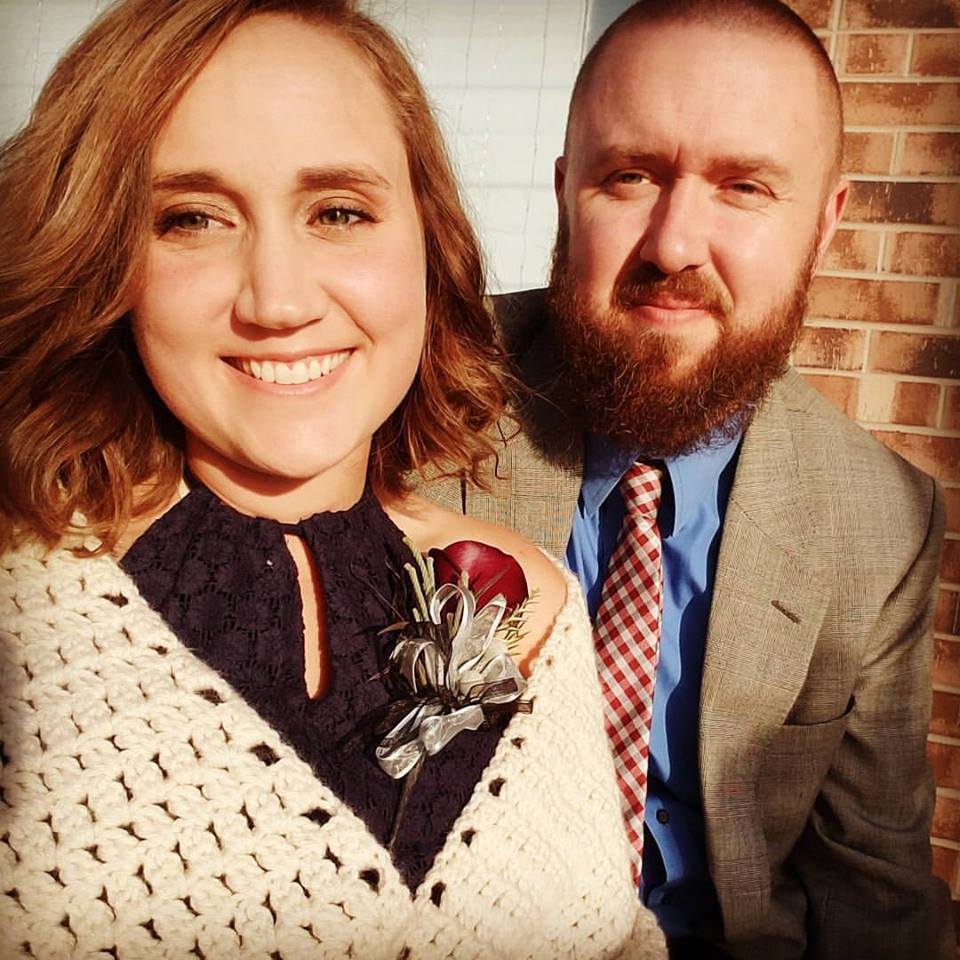
(A little closer photo with me and my hairy hubby. )
This is the pattern that I found and based my original shawl off of. Funny story though, in looking for this pattern to share with you I realized I actually didn’t follow the instructions, oops! So mine doesn’t look the way that hers does. I skipped the DC, Ch row after the first one and did the whole thing in the DC Cluster. The way I did it made it a lot fuller and heavier. But either way would work for this too.
Because this is super customizable I’m going to just give you the basic overview of how I did mine and you can decide how you would want to do yours. (And sadly, I didn’t think to take any progress photos. )
I started with a Foundation DC row of (I think) 78 for the Cream sections. You can also do a chain and DC across, I just like the Foundation DC better. Then following the directions of the shawl, DC, skip one, CH 1 across. Ch 2 and turn. Then in each Ch space, do the DC Cluster. The Cluster is YO, Insert into ch space, YO, Pull Through, YO, Pull Through 2 loops on hook, YO, Insert into same ch space, YO, Pull Through, YO, Pull Through 2 loops, YO, Pull Through remaining 3 loops. Then Chain 1, and DC Cluster into the next Ch space. You won’t work the DC from the last row. At the end of the row, DC, ch 2 and turn. Repeat back and forth doing the DC Cluster into each Ch space. Work this until you reach your desired length. Mine were about 98 rows and 60ish inches. I added fringe to the ends but you can skip that.

I made the 2 Cream pieces about the same width and length. Then did the same with the Blue and made one section of the tan. To put them together I used the blue color (because it was going to be touching all the other pieces) and SC evenly along the side of each piece. (Actually only on one side of the creams since they were the outside.) Then I did another row of SC along the side.
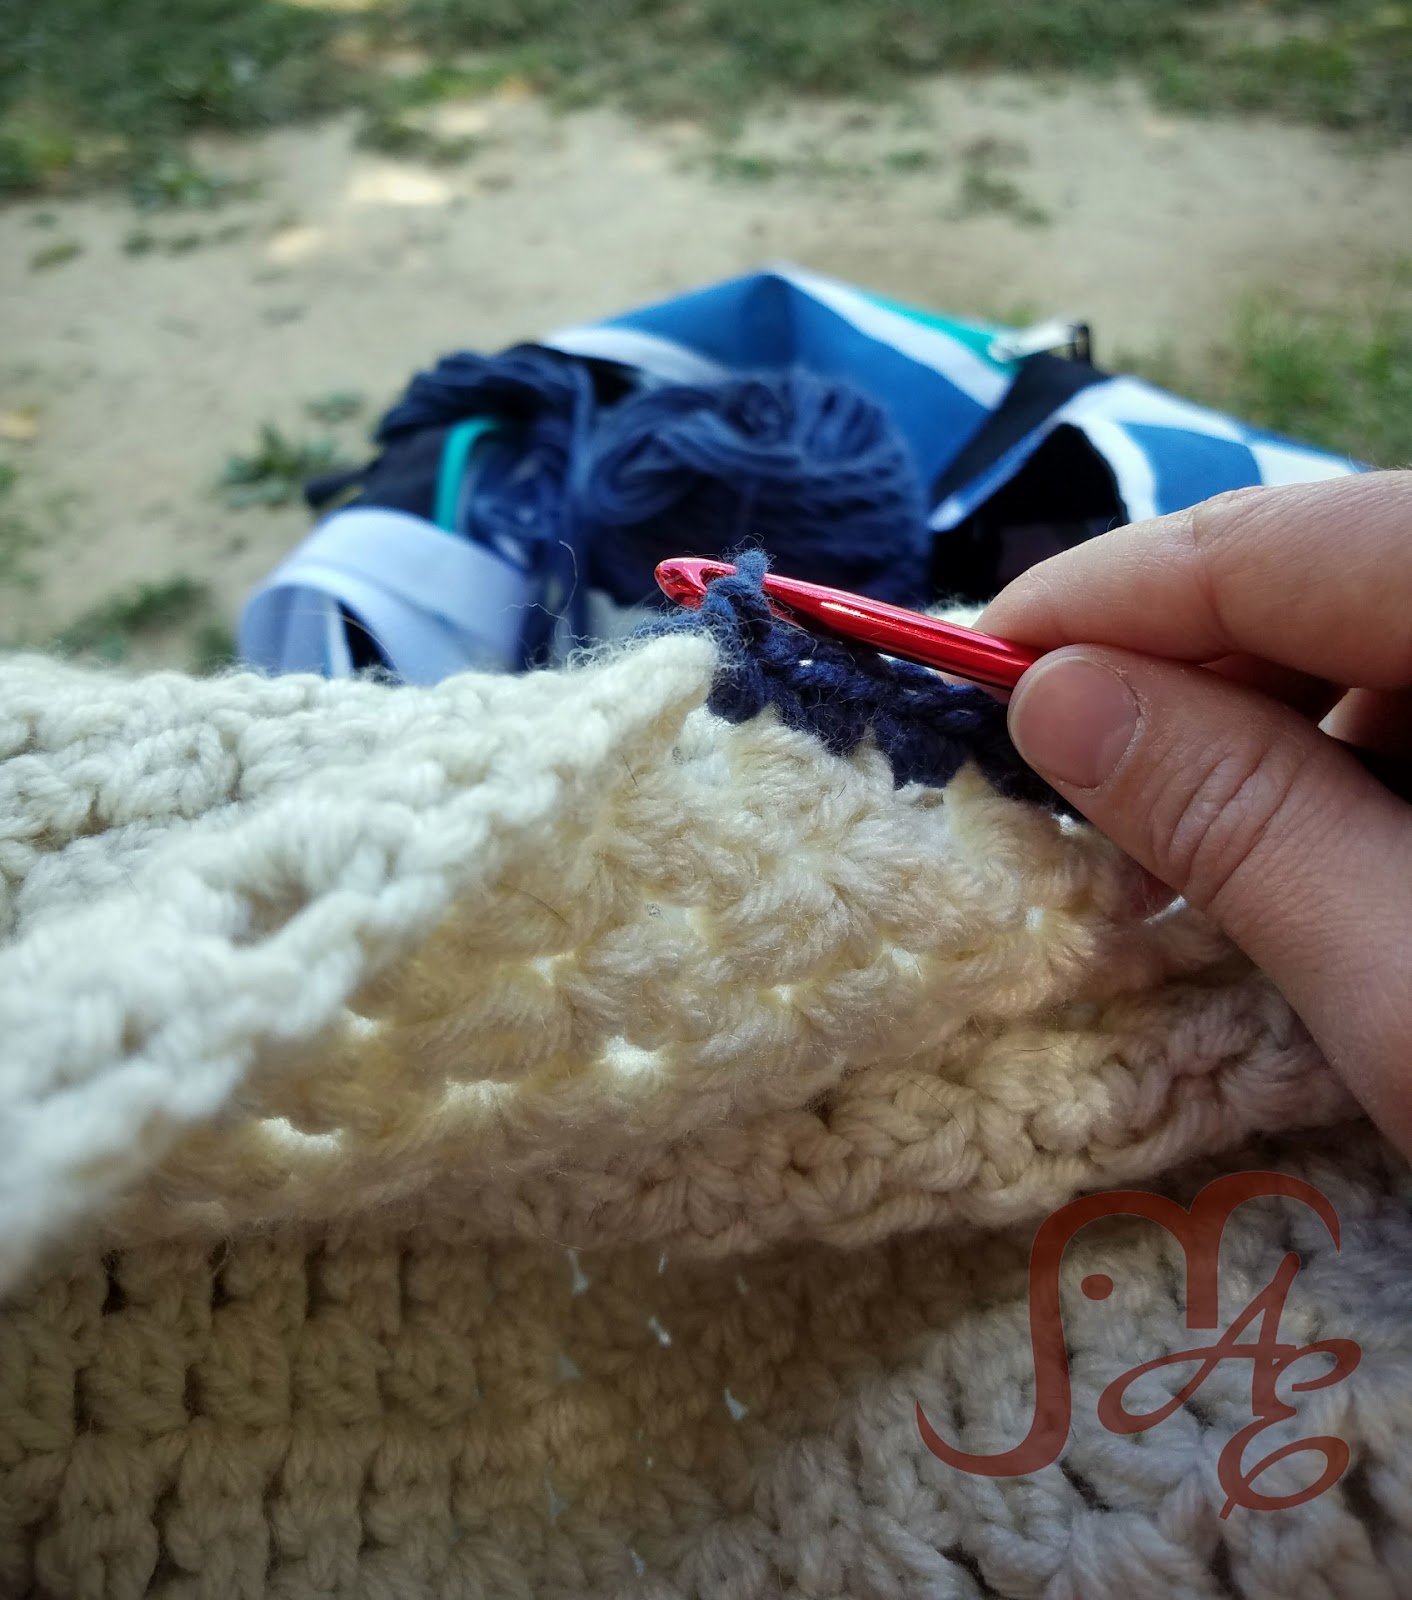
(It was so nice one day that I had to take this project with me to the park to get the kids out of the house.)
I wanted to be able to make a clean join between all the pieces. I went searching for the best way to do this that wasn’t actually sewing them together with a needle. I’m not a fan of that. I found what someone called a “zipper join”. I loved the way the result looked. It was nice and flat. Pretty much exactly what I had wanted. Essentially, you are doing a surface slip stitch through the bottom loops of each piece you are connecting. It did take a little longer than just straight up SC or SS would have but the end result is so much better. This is the tutorial that I used if you need it. (She has several other join methods on her page too if you don’t like this one.)
So give this DC Cluster stitch a try and make your own October Breeze Blanket! 🙂
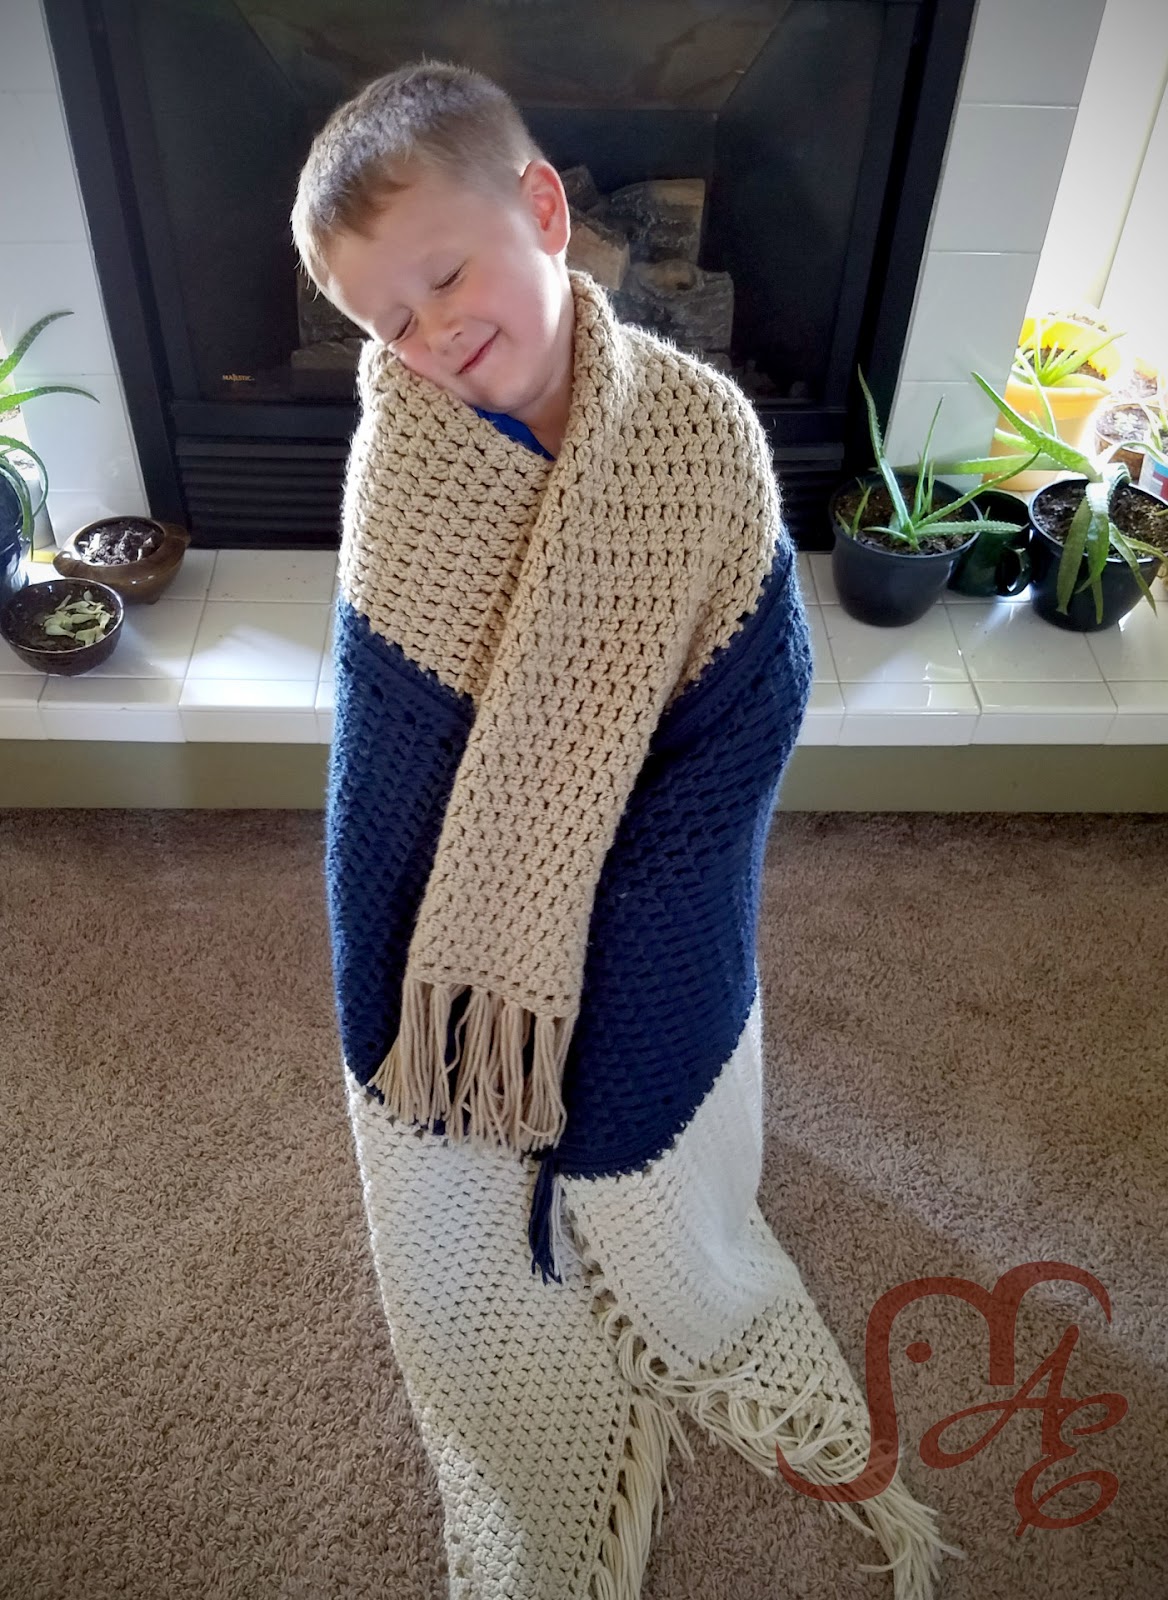
(Little Owen snuggling up in this beast folded in half.)
