
This post may contain affiliate links. If you use these links to buy something I may earn a small commission at no cost to you. Thanks.
…
This pattern has been a bit of an emotional rollercoaster for me. The design started with a client request at the beginning of the year and after a couple of variations I reached out to a crochet group on Facebook to get feedback on the design. They overwhelmingly preferred this style of hedgehog and many asked for the written pattern. I was thrilled with the positive reactions and the client was happy with it as well so I was definitely planning to write it up.
At the end of the week that I shared this guy with that group, I found out my Dad passed away. I had a really hard time with his unexpected death and the turmoil surrounding it. It was at least a month before I even felt like picking up my crochet hook again and even that was pretty half-hearted.
It took a while longer before I started getting back to life and crochet. I did manage to get a few other simple patterns finished. I decided that I needed to put more effort into my blog and patterns and treat the site more like a business. My Dad was proud of pretty much everything I did and thought the blog endeavor was super cool. He was my biggest supporter and I never wanted to let him down.
But this pattern just kept taking me back to that week. It wasn’t like my dad had anything to do with hedgehogs or this specific project but it was still a reminder of that really painful time. I worked a little on it here and there but it has taken me this long to actually get it all the way done.

It didn’t help that this pattern was a little complicated to write. It’s not exactly hard but it can be a bit challenging to explain. I’d say this is an intermediate pattern because you need to be pretty comfortable holding your hook and yarn and knowing where your stitches are.
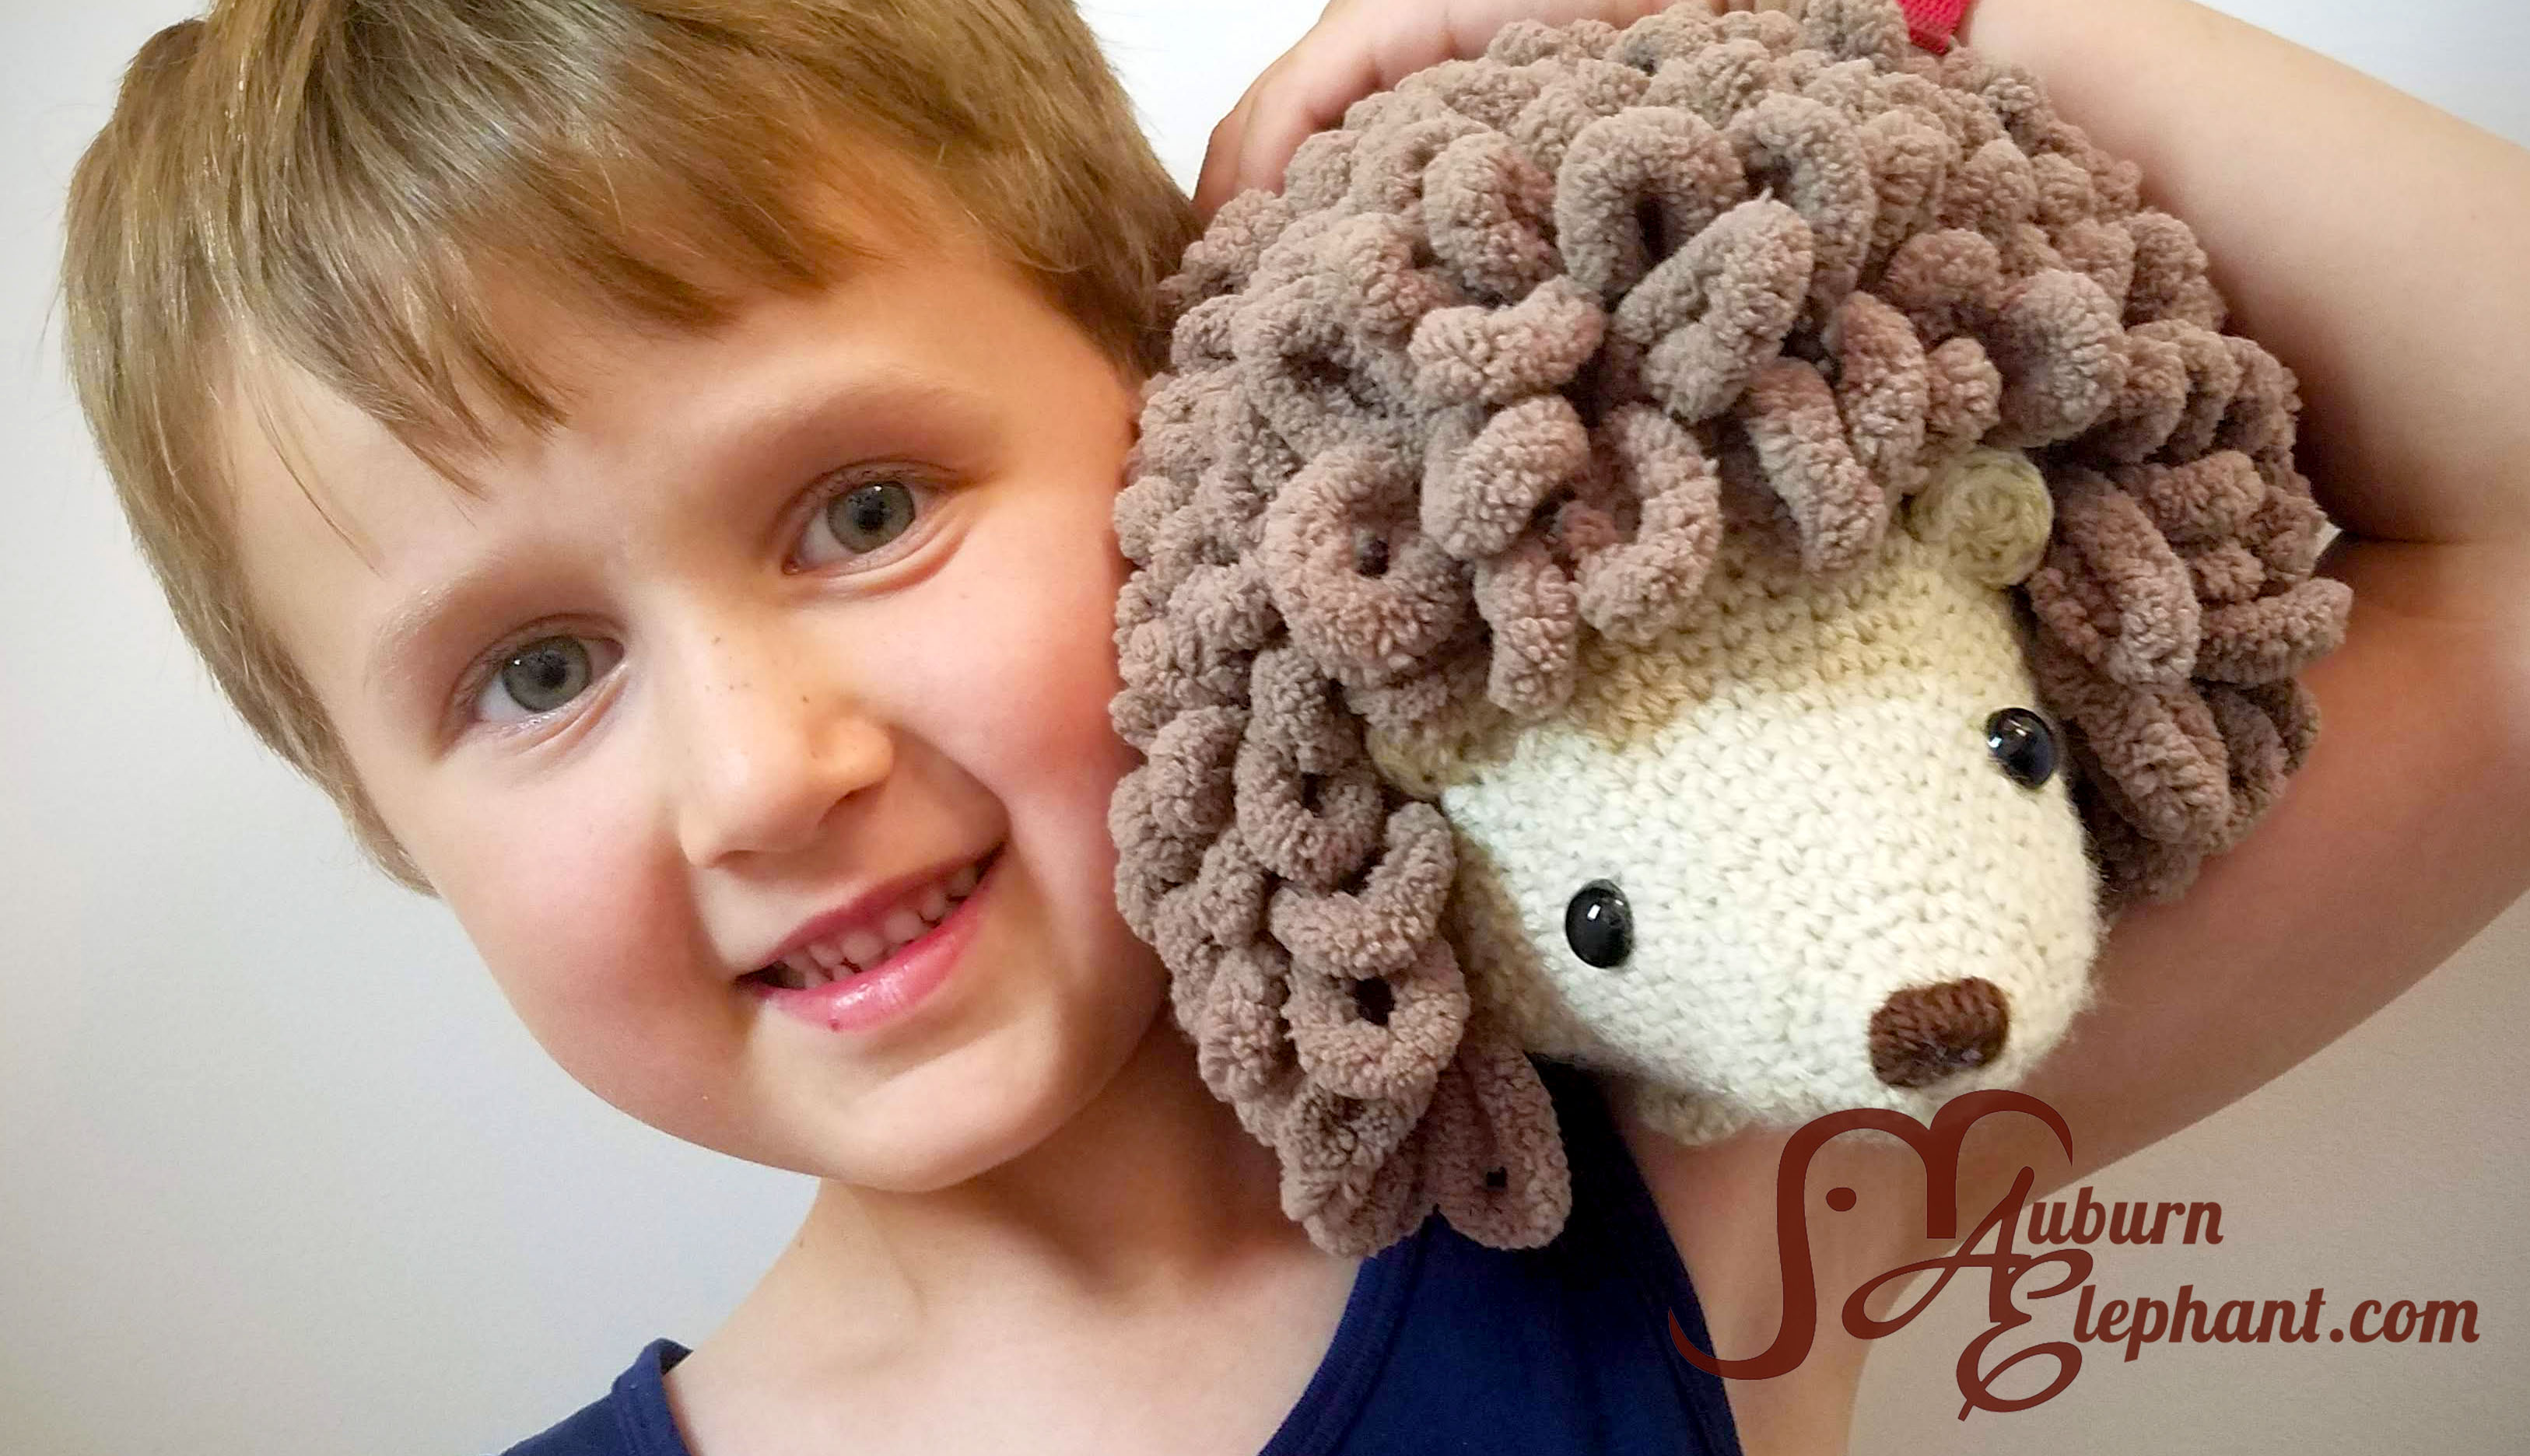
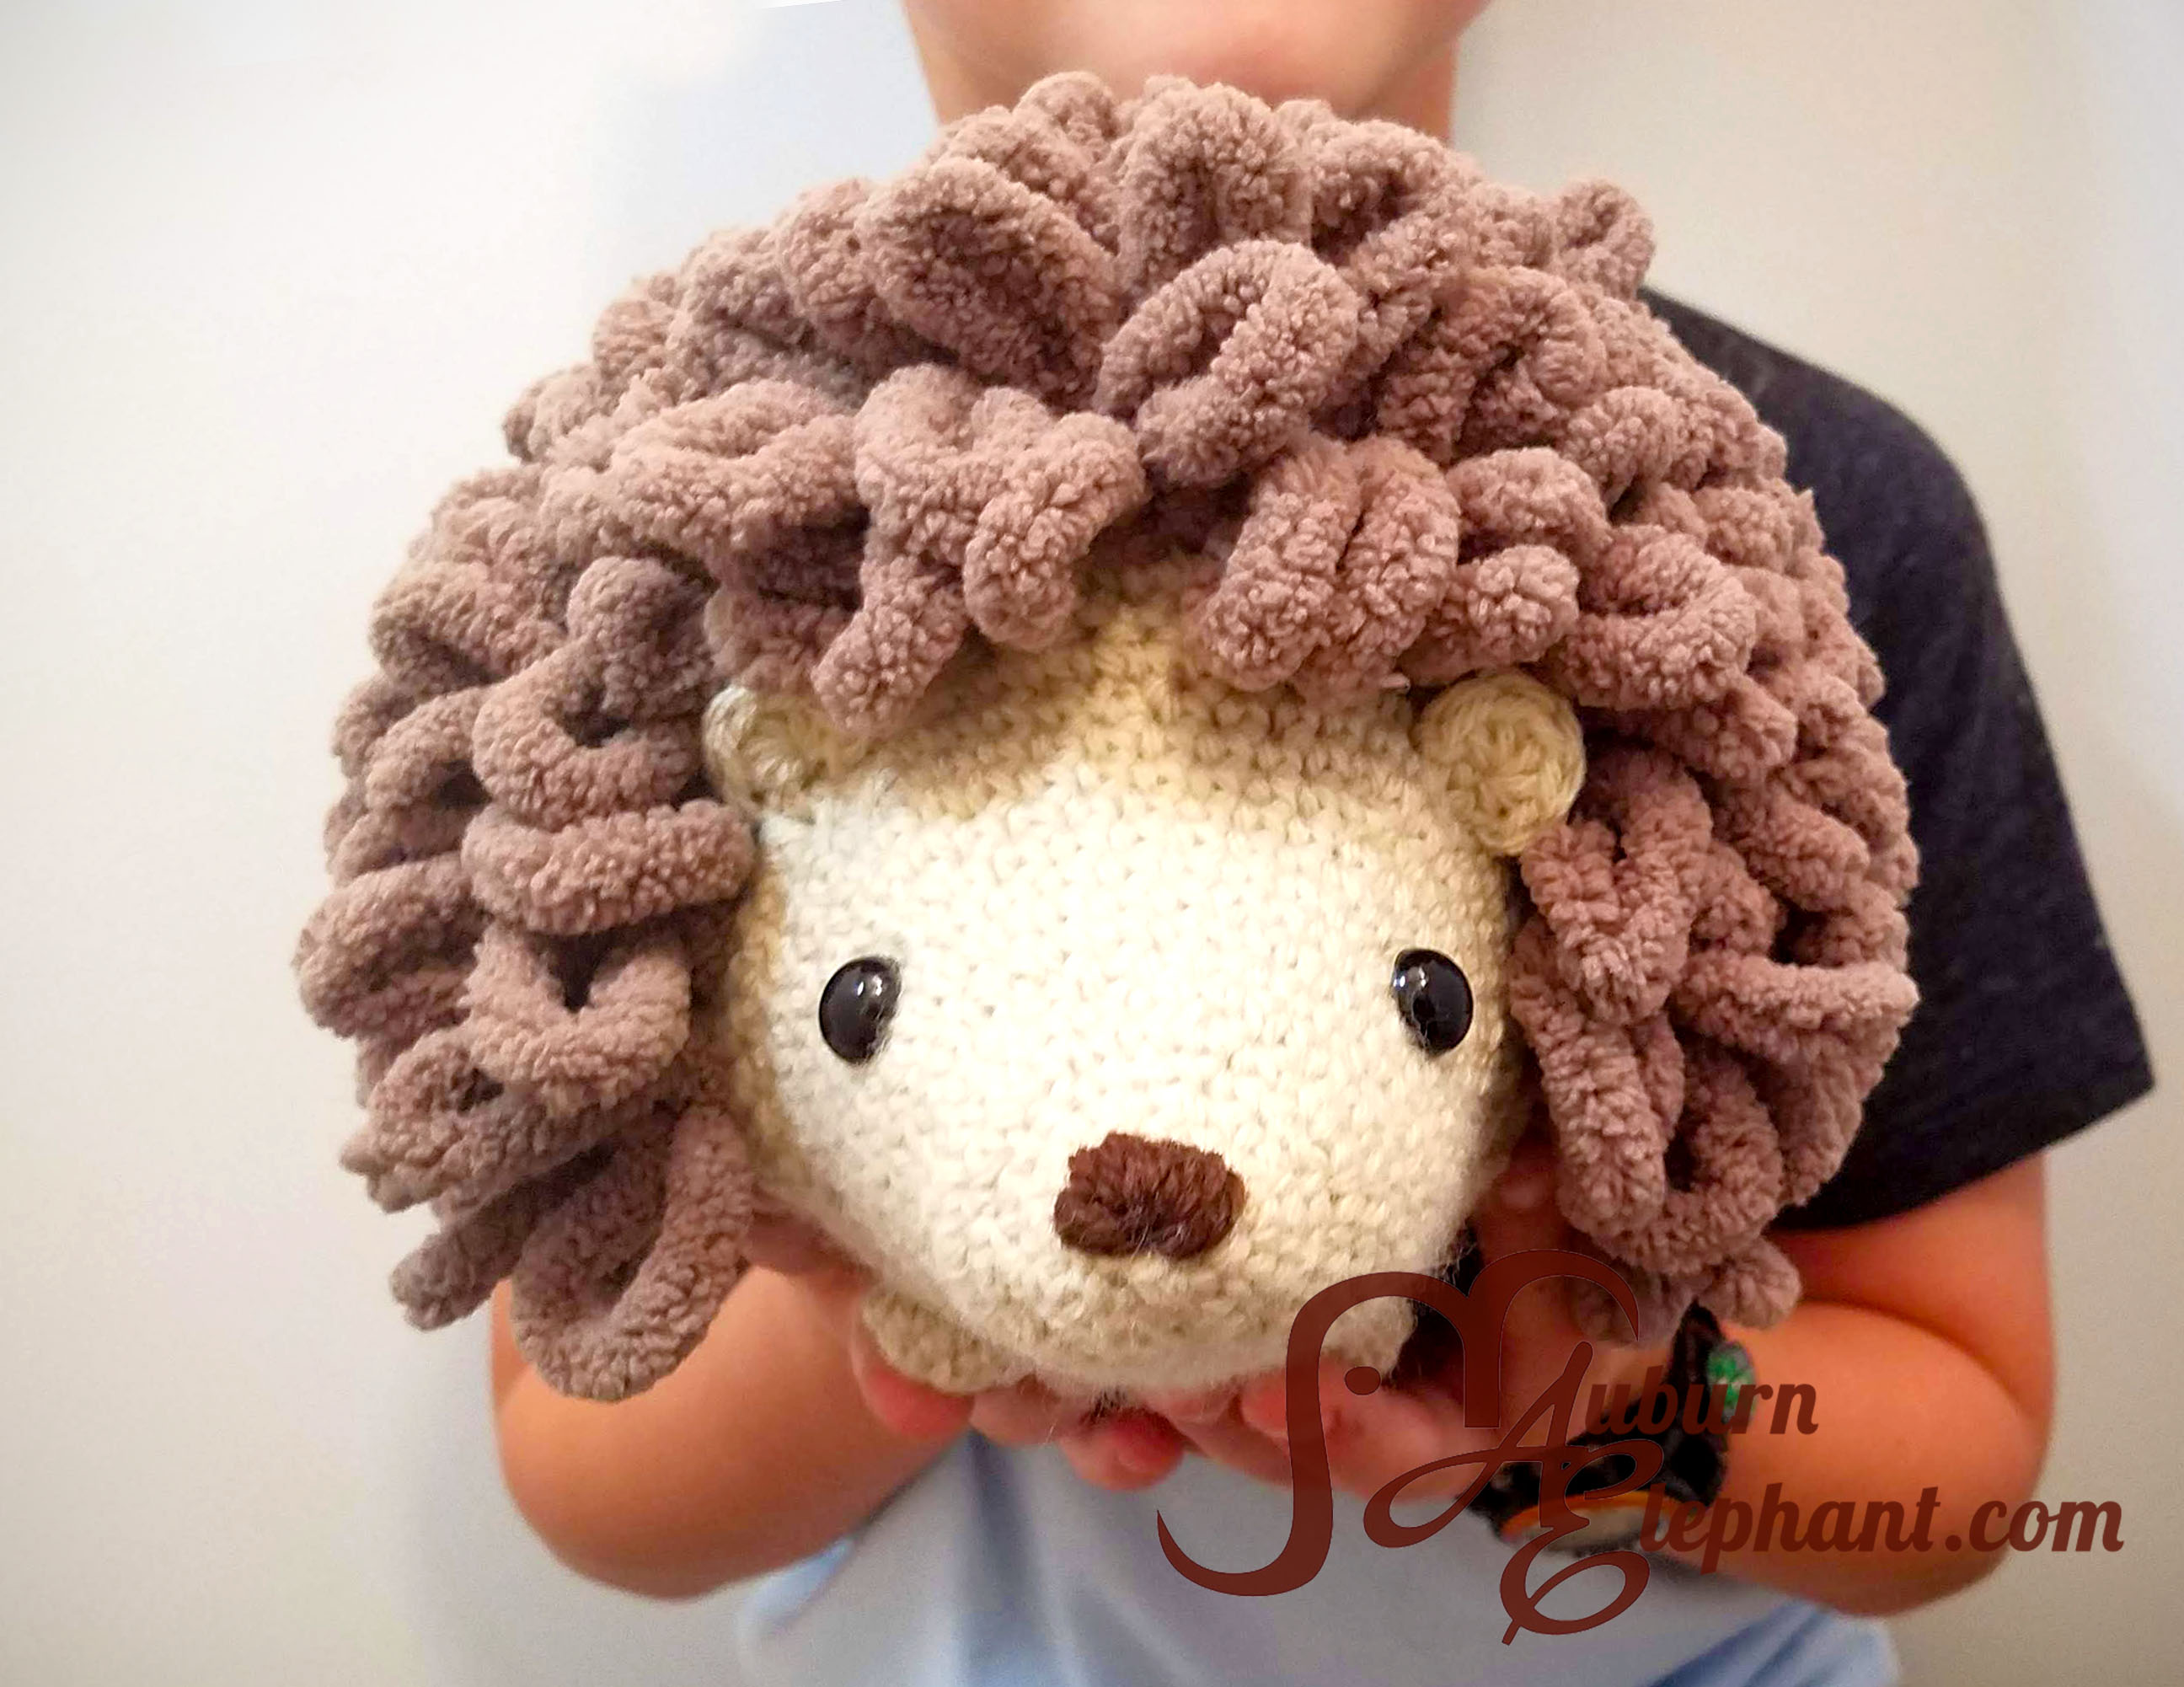
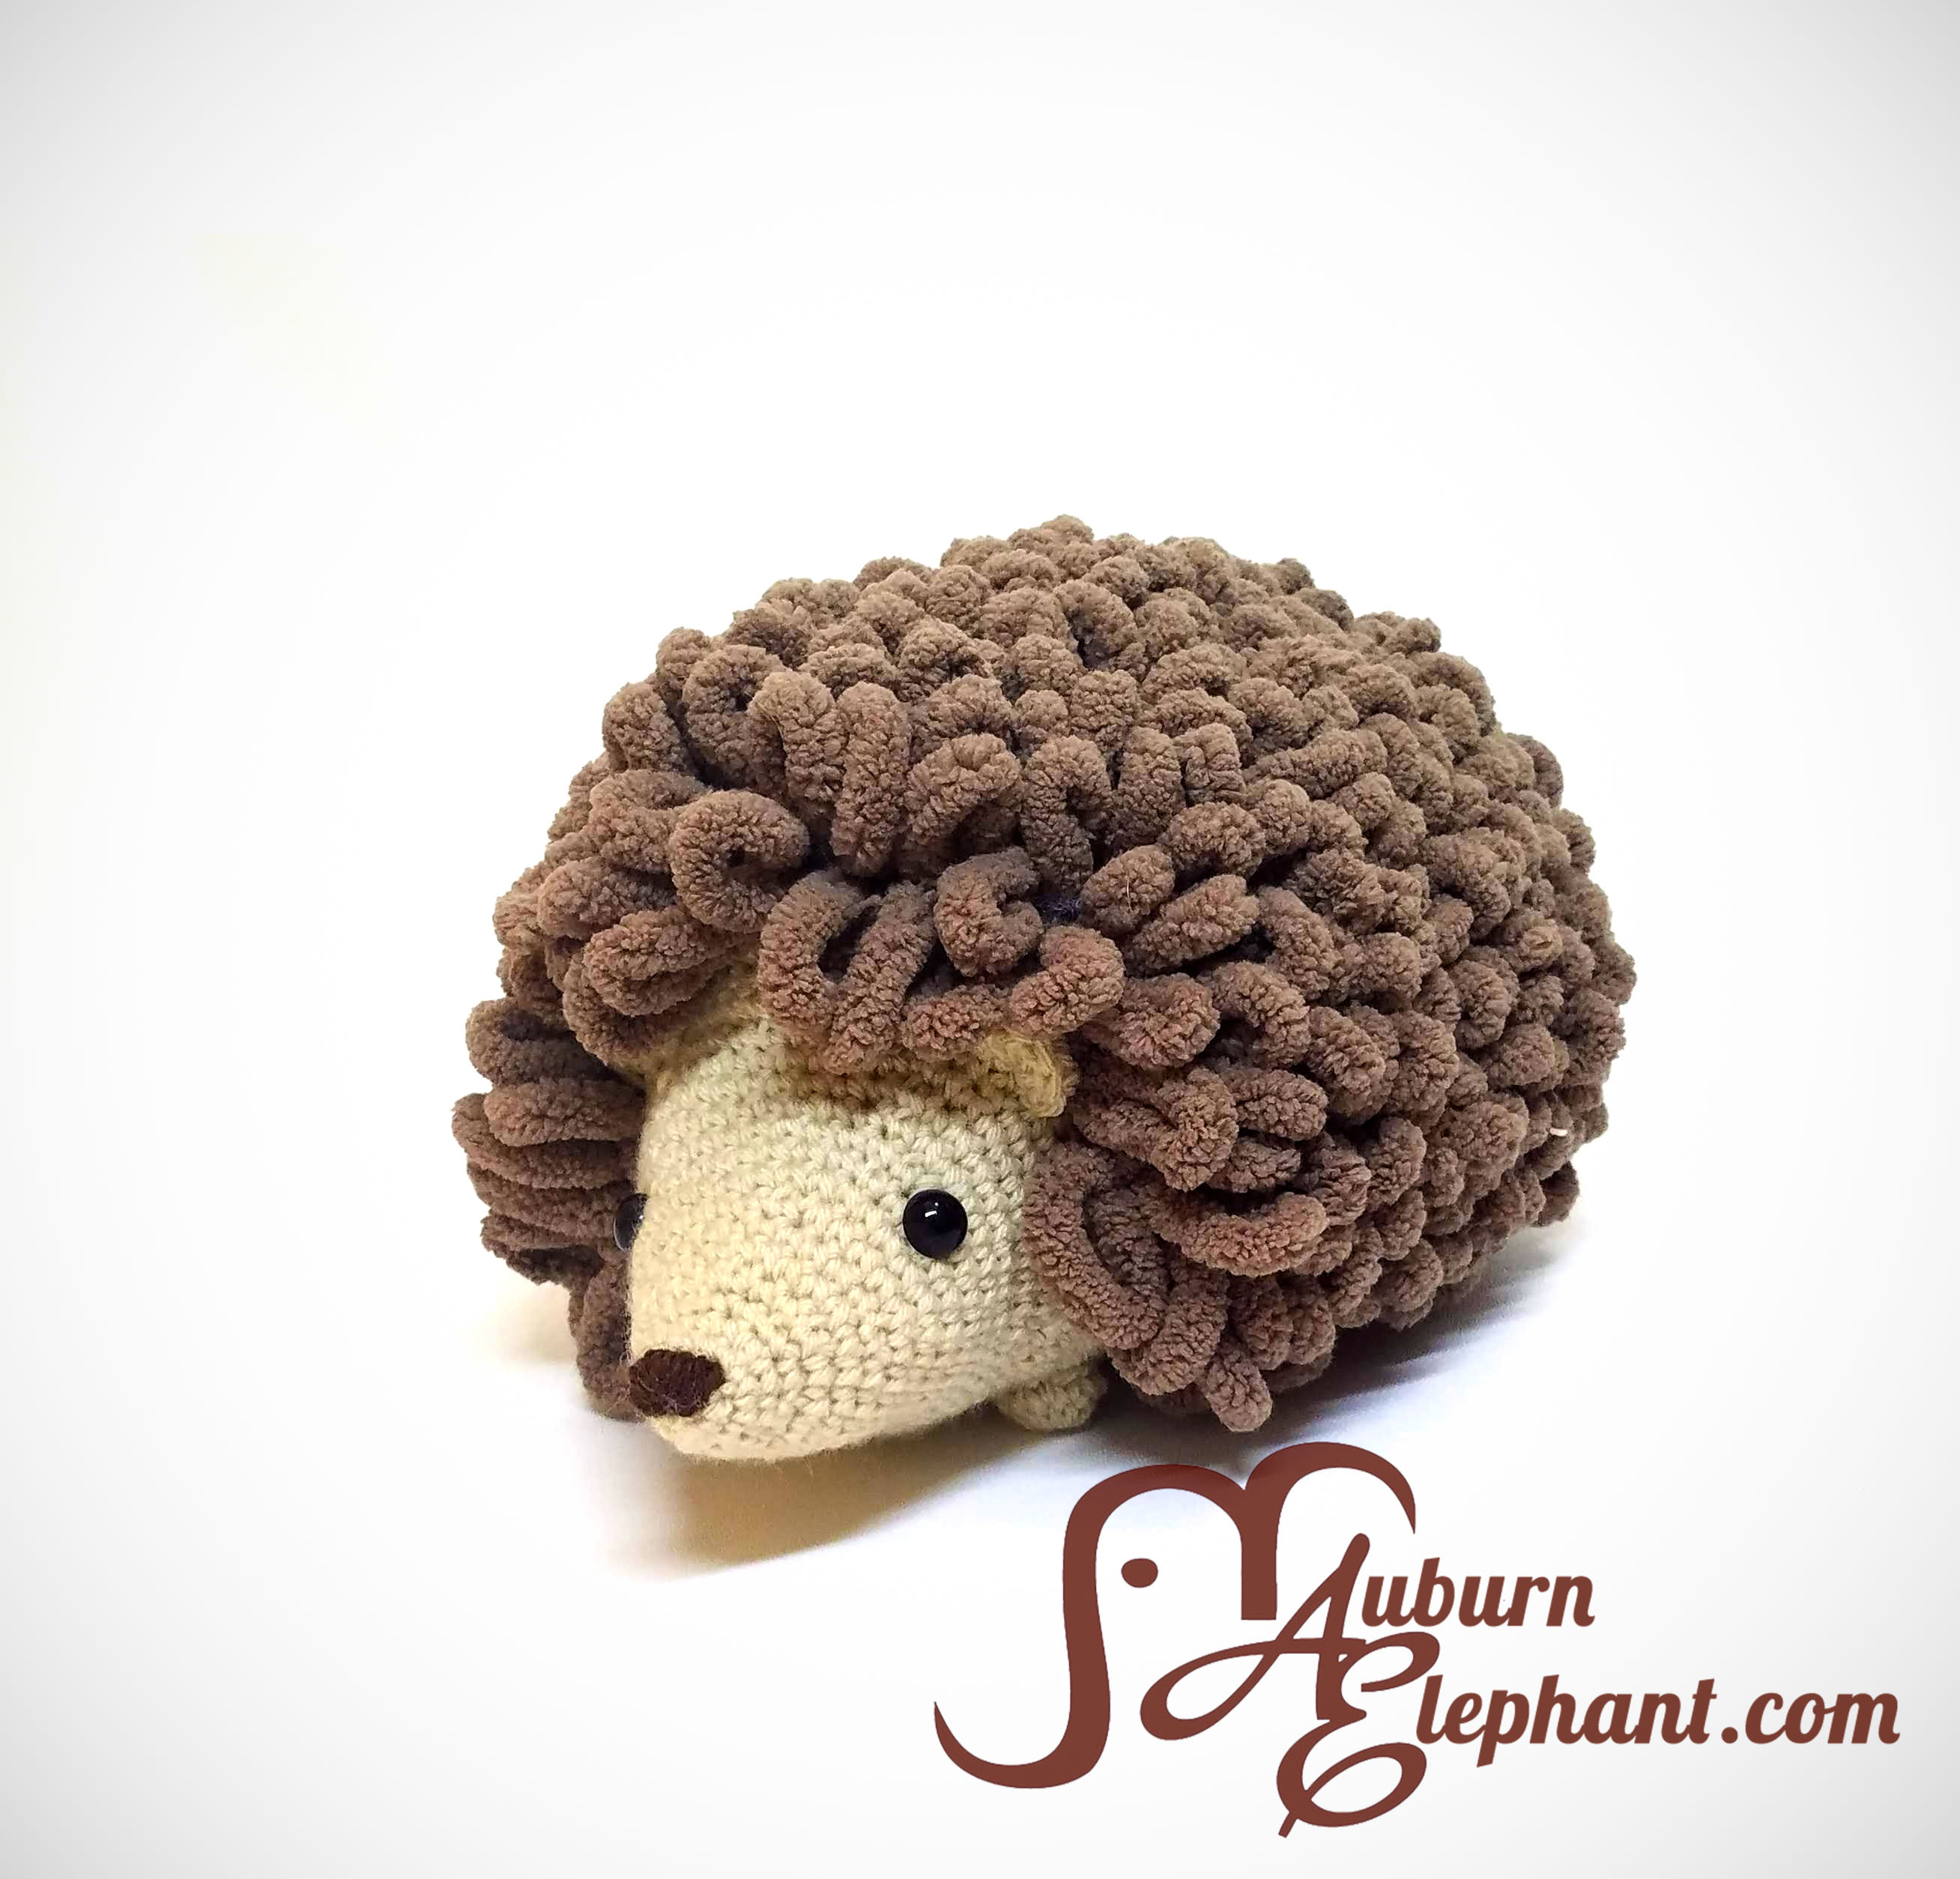
The end result though is a rather large, soft, and adorable hedgehog! I used pretty standard, more realistic colors for this hedgehog but I think it would look FABULOUS in some bright and funky colors too!!!
You’ll find the FREE pattern on the page below. Or if you’d like some extra explanatory photos and a printable version, you can purchase such a download from ETSY or Ravelry!
A couple of disclaimers: This pattern is intended for personal use only. You are welcome to use the pattern to make and sell products, to keep for yourself, or to give away as gifts. I would appreciate receiving credit and a link back to the site, however. Please do not republish or distribute the pattern in any way, or use my photos in your listings.
I am not a robot, so if you find any typos, errors, or places that need clarification, please let me know so that I can fix my mistakes or offer extra guidance. 🙂
I hope you enjoy this crochet pattern. If you have any questions or comments you can leave them below OR email me at auburnelephant@gmail.com OR through the contact page on this site. I’d also love to see your finished creations! 🙂
Loopy Hedgehog
Supplies Needed:
Big Twist Value Yarn, Medium Worsted Weight 4 (100% Acrylic, 371 yds, 6 oz) Cream, 1 skein- approx. 200 yds, Chocolate Brown, 1 skein- Small amount for Embroidering nose
Lion Brand Off the Hook Yarn, Super Bulky 6 (100% Polyester, 3.5 oz) Cinnamon Swirl, 1 skein
G/6 Hook (4.25 mm)
Poly-Fil Stuffing
Safety Eyes (optional) 12 mm
Needle for sewing
Stitches/Terminology:
Written in US crochet terms
Ch- Chain
st(s)- Stitch(es)
sl st- Slip Stitch
SC- Single Crochet
2SC/3SC- Single Crochet Increase, 2 or 3 SC into same stitch
HDC- Half Double Crochet
Special Stitches:
DEC- Single Crochet Invisible Decrease. Insert hook up through front loops of next 2 sts, yarn over, pull through front loops, yarn over, pull through all loops to finish decrease.
SC4TOG- SIngle Crochet Decrease over 4 sts. (Insert hook into next st, yarn over, pull through) 4 times, yarn over, pull through all loops to finish decrease.
HDC DEC- Half Double Invisible Decrease. Yarn over, insert hook up through front loops of next 2 sts, yarn over, pull through front loops, yarn over, pull through all loops to finish decrease.
Notes:
You should start out by reading through the pattern in its entirety. There are several notes along the way that explain different steps and give you options.
Gauge isn’t very important for this project, however your stitches should be small and tight enough to keep the stuffing from showing and coming out but not so tight that you can’t work into them. My hedgehog in the photos came out to be approximately 12″ long x 8″ wide x 7″ tall using the second option for attaching the spines. Option 1 will likely end up with a slightly slimmer hedgehog however.
Belly
Ch 12,
1) Starting in 2nd chain from hook, 2SC, SC 9, 3SC in next, continuing around to other side of chain, SC 9, SC in same as starting, sl st to first SC of round, Ch 1. (24)
From here, each round will begin with a Ch 1, and end with a sl st to the first SC of the round. Until specified otherwise.
2) SC, 2SC, SC 9, 2SC in each of next 3, SC 9, 2SC, SC in same as first SC of round. (30)
3) 2SC in each of next 2, SC 11, 2SC in each of next 4, SC 11, 2SC in each of next 2. (38)
4) SC, 2SC in each of next 3, SC 12, 2SC in each of next 3, SC, 2SC in each of next 3, SC 12, 2SC in each of next 3. (50)
5) SC 2, 2SC in next 2, SC 18, 2SC in next 2, SC 3, 2SC in next 2, SC 18, 2SC in next 2, SC. (58)
6) SC, (SC in next, 2SC in next) 3 times, SC 16, (2SC in next, SC in next) 3 times, SC, (SC in next, 2SC in next) 3 times, SC 16, (2SC in next, SC in next) 3 times (70)
7) SC 5, 2SC, SC, 2SC, SC 21, 2SC, SC, 2SC, SC 8, 2SC, SC, 2SC, SC 21, 2SC, SC, 2SC, SC in last 3 (78)
8-9) SC in each around (78)
The next section begins the body and opening for the head. You can follow the pattern and slip stitch to get to the starting point. OR you can cut and reattach on the 10th stitch from the seam. I try to avoid the extra end by using the slip stitch but later you will have to go around it and that could be less appealing to you. You will leave a total of 16 stitches unworked for the opening. Make sure they are centered, otherwise your head will be off.
Body
1) Sl st 9 (or cut and reattach, see above note), Ch 1, SC in next 62. Leave 7 sts unworked. Ch 1, turn. (62 SC, 9 sl st, 7 unworked)
2) SC across. Ch 1, turn. (62)
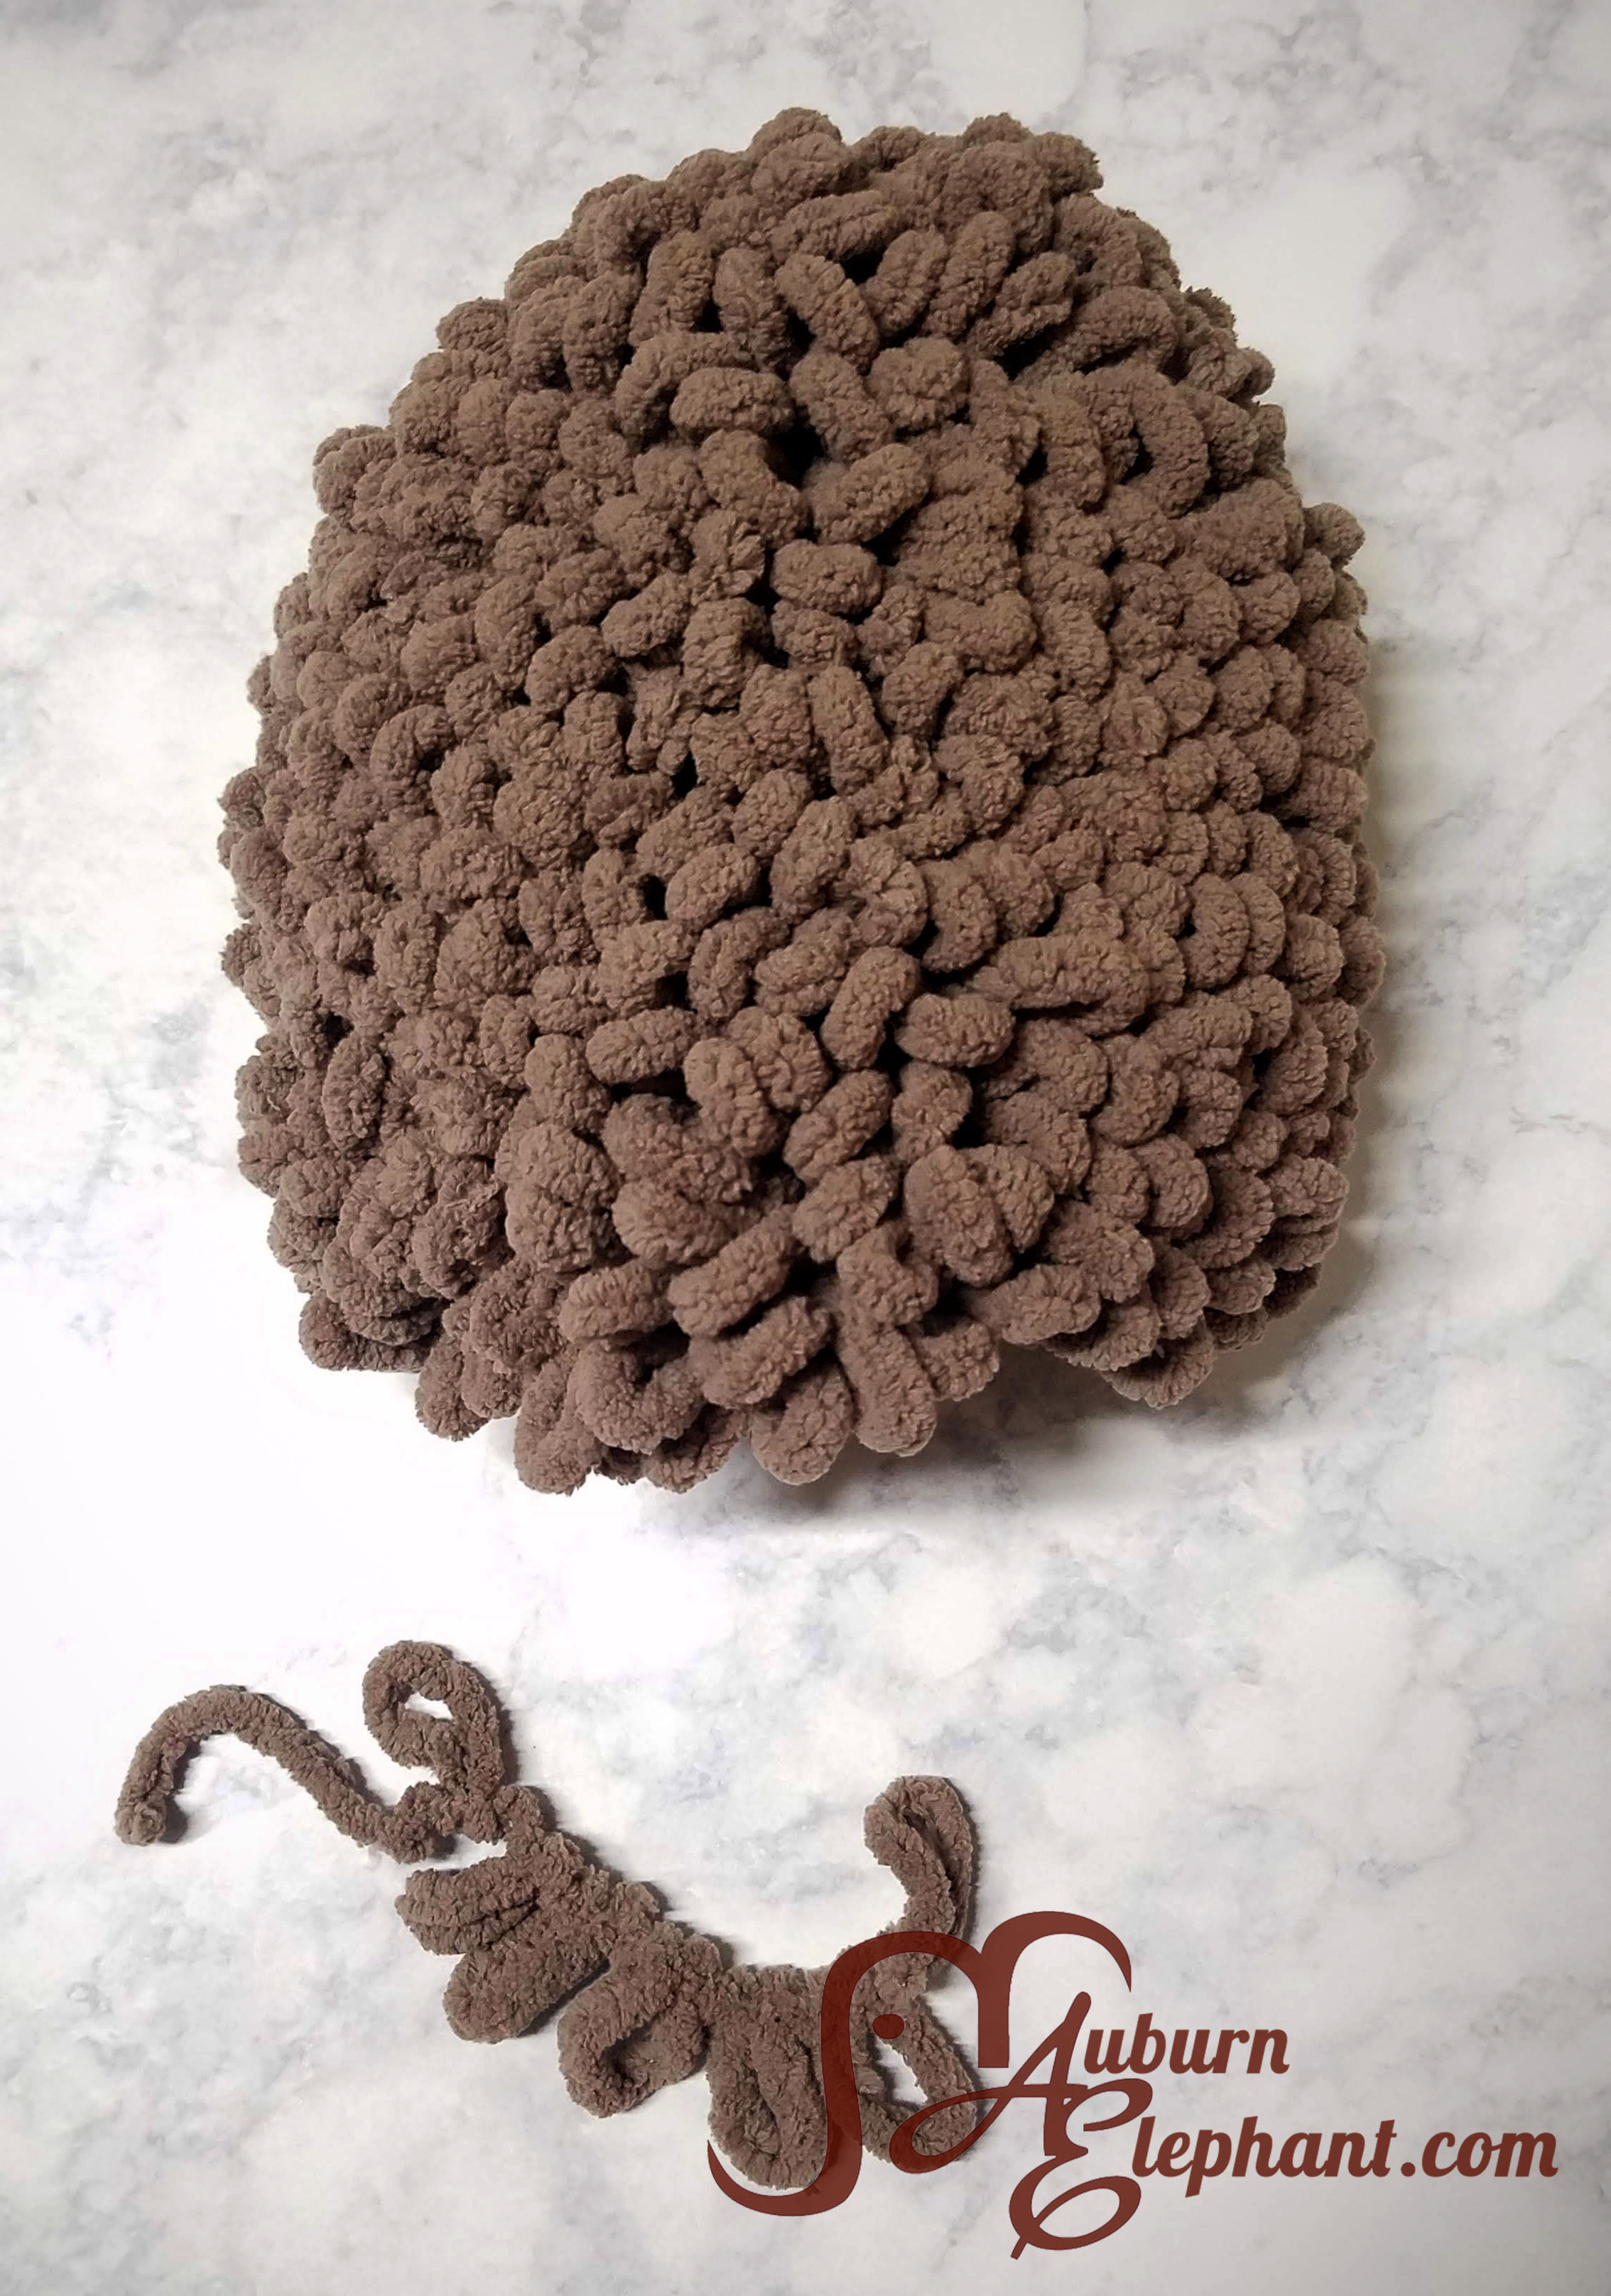
So here’s where you can choose 2 paths to get your Hedgehog Spines in place. Initially I chose Option 1, which is to crochet the body as written with the main yarn and then using a needle and yarn (or thread works) and sew on the ‘Off the Hook’ yarn. This was acceptable. The end result was adorable and just what I wanted, although it was a little tedious and hand sewing is not my favorite.
Option 2, is to crochet the Off the Hook yarn onto the body as you go. For this, you’ll essentially lay the looped yarn on the right side of the pattern (it will change from toward you and away since the rows will go back and forth for a while) and using your main yarn SC around the loop yarn in the spaces between the loops. I found that putting two or three SC stitches in between each of the loops was a good spacing (I alternated between 2 and 3 stitches in between because I was afraid of running out of the loop yarn. If you aren’t as worried about only using a single skein or you want your hedgehog extra fluffy then less stitches in between the loops will work). This works well for the most part, it does get a little tricky once you get to the decreasing stage and you may want to sew down the last few rounds for the ease of it. You may have to go a little slower if you choose option 2 but once the body is done, it’s done. You’ll just need to take it easy and watch to make sure that the loops are all staying on the right side of the project and they don’t get mixed together. It will probably seem like a jumble at some points but it will even out and get easier as you go.
Check out the video guide for Option 2 below!
I don’t really know if one Option is inherently faster or easier than the other. It really depends on your comfort level and how much you despise hand sewing. Whichever you pick, continue with Row 3.
3-10) SC across. Ch 1, turn. (62)
11) SC 62, Ch 12, join with sl st to first SC of round. (62 SC, 12 chains)
From here you will continue to work in joined rounds. Each round will begin with a Ch 1 and end with a sl st to the first SC of the round.
(If you chose Option 2 and are crocheting your loops as you go, you’ll want to do your chain and skip over about 6 loops, leaving them unattached, and then continue going around them once you start Round 12. When you get to the section of Round 12 where you are working into the chains, you’ll actually begin doing your SC around 2 sets of loops. Alternately, you could cut the loops at the beginning of the chain and reattach when you join to the other side. Just be sure to secure the ends well.)
In the next round, you’ll work into the chain and start to close the top.
12-14) SC in each around. (74)
If you chose Option 2, this is the point where you may want to drop your loop yarn and finish the rounds with the main yarn and then sew down the remaining loops. You don’t have to. You can continue going around the loop yarn until the end. I just found it was more difficult to keep up with counting and decreasing while keeping the loops in place.
15) DEC, SC in next 23, DEC 7 times, SC in next 23, DEC 6 times. (60)
16) DEC, SC in next 20, DEC 5 times, SC in next 20, DEC 4 times. (50)
17) DEC, SC in next 17, DEC, SC4TOG, DEC, SC in next 17, DEC, SC4TOG. (40)
18) SC in each around. (40)
Finish Off. Leave long tail to close. If you chose Option 1 for your spines, I would wait to actually close the top until you’ve started sewing on your loops. It will be a little easier to have an extra opening while you’re sewing until you get toward the top. If you chose Option 2 for your spines, I would go ahead and close the opening by bringing the sides together and stitching it closed. If you left enough of a tail after that you can use it to attach the last few rounds of loops to cover that area. If you dropped your loops several rounds back, you will continue to attach them in the same way you would have if you had been crocheting them in, so following the rounds.
No matter which option you chose, to finish off and make sure that the loops are secured you will want to sew around the last loop several times. I would go around the space right before the loop as well as through the loop itself even making a knot on the inside.
Go ahead and put at least a little bit of stuffing into the body so that it has some shape before you start the head.
Head
Join yarn to bottom left corner of the opening. You’ll start this section by going up the left side of the opening, into the sides of the SC rows. If you went with Option 2, you may have a bit of a hard time seeing the sides of the SC rows. You’ll have to feel it out and make adjustments for the first round if it is a problem. As long as you get the correct count and an even spacing you should be fine.
1) Ch 1, SC 10 up the left side, SC 12 across the top, SC 10 down the right side. Ch 1, turn (32)
2) SC 9, DEC, SC 10, DEC, SC 9. Sl st to the last stitch on the bottom row. Ch 1, turn. (30)
From here on, you’ll be working in continuous rounds. Rounds do not start with Ch 1. Mark the beginning of the round with a scrap piece of yarn or stitch marker.
3) SC 30, HDC DEC (Into the corner of the opening and the next stitch along the bottom), HDC, SC, sl st 12 (If you did the slip stitch in Round 1 of the body, you’ll go around those and into Round 9 of the belly), SC, HDC in last. (32 SC, 3 HDC, 12 sl st-47 stitches)
4) (SC in next 6, DEC) 4 times, (SC in next 5, DEC) 2 times, SC in last. (41)
5) SC in each around. (41)
6) (SC in next 8, DEC) 3 times, SC 9, DEC. (37)
7) SC 7, DEC, SC 8, DEC, SC 18. (35)
8) SC 7, DEC, SC 8, DEC, SC 16. (33)
9) SC 7, DEC, SC 6, DEC, SC 16. (31)
10) SC in each around. (31)
11) (SC in next 5, DEC) around. SC in last 3. (27)
12) (SC in next 7, DEC) around. (24)
Stuff body a little more at this point.
If using safety eyes, place them now. I put mine between Rounds 8 and 9 about 11 stitches apart. You can eyeball the placement to your liking, set your hedgehog on a flat surface so you can make sure they are centered. You can also embroider them on if you prefer. I used 12mm safety eyes but you can use any size that you like.
13) SC in each around. (24)
14) (SC in next 2, DEC) around. (18)
15) (SC in next, DEC) around. (12)
16-17) SC in each around. (12)
Stuff head and body the rest of the way.
18) DEC around (6)
Finish Off. Leave tail to close hole.
Using your needle and a length of brown yarn or thread, embroider on the nose. Go around the top side of the last round several times until the nose is as big as you like.
Ears
Make 2
Using the Magic Ring technique (OR Ch 3, sl st to first ch to form ring) Ch 1, HDC 6, sl st into ring. Do NOT join. Finish off. Leave tail to sew on.
Feet
Make 4
1) Using the Magic Ring technique (OR Ch 3, sl st to first ch to form ring) Ch 1, SC 10. Join with sl st to first SC to form a circle. (10)
2) Ch 1, SC in each around, sl st to first SC. (10)
Using T-pins or eyeballing, place your ears and feet and using the tails sew them in place.
Finished!
I just made this while sitting in the ICU with my husband after his stroke. It turned out really cute. I do think there needs to be some instructions on sewing on the loop yarn. I figured it out, but maybe clarify this some. Where to start, where to end, rows or rounds, etc.
Thank you for that feedback!
Would it be possible to secure the spine yarn into the finished body and chain about 6-8 and slip stitch back down instead of using the loopy yarn? Would the shape of the hedgehog need to change?
Kayla, I’m sorry for such a long delay in answering your question. You have probably already figured it out by now but yes, I think you could get a similar effect creating chained loops. I wouldn’t think the body shape would need to change. I hope it turned out for you!