
This post may contain affiliate links. If you use these links to buy something I may earn a small commission at no cost to you. Thanks.
…
Do. Or Do Not. There is no try.
There are so many cute geeky baby things out there. I can hardly stand it. It also bums me out that for some reason I did not make any for my boys as babies. They would have made adorable Yodas! Maybe I just hadn’t fully embraced the geek life at that point. I definitely wasn’t crocheting as much when the oldest was a baby. But I can make hats now and share the pattern so that other people can geek up their babies! 🙂
A couple of disclaimers: This pattern is intended for personal use only. You are welcome to use the pattern to make and sell products, to keep for yourself, or to give away as gifts. I would appreciate receiving credit and a link back to the site, however. Please do not republish or distribute the pattern in any way, or use my photos in your listings.
I am not a robot, so if you find any typos, errors, or places that need clarification, please let me know so that I can fix my mistakes or explain things differently. 🙂

I hope you enjoy this crochet pattern. If you have any questions or comments you can leave them below OR email me at auburnelephant@gmail.com OR through the contact page on this site. I’d also love to see your finished creations! 🙂
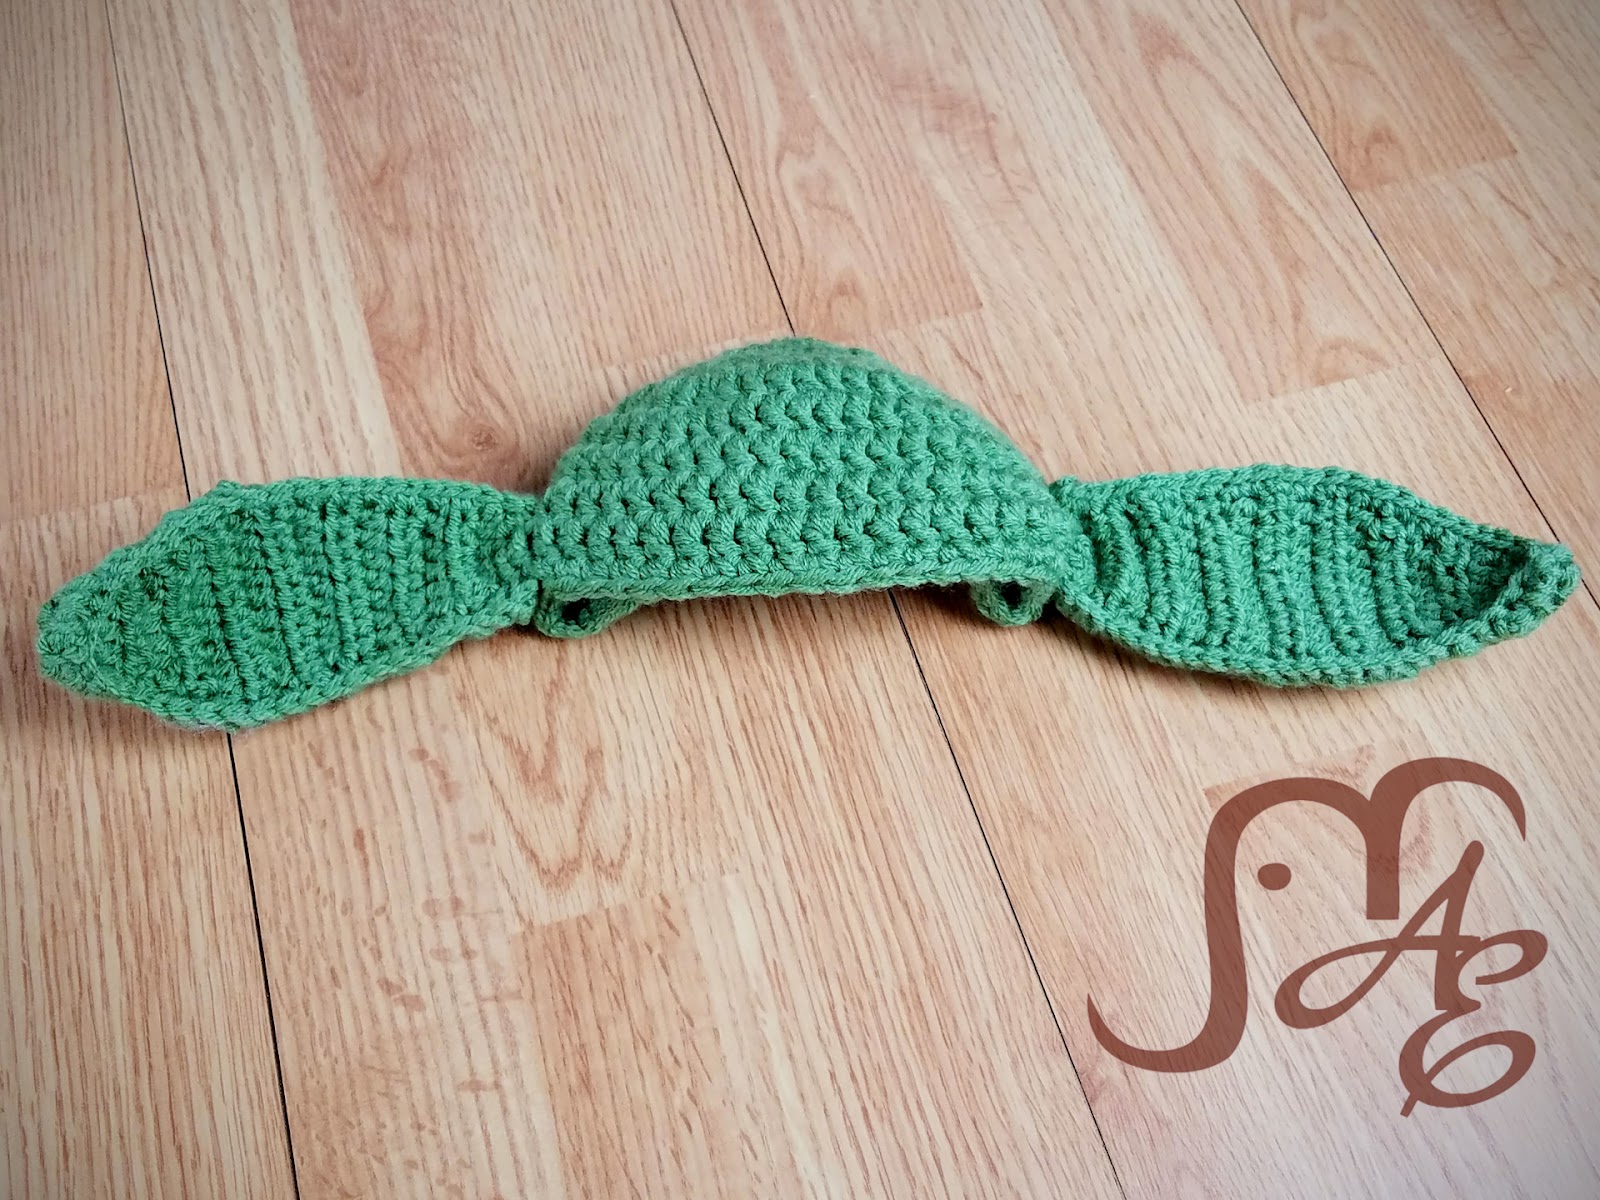
Baby Yoda Hat
Supplies Needed:
Hobby Lobby’s I Love This Yarn in Light Sage (can be darker or lighter green, your choice)
I/9 5.50 mm Hook (for 0-3 months size)
J/10 6.0 mm Hook (for 3-6 months size)
G/6 4.25 mm Hook (for Ears)
Tapestry Needle for weaving in ends
Stitches Used:
Sl st- Slip Stitch
St(s)- Stitches
DC- Double Crochet
SC- Single Crochet
FHDC- Foundation Half Double Crochet
HDC- Half Double Crochet
HDC2TOG- Half Double Decrease- HDC 2 stitches together. Yarn over, insert hook into next stitch, yarn over, pull through, yarn over, insert hook into next stitch, yarn over, pull through, yarn over, pull through all loops on hook to finish decrease
HDC3TOG- Half Double Decrease- HDC 3 stitches together. Same steps as HDC2TOG except you’ll go through the next 3 stitches before you pull through all loops.
Notes:
Hats are worked in joined rounds. Begin each round with a Ch 2, end each round with a sl st to the top of the first stitch of the round. Chains do NOT count as stitches.
0-3 months (with I hook and double strands of yarn)
1) Using the Magic Ring technique (or Ch 3, join with sl st to first ch to form a ring) DC 10. (10)
2) 2DC in each around. (20)
3) *2DC in next, DC in next* Repeat from * to * around.(30)
4) *2DC in next, DC in next 2* Repeat from * to * around. (40)
5-8) DC in each around. (40)
9) SC in each around. (40)
Finish off, weave in ends.
3 months/ 6 months (with J hook and double strands of yarn)
1) Using the Magic Ring technique (or Ch 3, join with sl st to first ch to form a ring) DC 10. (10)
2) 2DC in each around. (20)
3) *2DC in next, DC in next* Repeat from * to * around. (30)
4) *2DC in next, DC in next 2* Repeat from * to * around. (40)
5) *2DC in next, DC in next 9* Repeat from * to * around. (44)
6-9) DC in each around. (44)
10) SC in each around. (44)
Finish off, weave in ends.
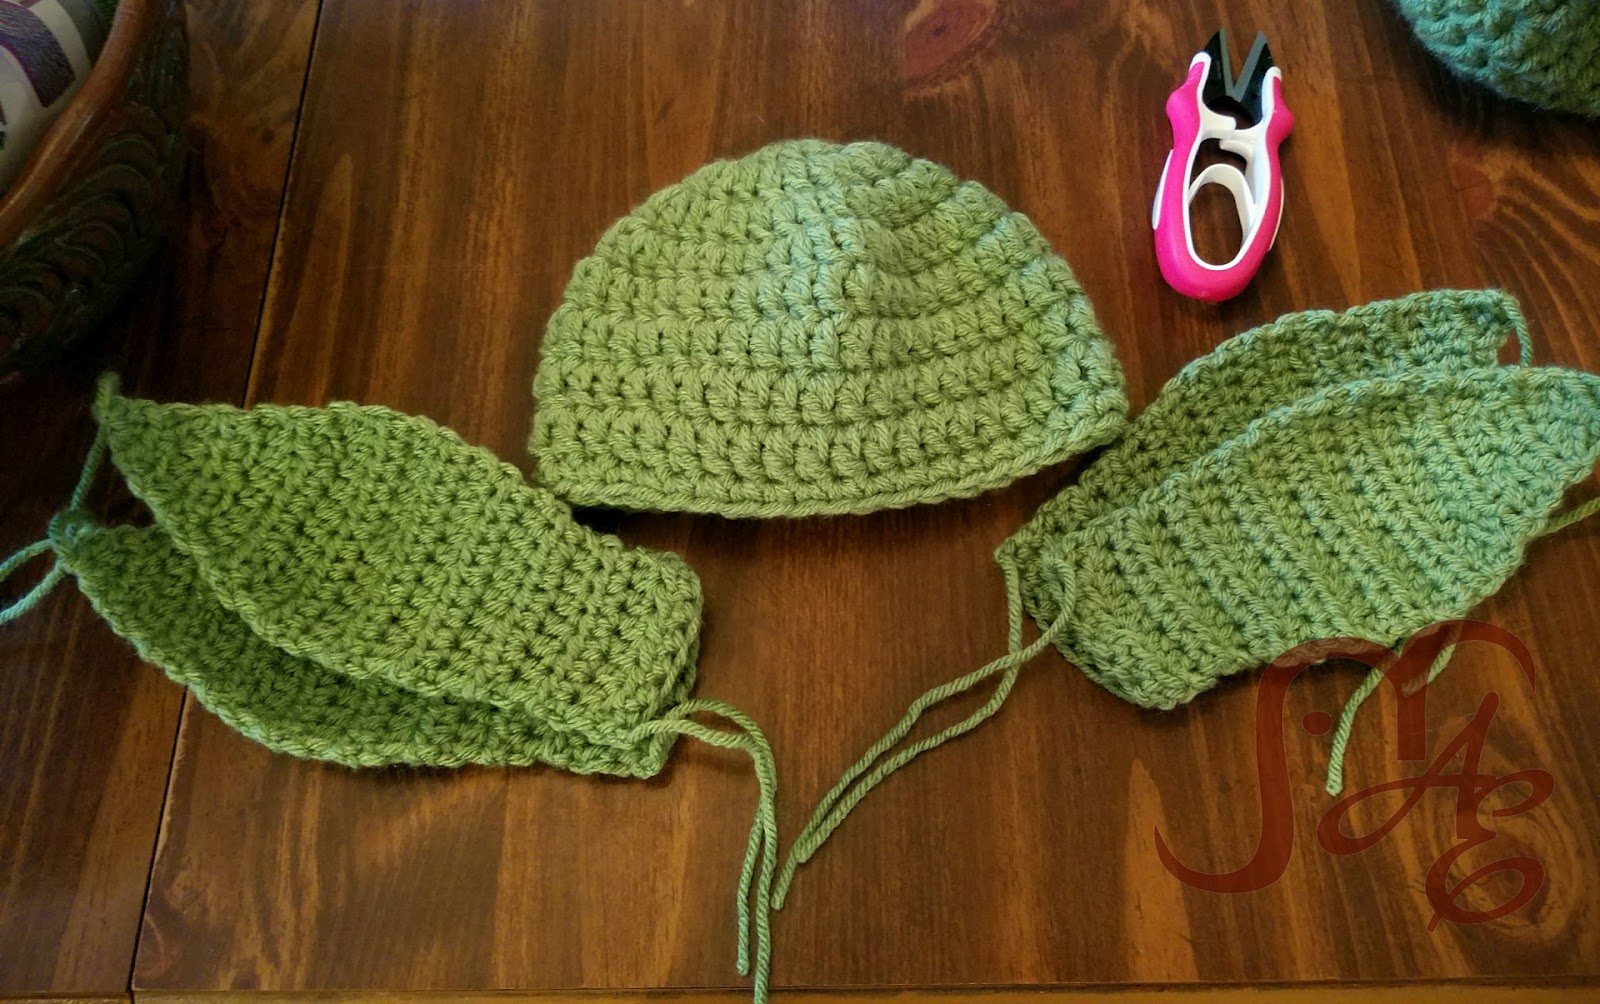
Ears
(Ears are made the same for either size.)
Notes:
Ears are worked in rows. Each row begins with a Ch 2 and turn. Chains do NOT count as stitches
Inner Ears
Make 2
Using G Hook
.
1) FHDC 7. (7) (You can also Ch 9, HDC in 3rd chain from hook, HDC 6 across.)
2-4) HDC in each across. (7)
5) HDC, 2HDC in next, HDC in next 3, 2HDC in next, HDC in last. (9)
6-7) HDC in each across. (9)
8) HDC, 2HDC in next, HDC in next 5, 2HDC in next, HDC in last. (11)
9-12) HDC in each across. (11)
13) HDC, HDC2TOG, HDC in next 5, HDC2TOG, HDC in last. (9)
14) HDC, HDC2TOG, HDC in next 3, HDC2TOG, HDC in last. (7)
15) HDC, HDC2TOG, HDC, HDC2TOG, HDC in last. (5)
16) HDC in each across. (5)
17) HDC2TOG, HDC, HDC2TOG. (3)
18) HDC3TOG. (1)
Finish Off. (You can weave in the ends if you want. I usually just crochet over them when I SC around the edges.)
Outer Ears
Make 2
Using G Hook
1) FHDC 8. (8) (OR you can Ch 10, HDC in 3rd chain from hook, HDC 7 across.)
2-4) HDC in each across. (8)
5) HDC, 2HDC in next, HDC in next 4, 2HDC in next, HDC in last. (10)
6-7) HDC in each across. (10)
8) HDC, 2HDC in next, HDC in next 6, 2HDC in next, HDC in last. (12)
9-12) HDC in each across. (12)
13) HDC, HDC2TOG, HDC in next 6, HDC2TOG, HDC in last. (10)
14) HDC, HDC2TOG, HDC in next 4, HDC2TOG, HDC in last. (8)
15) HDC, HDC2TOG, HDC 2, HDC2TOG, HDC in last. (6)
16) HDC in each across. (6)
17) HDC2TOG, HDC 2, HDC2TOG. (4)
18) HDC2TOG, HDC2TOG. (2)
Finish Off. (You can weave in the ends or just crochet over them when you SC around.)
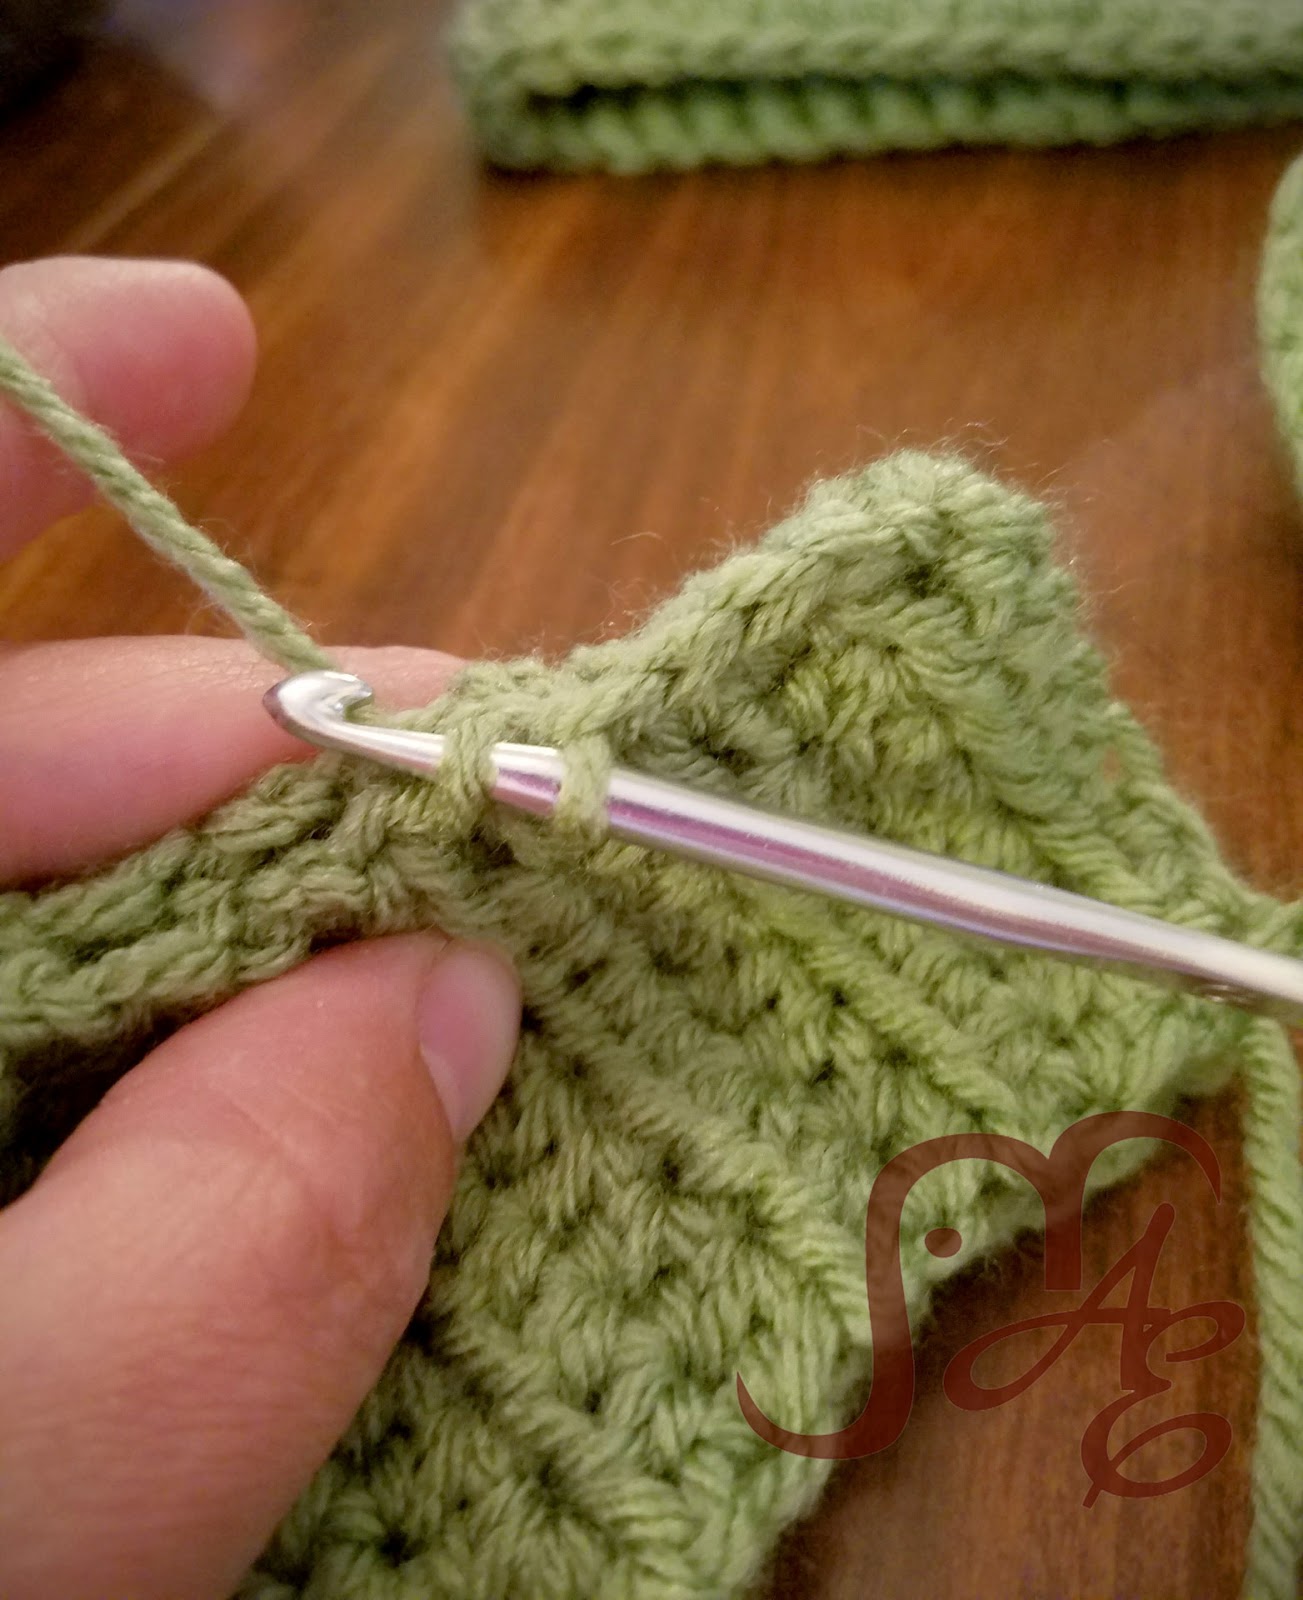
Place Inner Ear on top of the Outer Ear, SC evenly around the sides. It is not necessary to single crochet around the base of the ear.
Leave a long tail for sewing to hat.
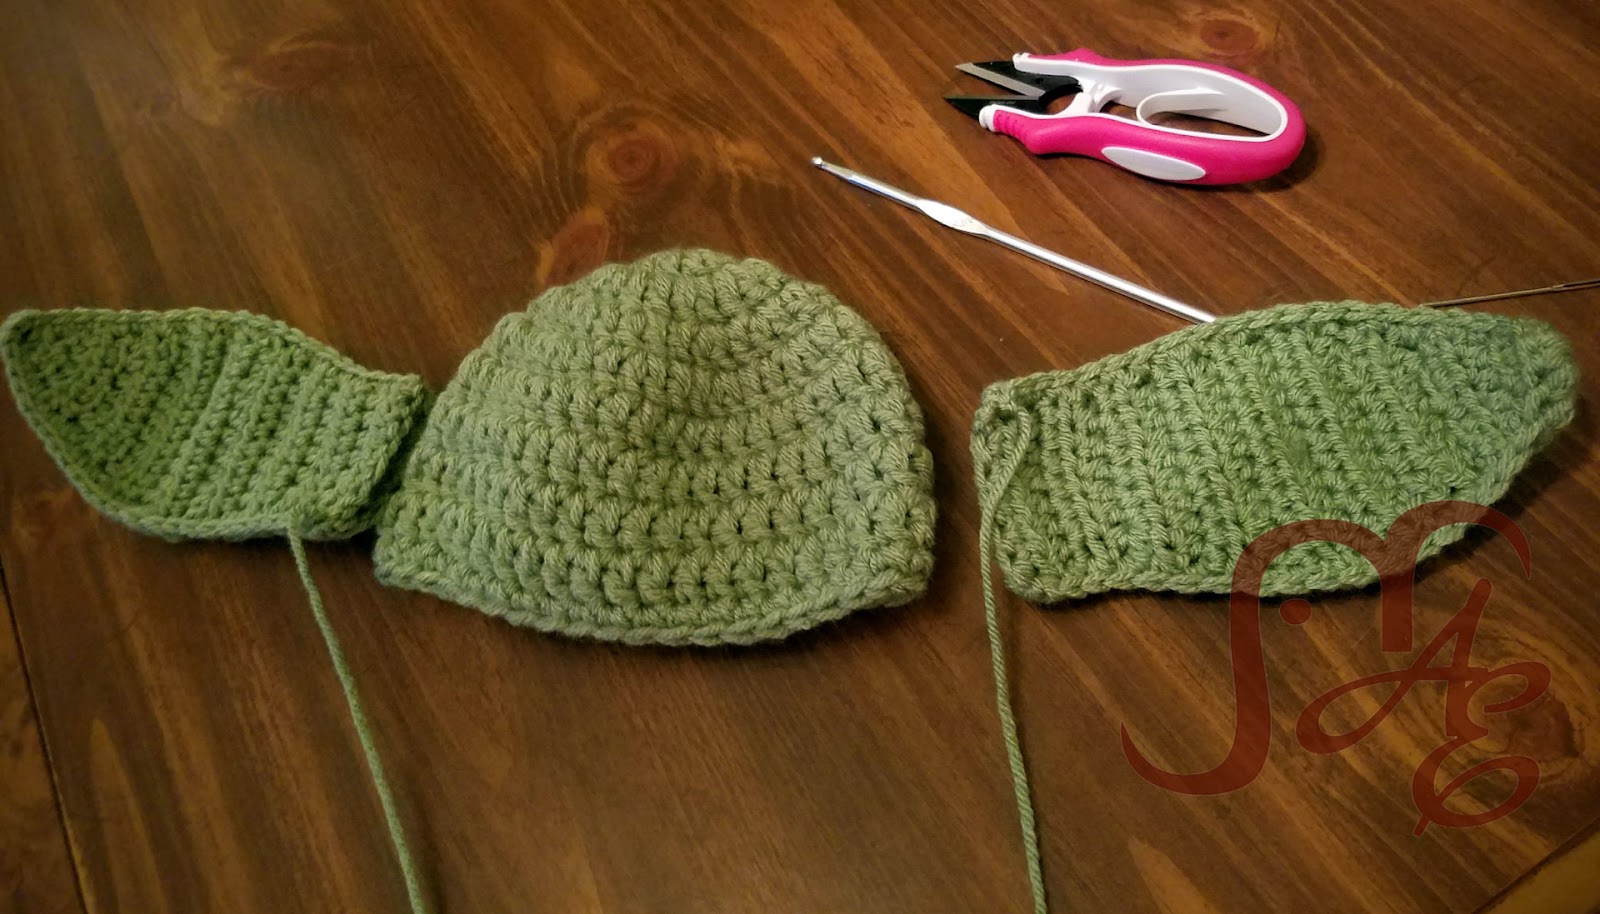
My tip for sewing to the hat is to start at the top of the SC round (last round of the hat) sew down the Inner Ear side, then sew down the Outer Ear side by going up a row or two and then back down into the hat. It seems like this gives the most structure and support to the ears. Tightly pull the stitches on the top side of the ear to hold it in place. I probably oversew these attachments but I hate when they sag or don’t stay put.
You can make this a girly little outfit by adding a simple flower and some legwarmers. 🙂

May the Force be with you!
