
This post may contain affiliate links. If you use these links to buy something I may earn a small commission at no cost to you. Thanks.
…
A couple of Christmases ago my hubby decided that he wanted to get us Fitbit trackers. After much research and deliberation he decided that we would go with the new Charge HR. It was pretty exciting. I liked knowing how much I was actually moving during the day (hint: not as much as I expected since I was chasing around 2 toddlers at the time). I liked the feeling of accomplishment when I would hit my goal and even went out of my way to make it happen. I realize that is basically the point of them. So it did its job.
After two years of regular wear my Fitbit was starting to show its age. Although it was still in better shape than hubby’s, it was starting to come apart. I started to debate about getting one of the newest models with the interchangeable bands. That was one of my main complaints about the HR is that it looked pretty crummy wearing anything other than workout clothes. But taking it off meant it didn’t count my steps and then I felt like my day was wasted. After lots of internet searches and review reading I had decided to go with the new Charge 2. It helped that there was a sale, of course. So hubby and I both ordered new ones (telling ourselves that we deserved it and they could count as mother/father’s day gifts.)
It was a good thing I placed my order when I did too because the day before they were delivered my HR band just broke. No fixing it. No rigging it to work for a bit. Just broke. I lost a whole day (a busy, heavy walking day at that) of steps. Such a bummer. But! The new Charges came and all was good. I had thought I would get some extra bands as well since that was one of the main reasons I went with this new tracker. The Fitbit brand ones were kind of pricey though and didn’t have a lot of options. But as it goes with most things Amazon came through with some third-party versions at much better prices. Hubby even found some on clearance at Walmart. Excitedly, I immediately swapped out the band a couple of times to see which I liked the best and which went with my outfit. 🙂 I do have a bit of trouble with the release “button” but it’s manageable.
It did not take long for me to realize though that I was going to have a problem keeping track of the extra bands. I thought that they could just go in the little travel jewelry box that I have. But I have a hard enough time making the necklaces fit and didn’t think the bands would share the space well. I decided to make a hanging holder that would keep them all together and on display so that I could see my options all at once.

I’m pleased with how it turned out. It isn’t too big so it doesn’t take up much space. I found a cute fabric (also, on clearance) so it is pretty too. Oh, and it’s functional! WOOT!
Here’s what you would need to make your own!
1/2 yard of fabric (I used a duck cloth so it was a little sturdier fabric. You could also use cotton and a heavy interfacing if you prefer.)
Coordinating thread
2- 1/2″ eyelets (and the little whammer thing that installs them. I’m sure it has a real name. You’ll need a hammer.)
20″ of nylon string (Ribbon would work too)
Small Round Dowel, 3/16″ at least 9″ long.
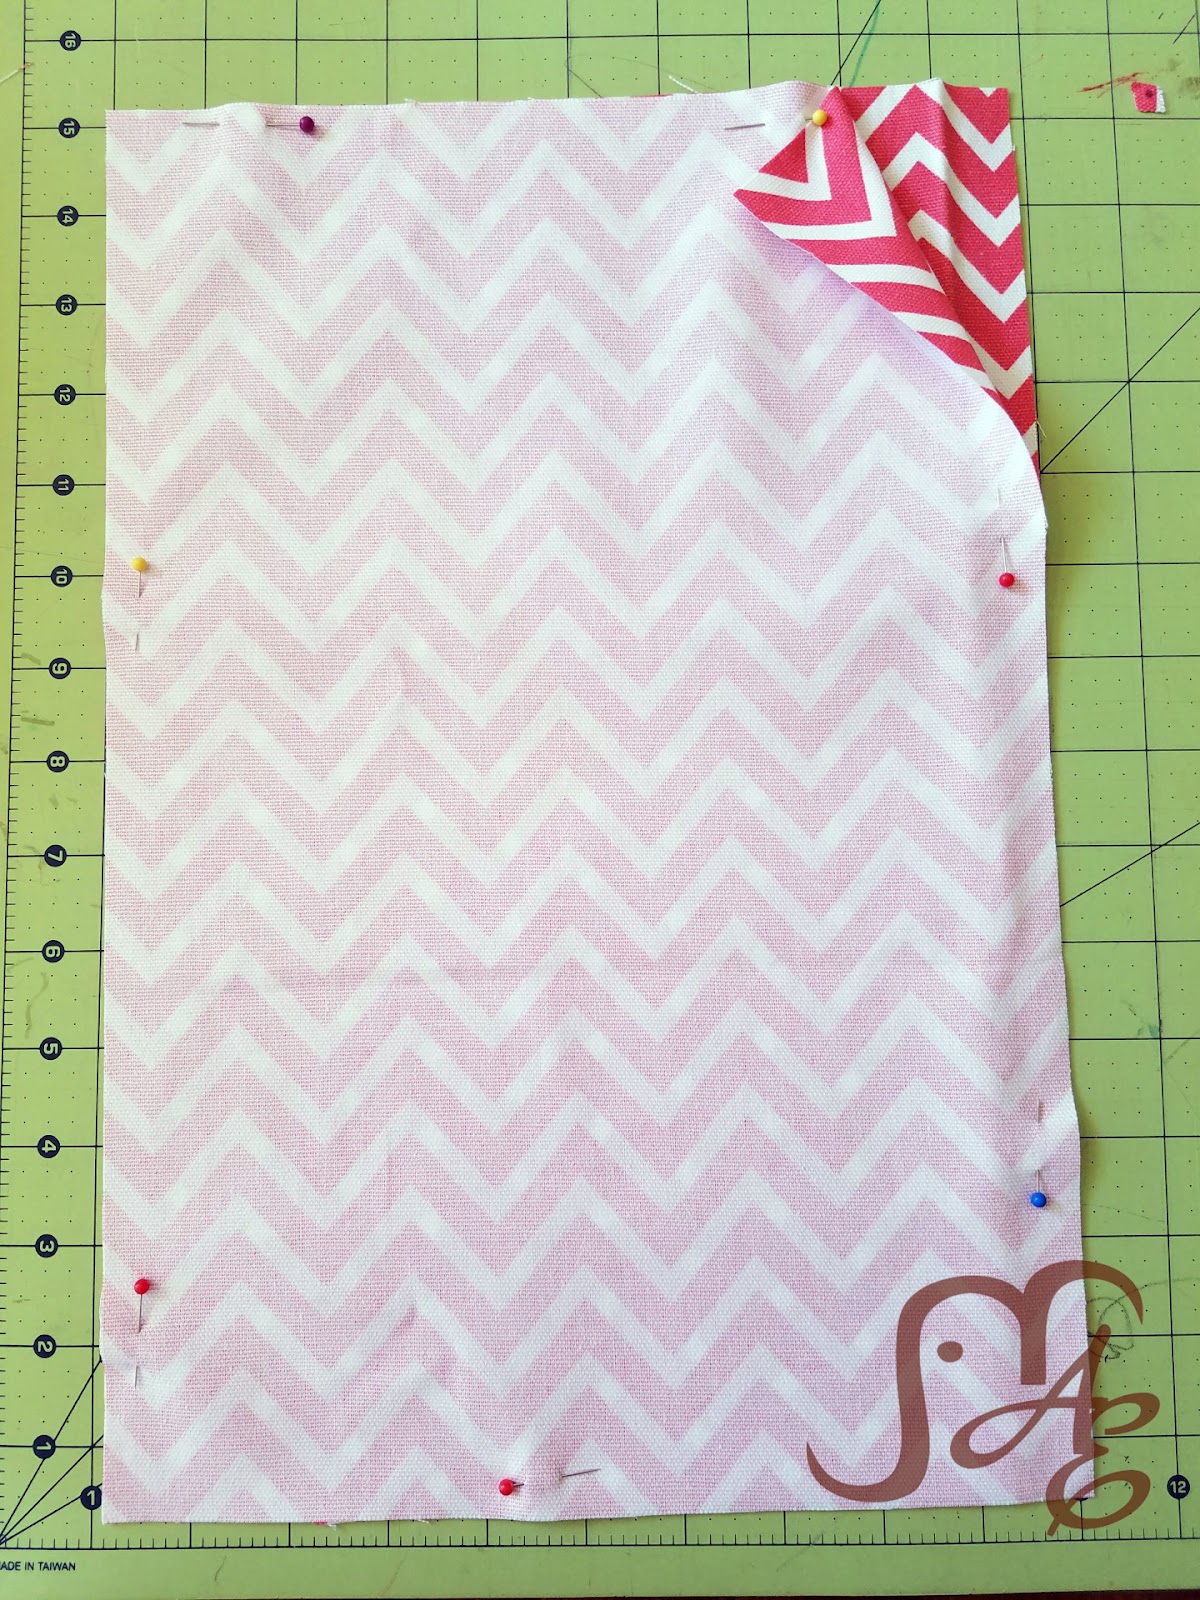
You’ll start by cutting two (2) 10″ by 15″ rectangles out of your fabric. (If you are using an interfacing, you’ll cut one 10″ by 15″ rectangle of that.) Lay them right sides together, pin, then sew, leaving a gap of 4″ on one end. Be mindful of any pattern your fabric has before cutting.
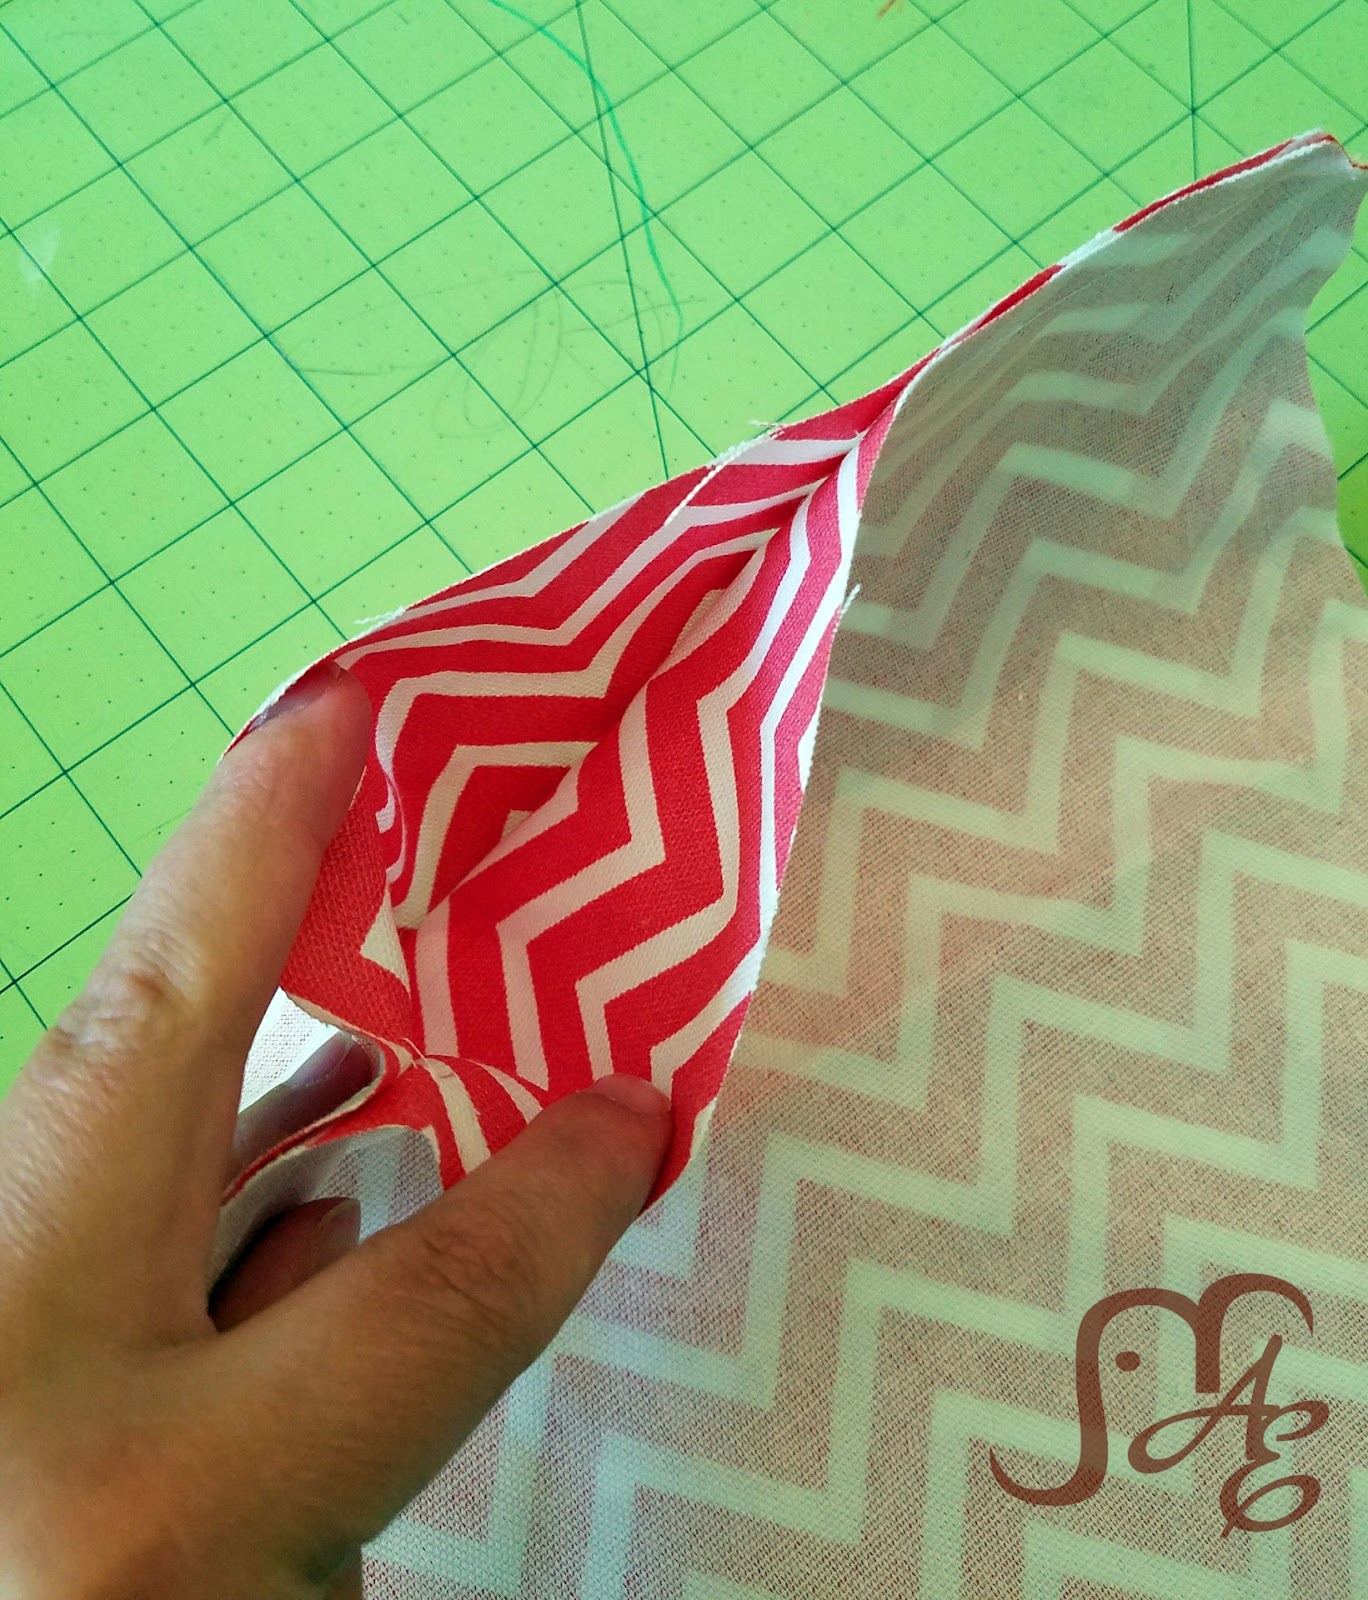
Trim the corners and turn inside out. It’s recommended to iron down the seams at this point. I despise ironing in any form but I have found that it really does help. So reluctantly, that’s my suggestion.
Trim your dowel to 9″. The ones I had were about 12″ long. I used a pair of scissors to score my dowel to the correct length (the width of the project, which should be around 9″) and broke off the excess. Insert your dowel into the gap you left. It doesn’t need to be lined up at this point, although you may want to test that the length is correct before sewing the gap shut.
Sew around the edge of the rectangle. This keeps the seams down and closes that gap you left. Leave only a small seam at this point. Now, you’ll maneuver the dowel to one of the short ends of the project. Make sure that it is snugly in place and then sew just below it. You could, if you wanted, switch to a zipper foot so that you would be able to get as close to the dowel as possible so it wouldn’t be able to wiggle. I avoid changing the feet if I can help it so I simply lined my foot up with the bottom side of the dowel, shifted my needle to the right (my Brother lets me do that) and sewed it down using the dowel’s resistance as a guide. The only reason that you would want make the dowel pocket as small as you can is so that the eyelets can be closer to the top.
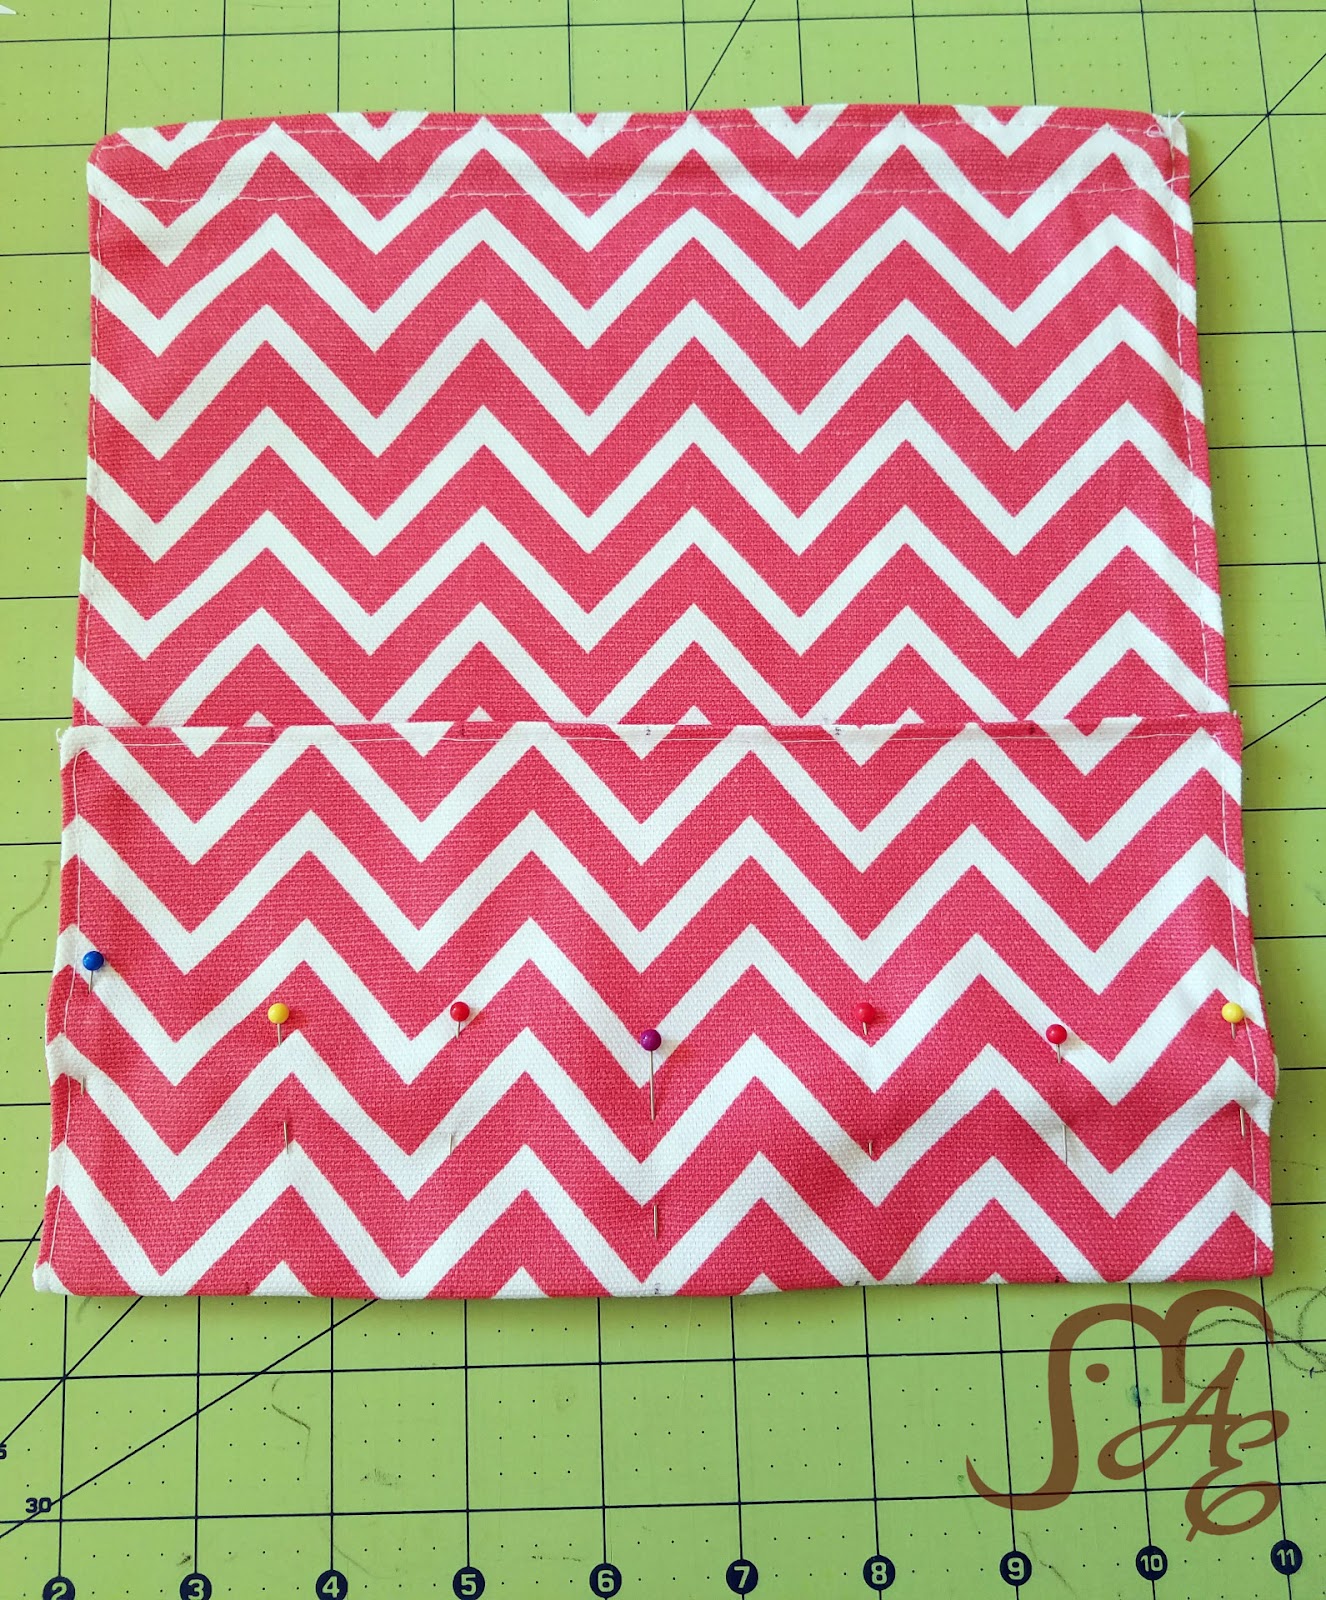
Once you have the dowel pocket sewn, you can measure about 4″ up from the opposite end and fold. Ironing here is again painfully helpful. Pin down this fold so that the edges are straight. I inevitably sew my seams a little off. I’ve come a long way but keeping my seams straight is still a struggle (I do also struggle with drawing straight lines and walking in straight lines so it may be a hopeless endeavor). So try to line them up as best you can. Pin the flap down along the edges. Now you’ll want to mark the lines for each pocket. As I’ve made mine I allotted for 6 pockets of about 1.5″ wide. (If you want to make yours with more slots for more bands, add 1.5″ to the width of your fabric cuts and adjust throughout.) I made a mark every 1.5″ along the bottom and the top of the pocket to again help me keep the line straight. Sew up the edges first and then the center. I suggest this way in case you have any unevenness it will be less noticeable in the center rather than the edges. Sew up your other lines.
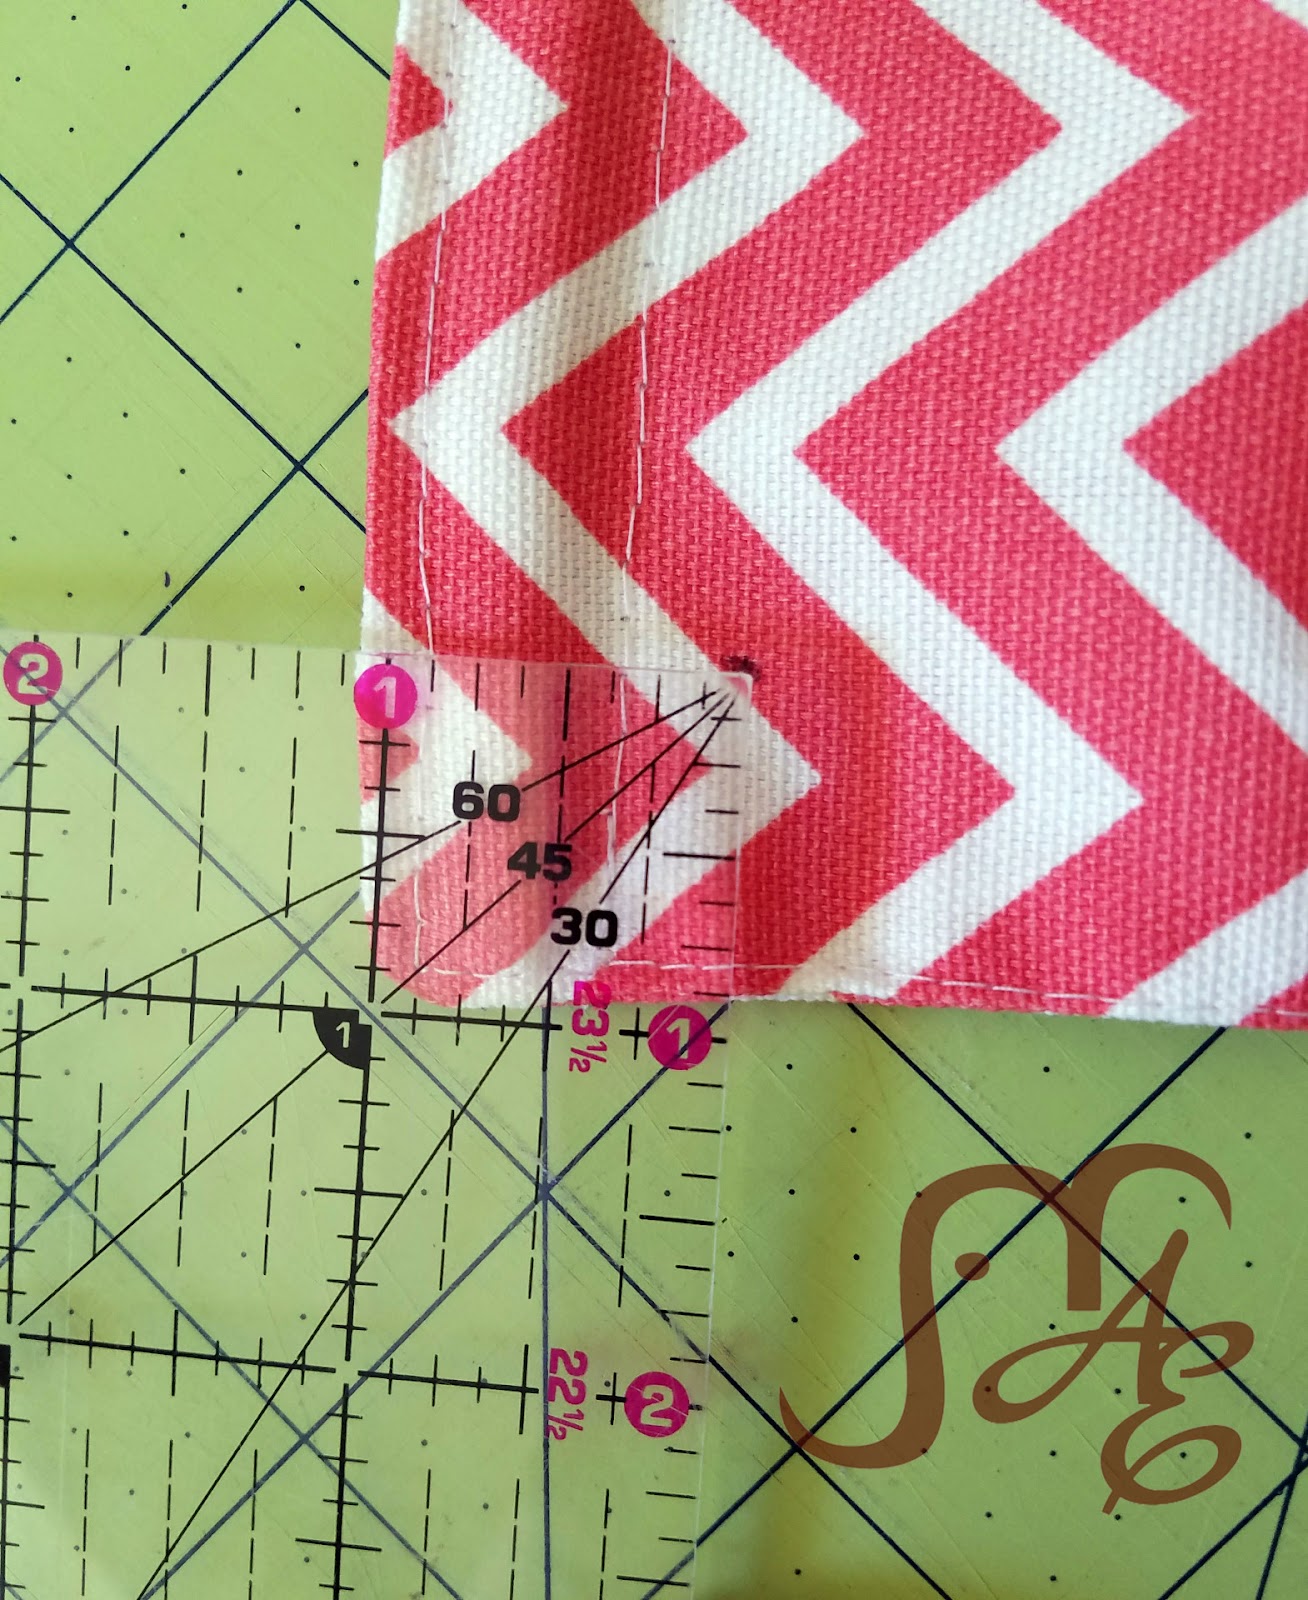
Now you’ll need to add the eyelets at the top of the piece, below the dowel. I measured 1″ down from the top and 1″ in from the side and made a mark. Do the same for the other corner. Use your scissors to cut a small hole over the mark you made. Place the eyelets through and use the whammer thingy (I really have no idea what it’s called but it comes with the eyelet kit). Once you have both eyelets placed you can get your string ready to hang your Band Holder (I should give it a cool name….)
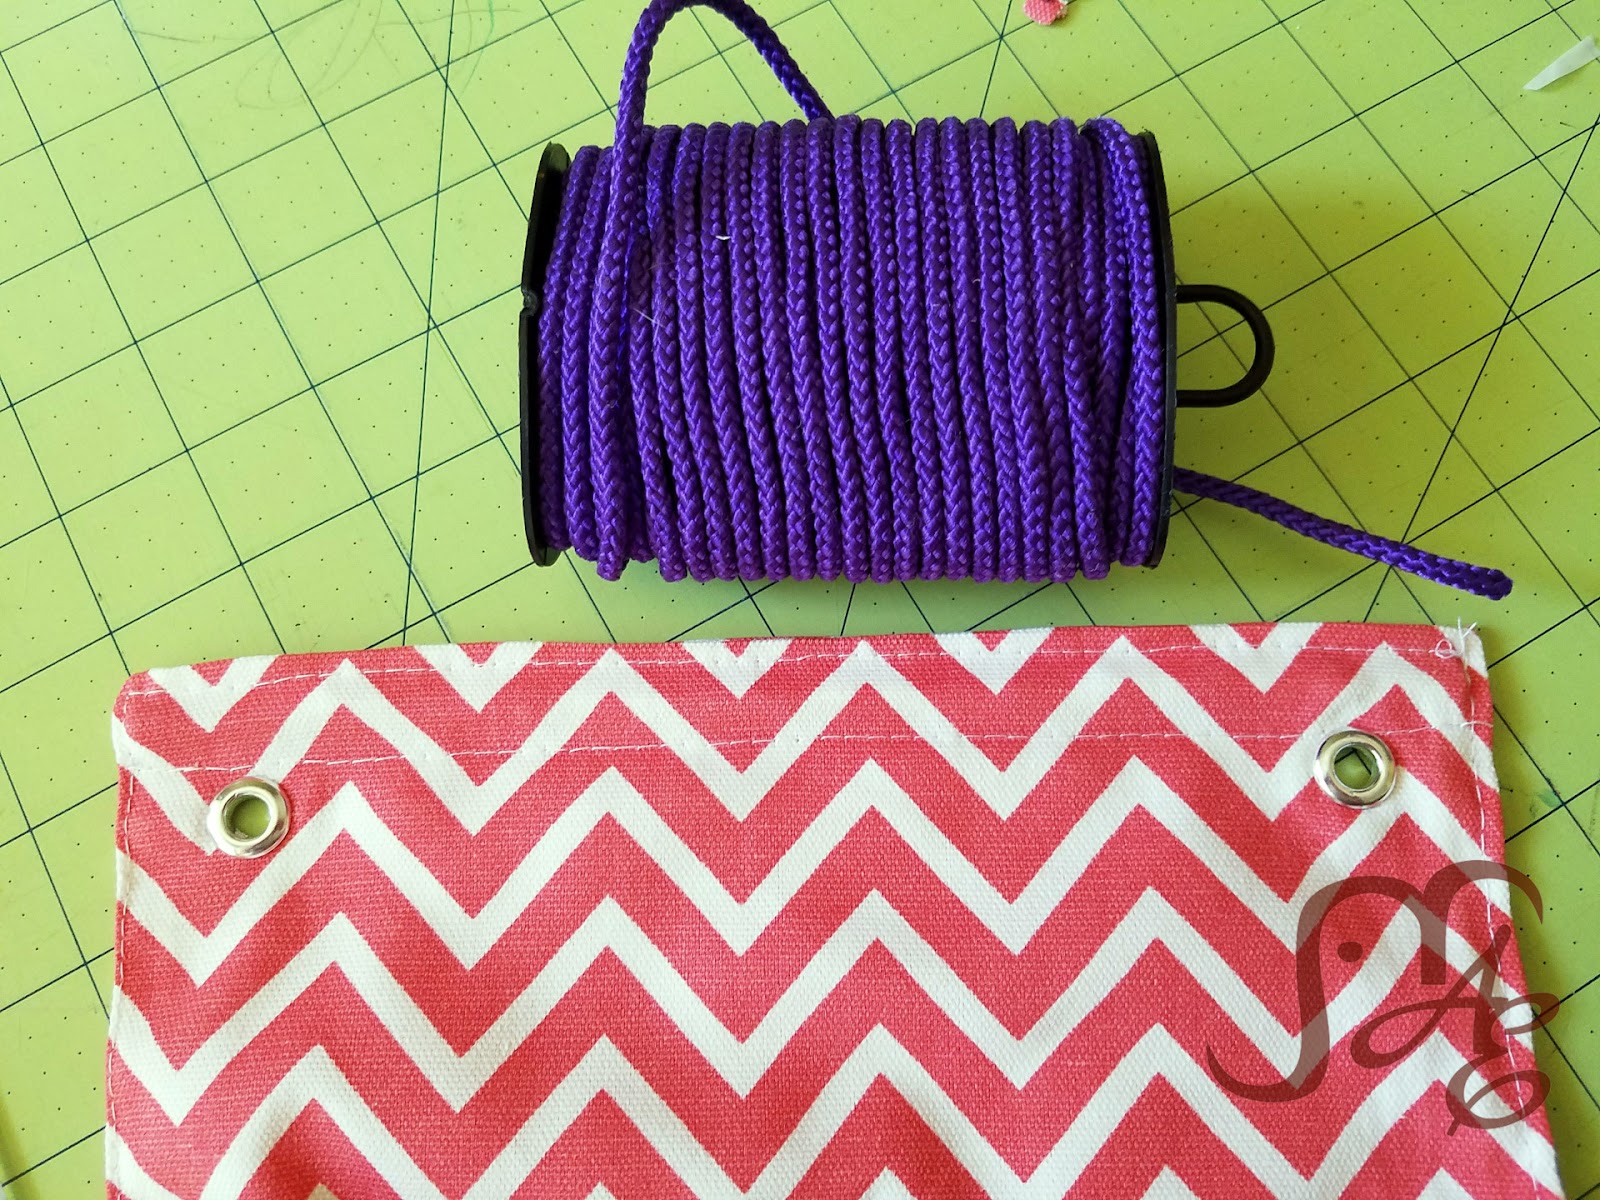
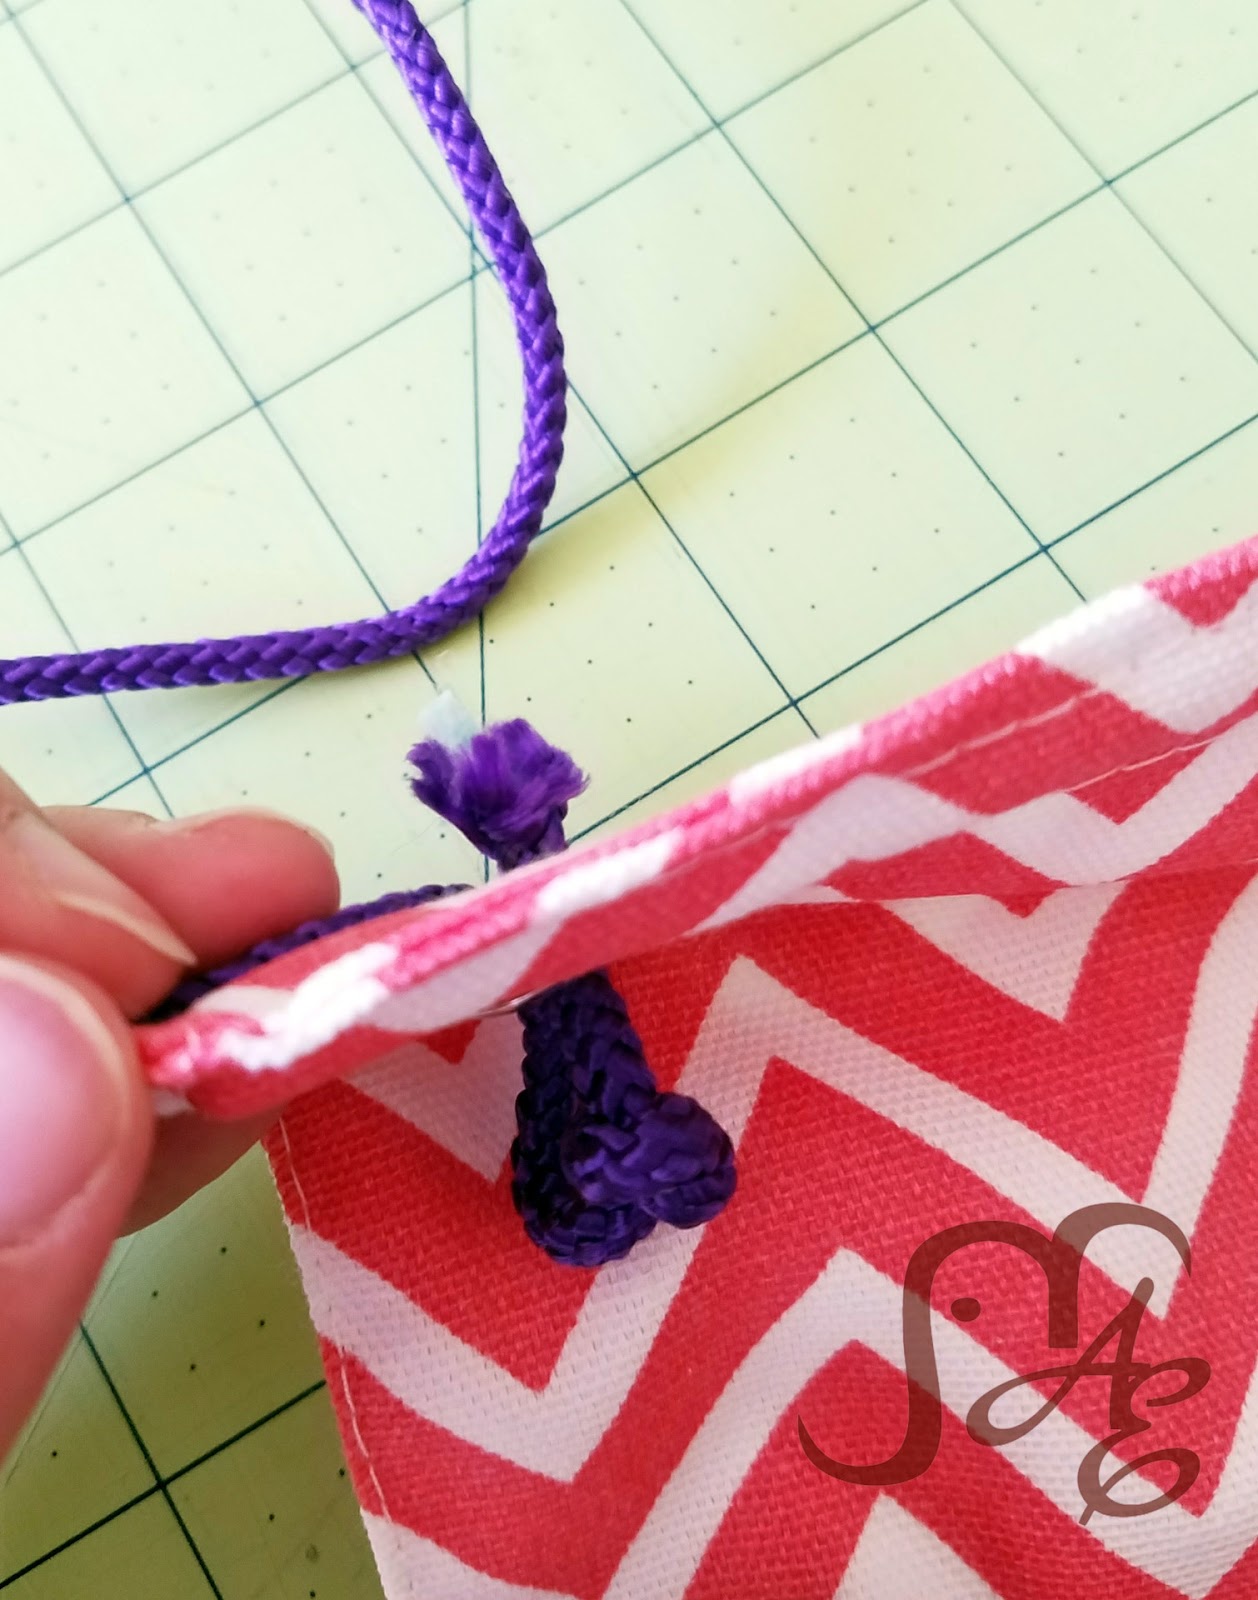
I had some purple nylon rope from another failed project so I went with that. Some ribbon would work or another type of thicker string would also do the trick. I cut about 20″ of the rope. If you are using ribbon or a thinner string you may want to cut a little longer piece because I assume you will need to knot it more times to keep it from pulling through the eyelet. I fed one end of the rope through the eyelet from back to front, knotted it close to the end, then fed the raw end back through the hole. My knot was big enough to hold it tight and I didn’t have to see a fraying end. Repeat for the other side (adjusting for length if needed).
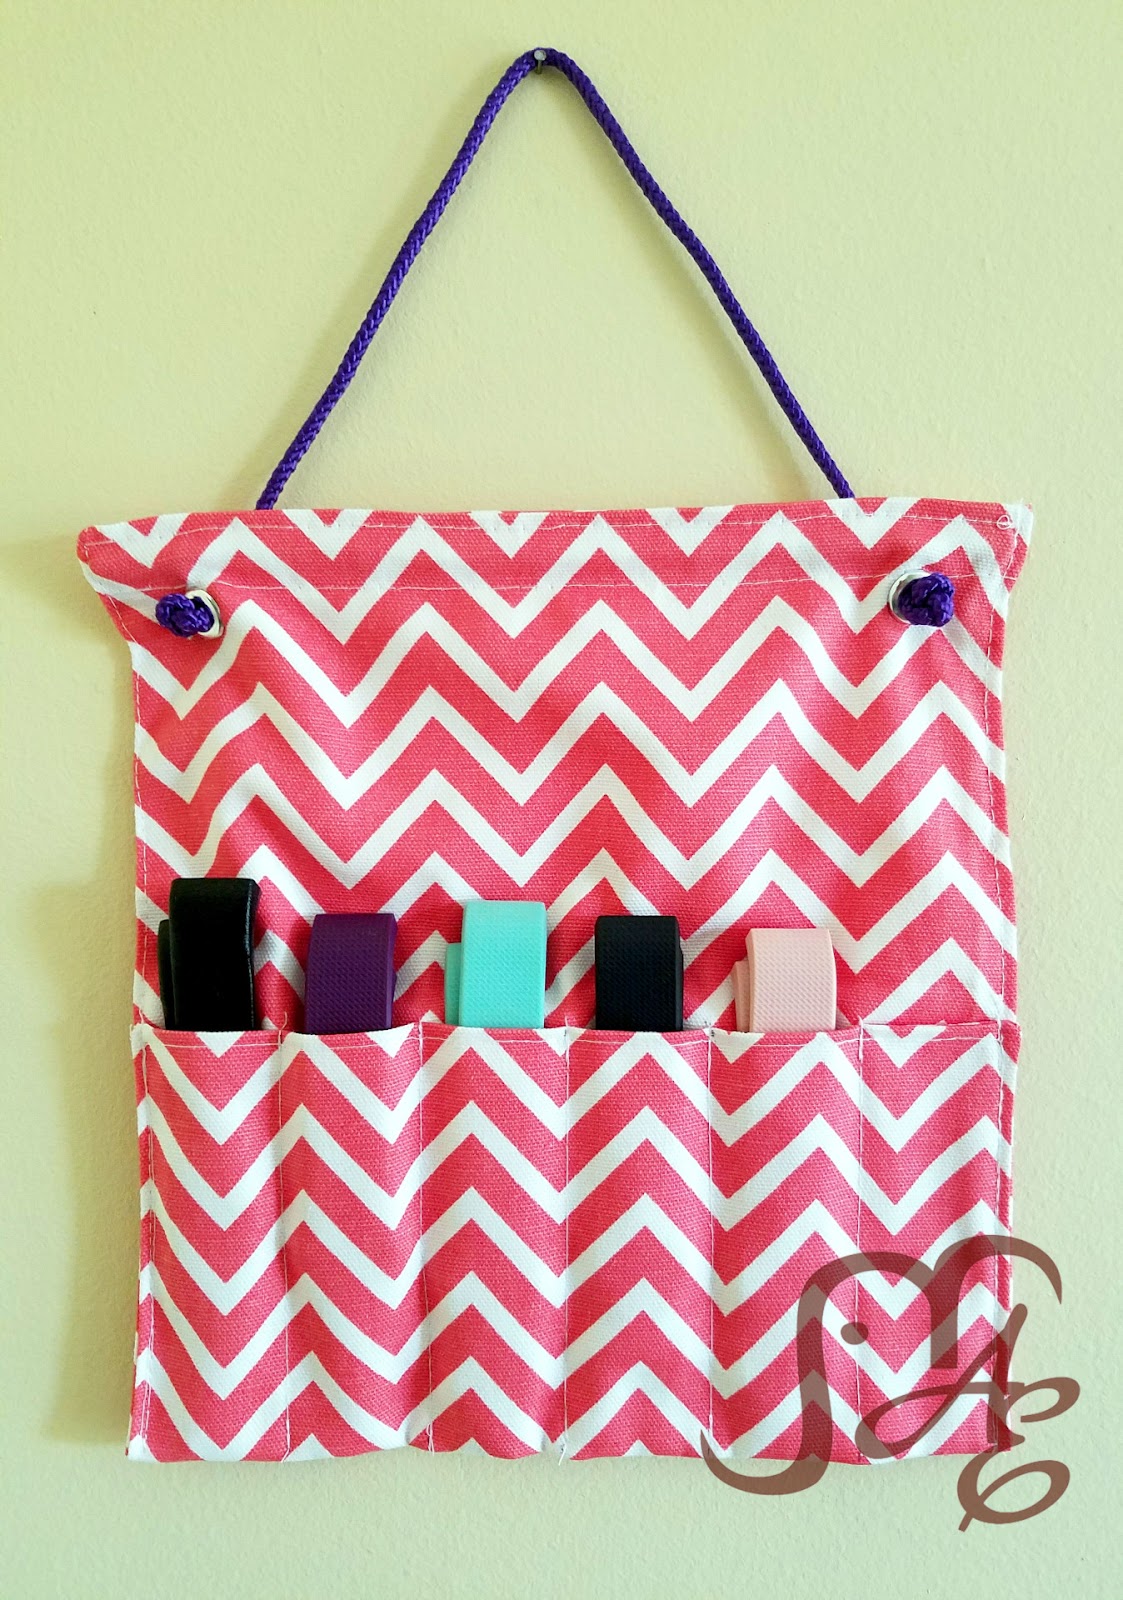
Voila! All finished!
Load it up with your extra Charge 2 bands and you’ll always have them in sight!
Alternatively, you could skip adding the dowel, eyelets, and rope leaving it flexible enough to fold over and roll up. Would make a great travel case! Or way to store your bands out of the way but still all together.
You most definitely could use this for other items as well. Watches, pens, markers, forks! Who knows! Enjoy! 🙂
